
Fabrication


Process
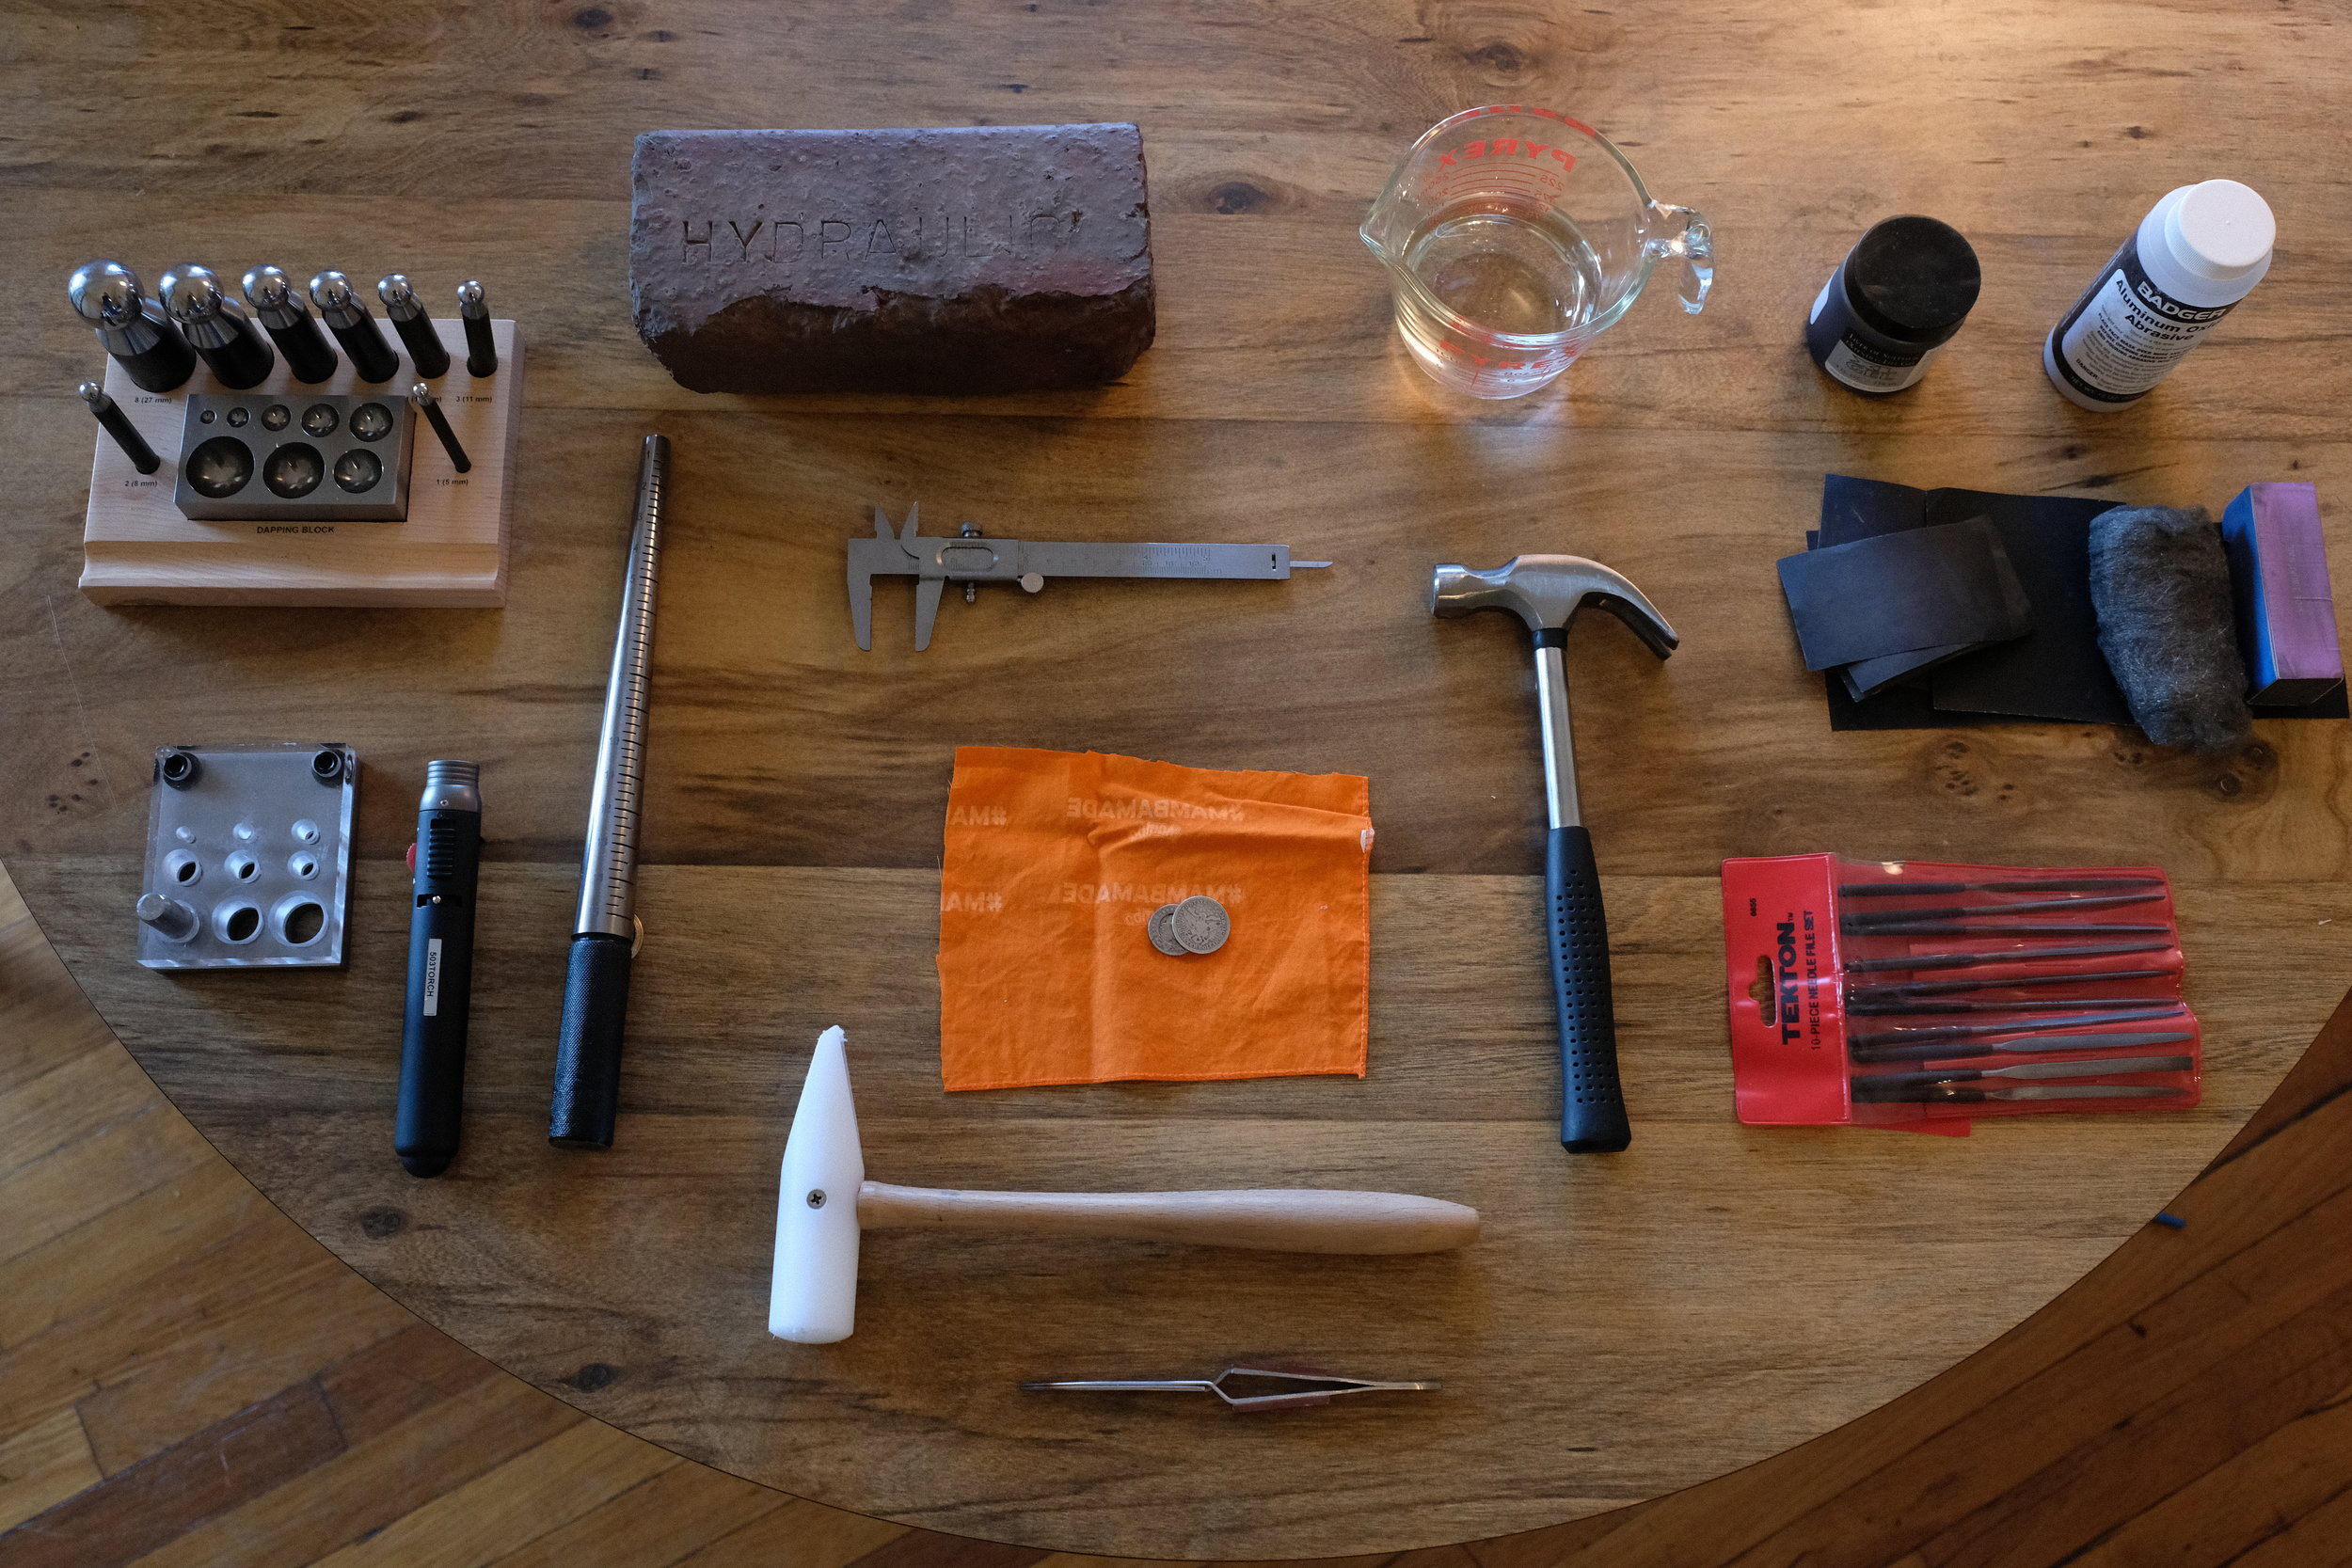


Materials not pictured: jeweler's saw, Dremel, safety gloves, earplugs, goggles.
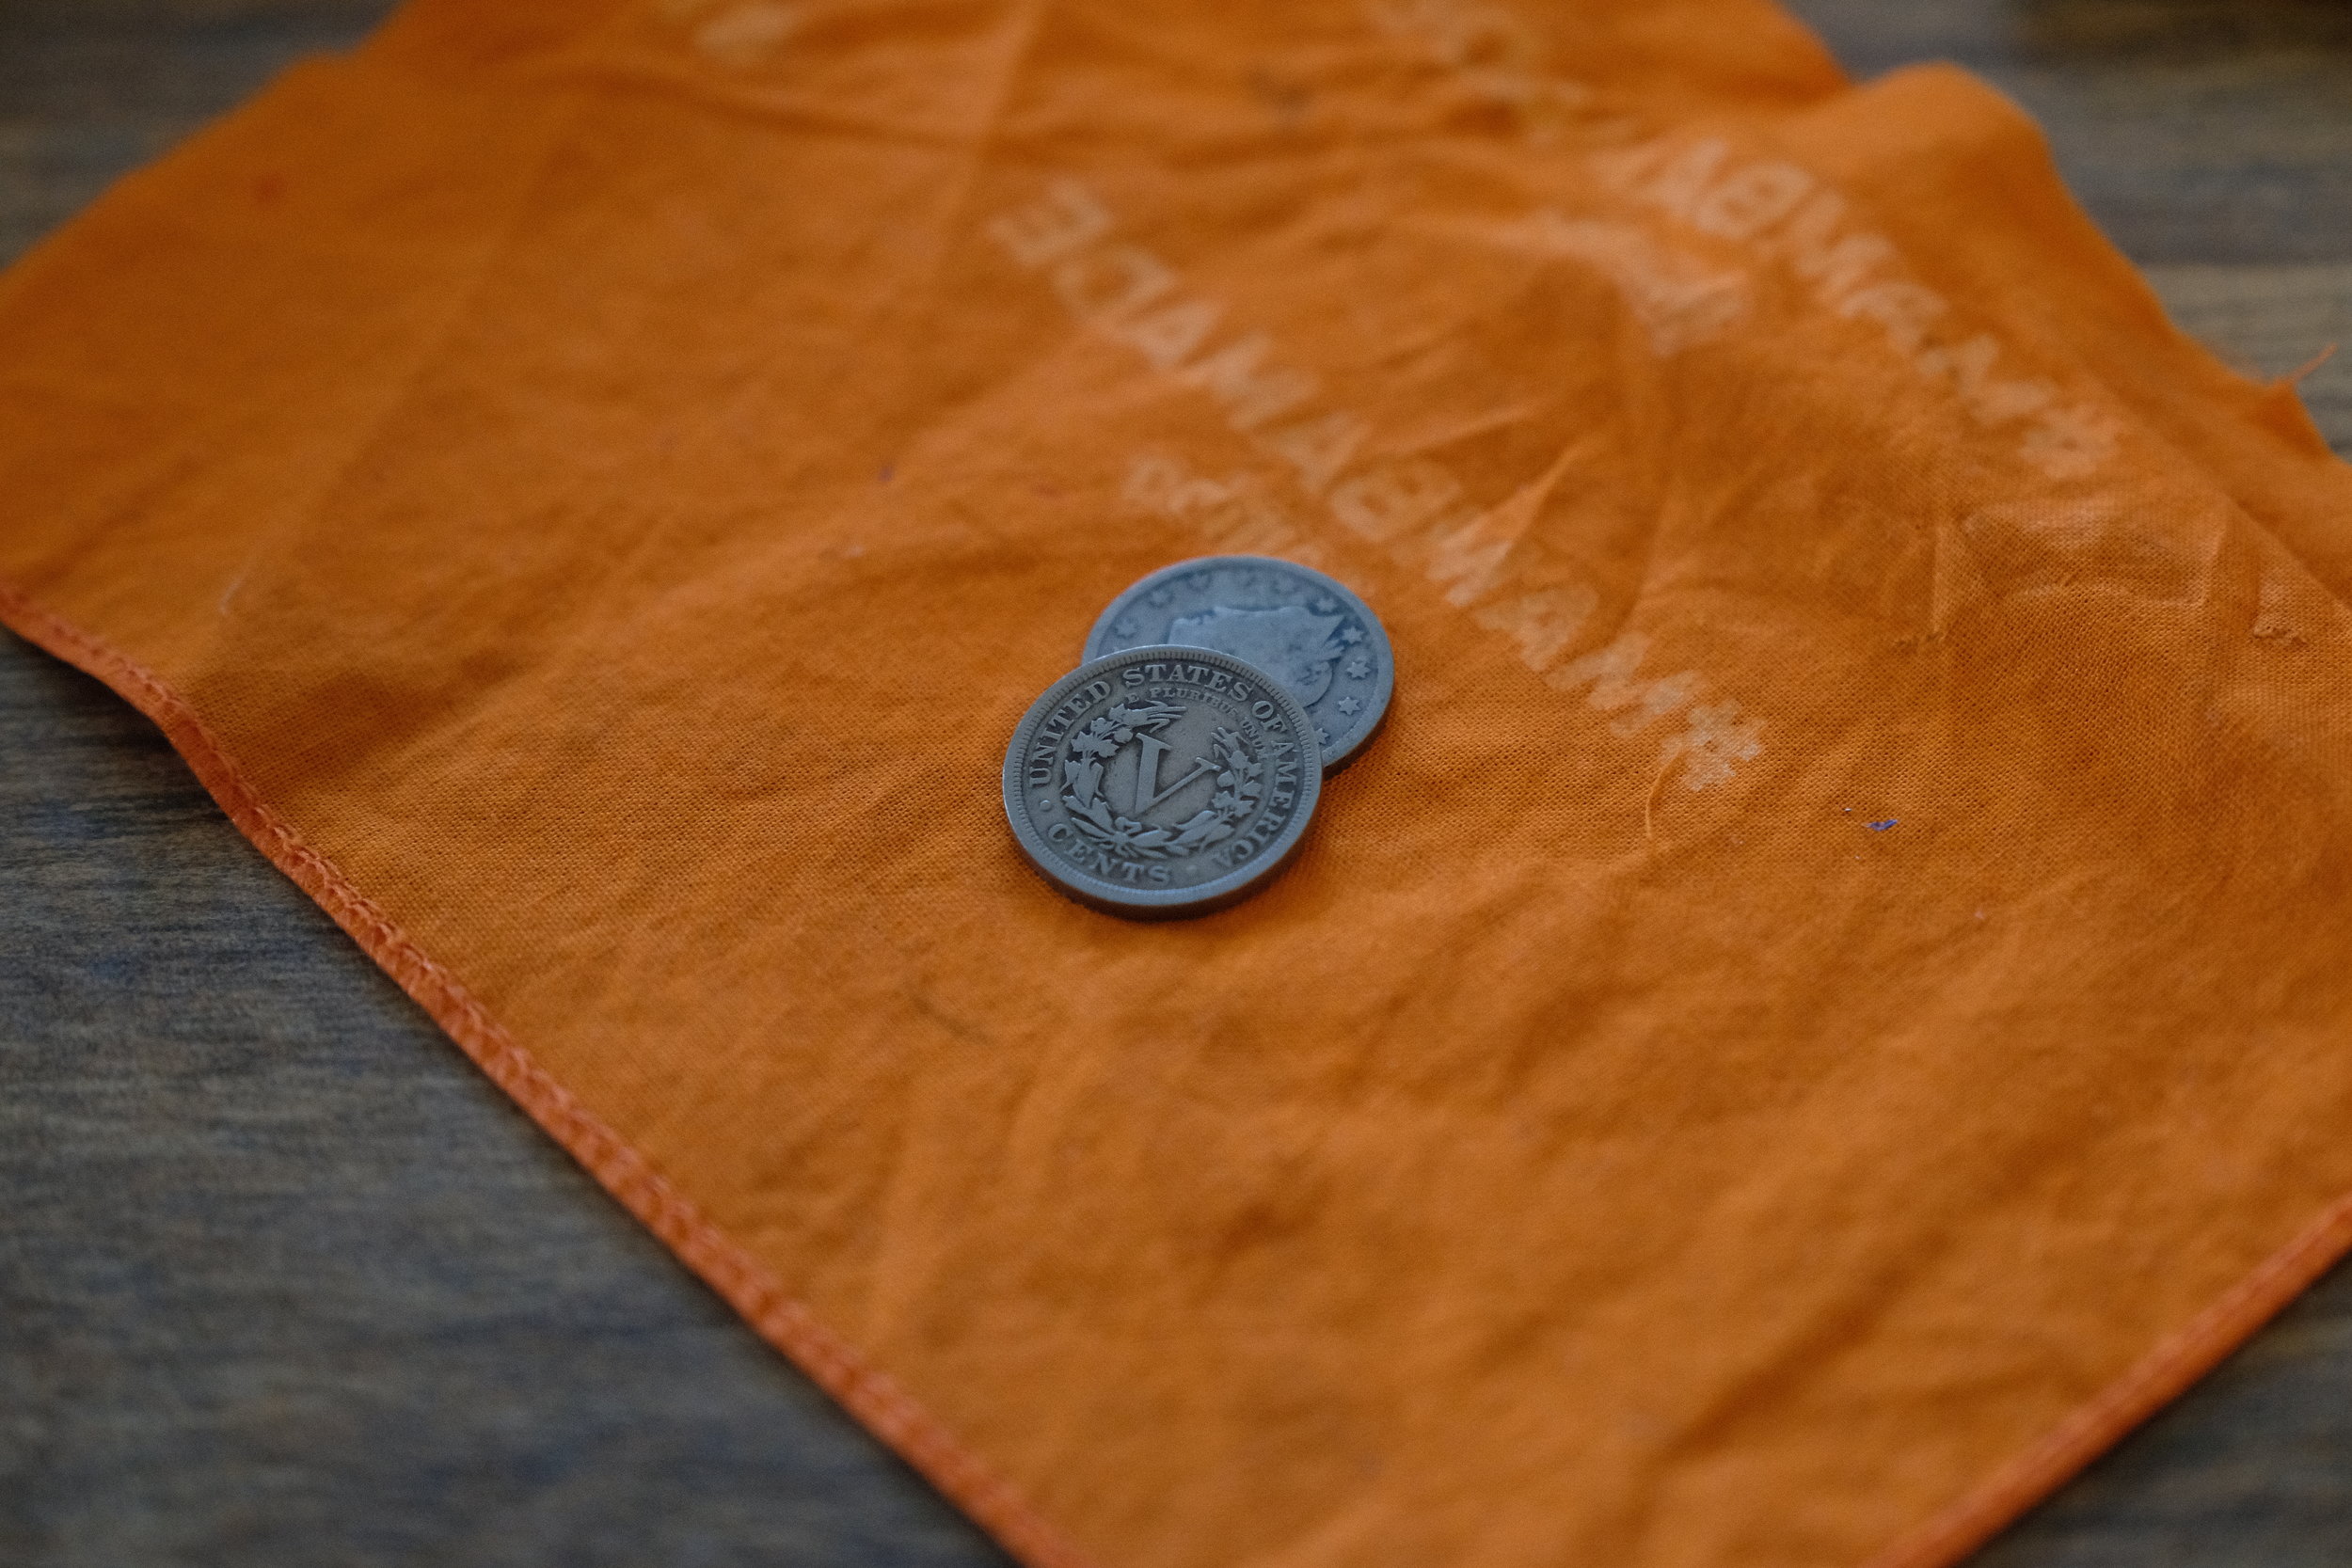
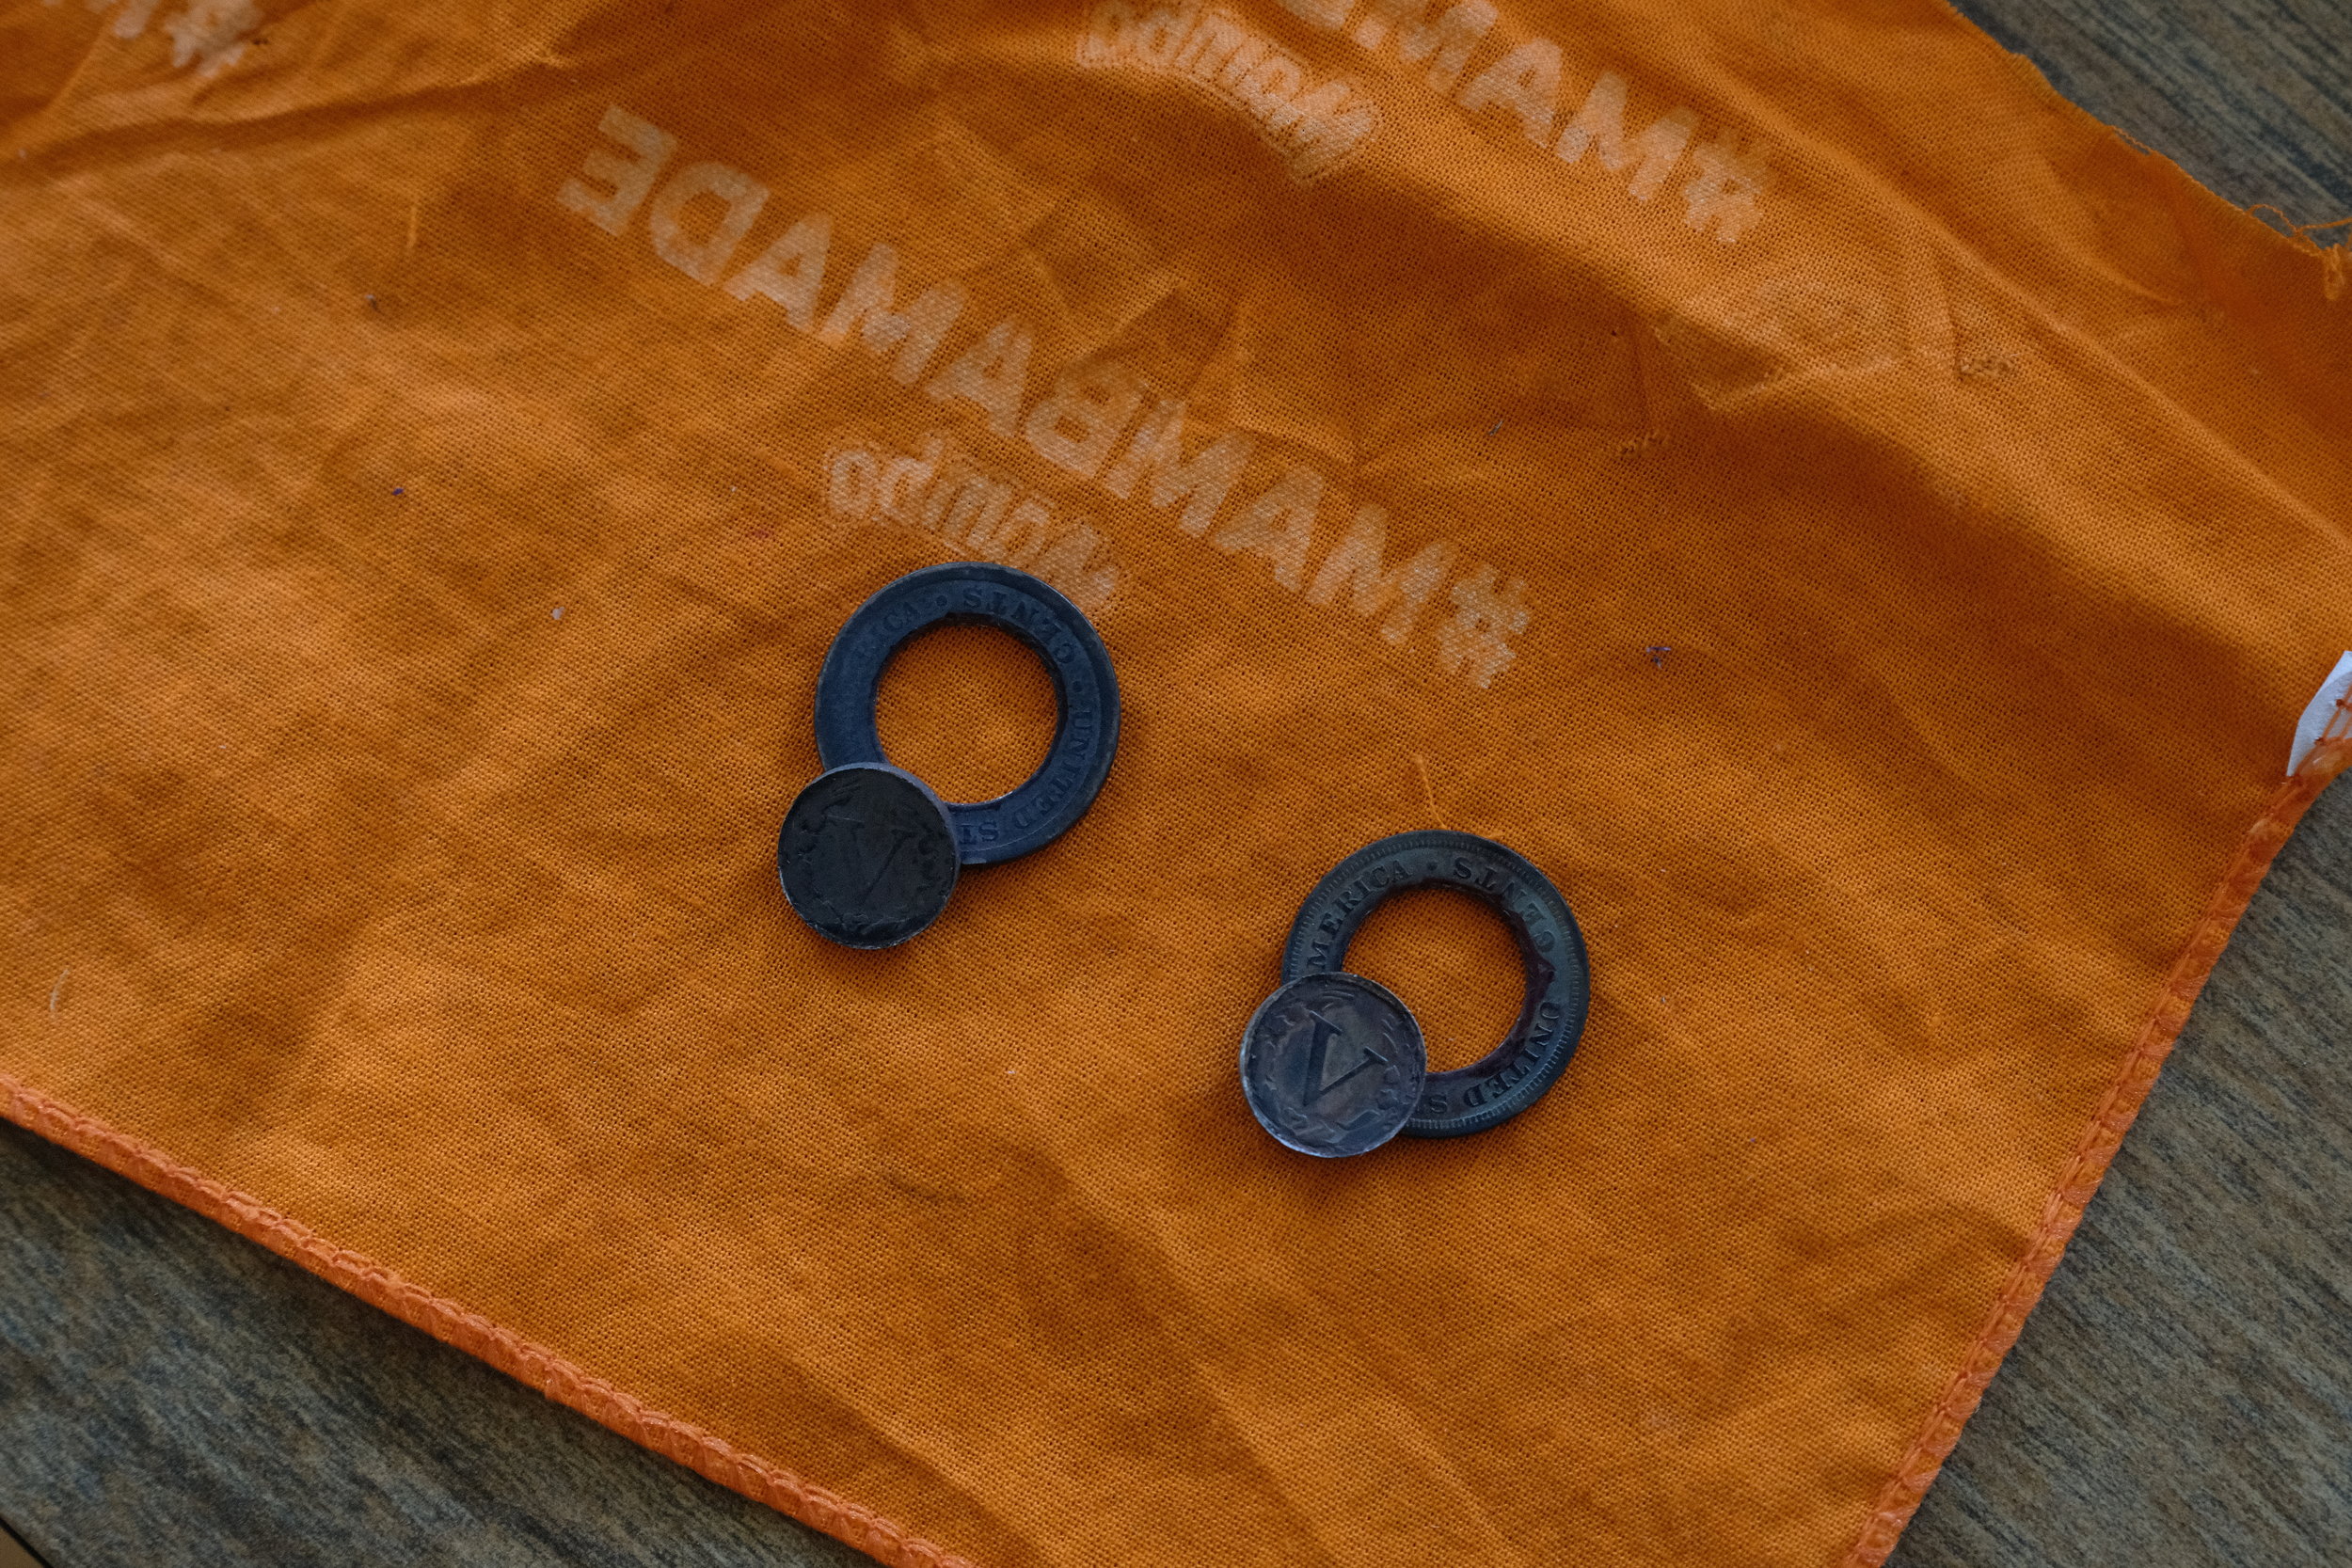
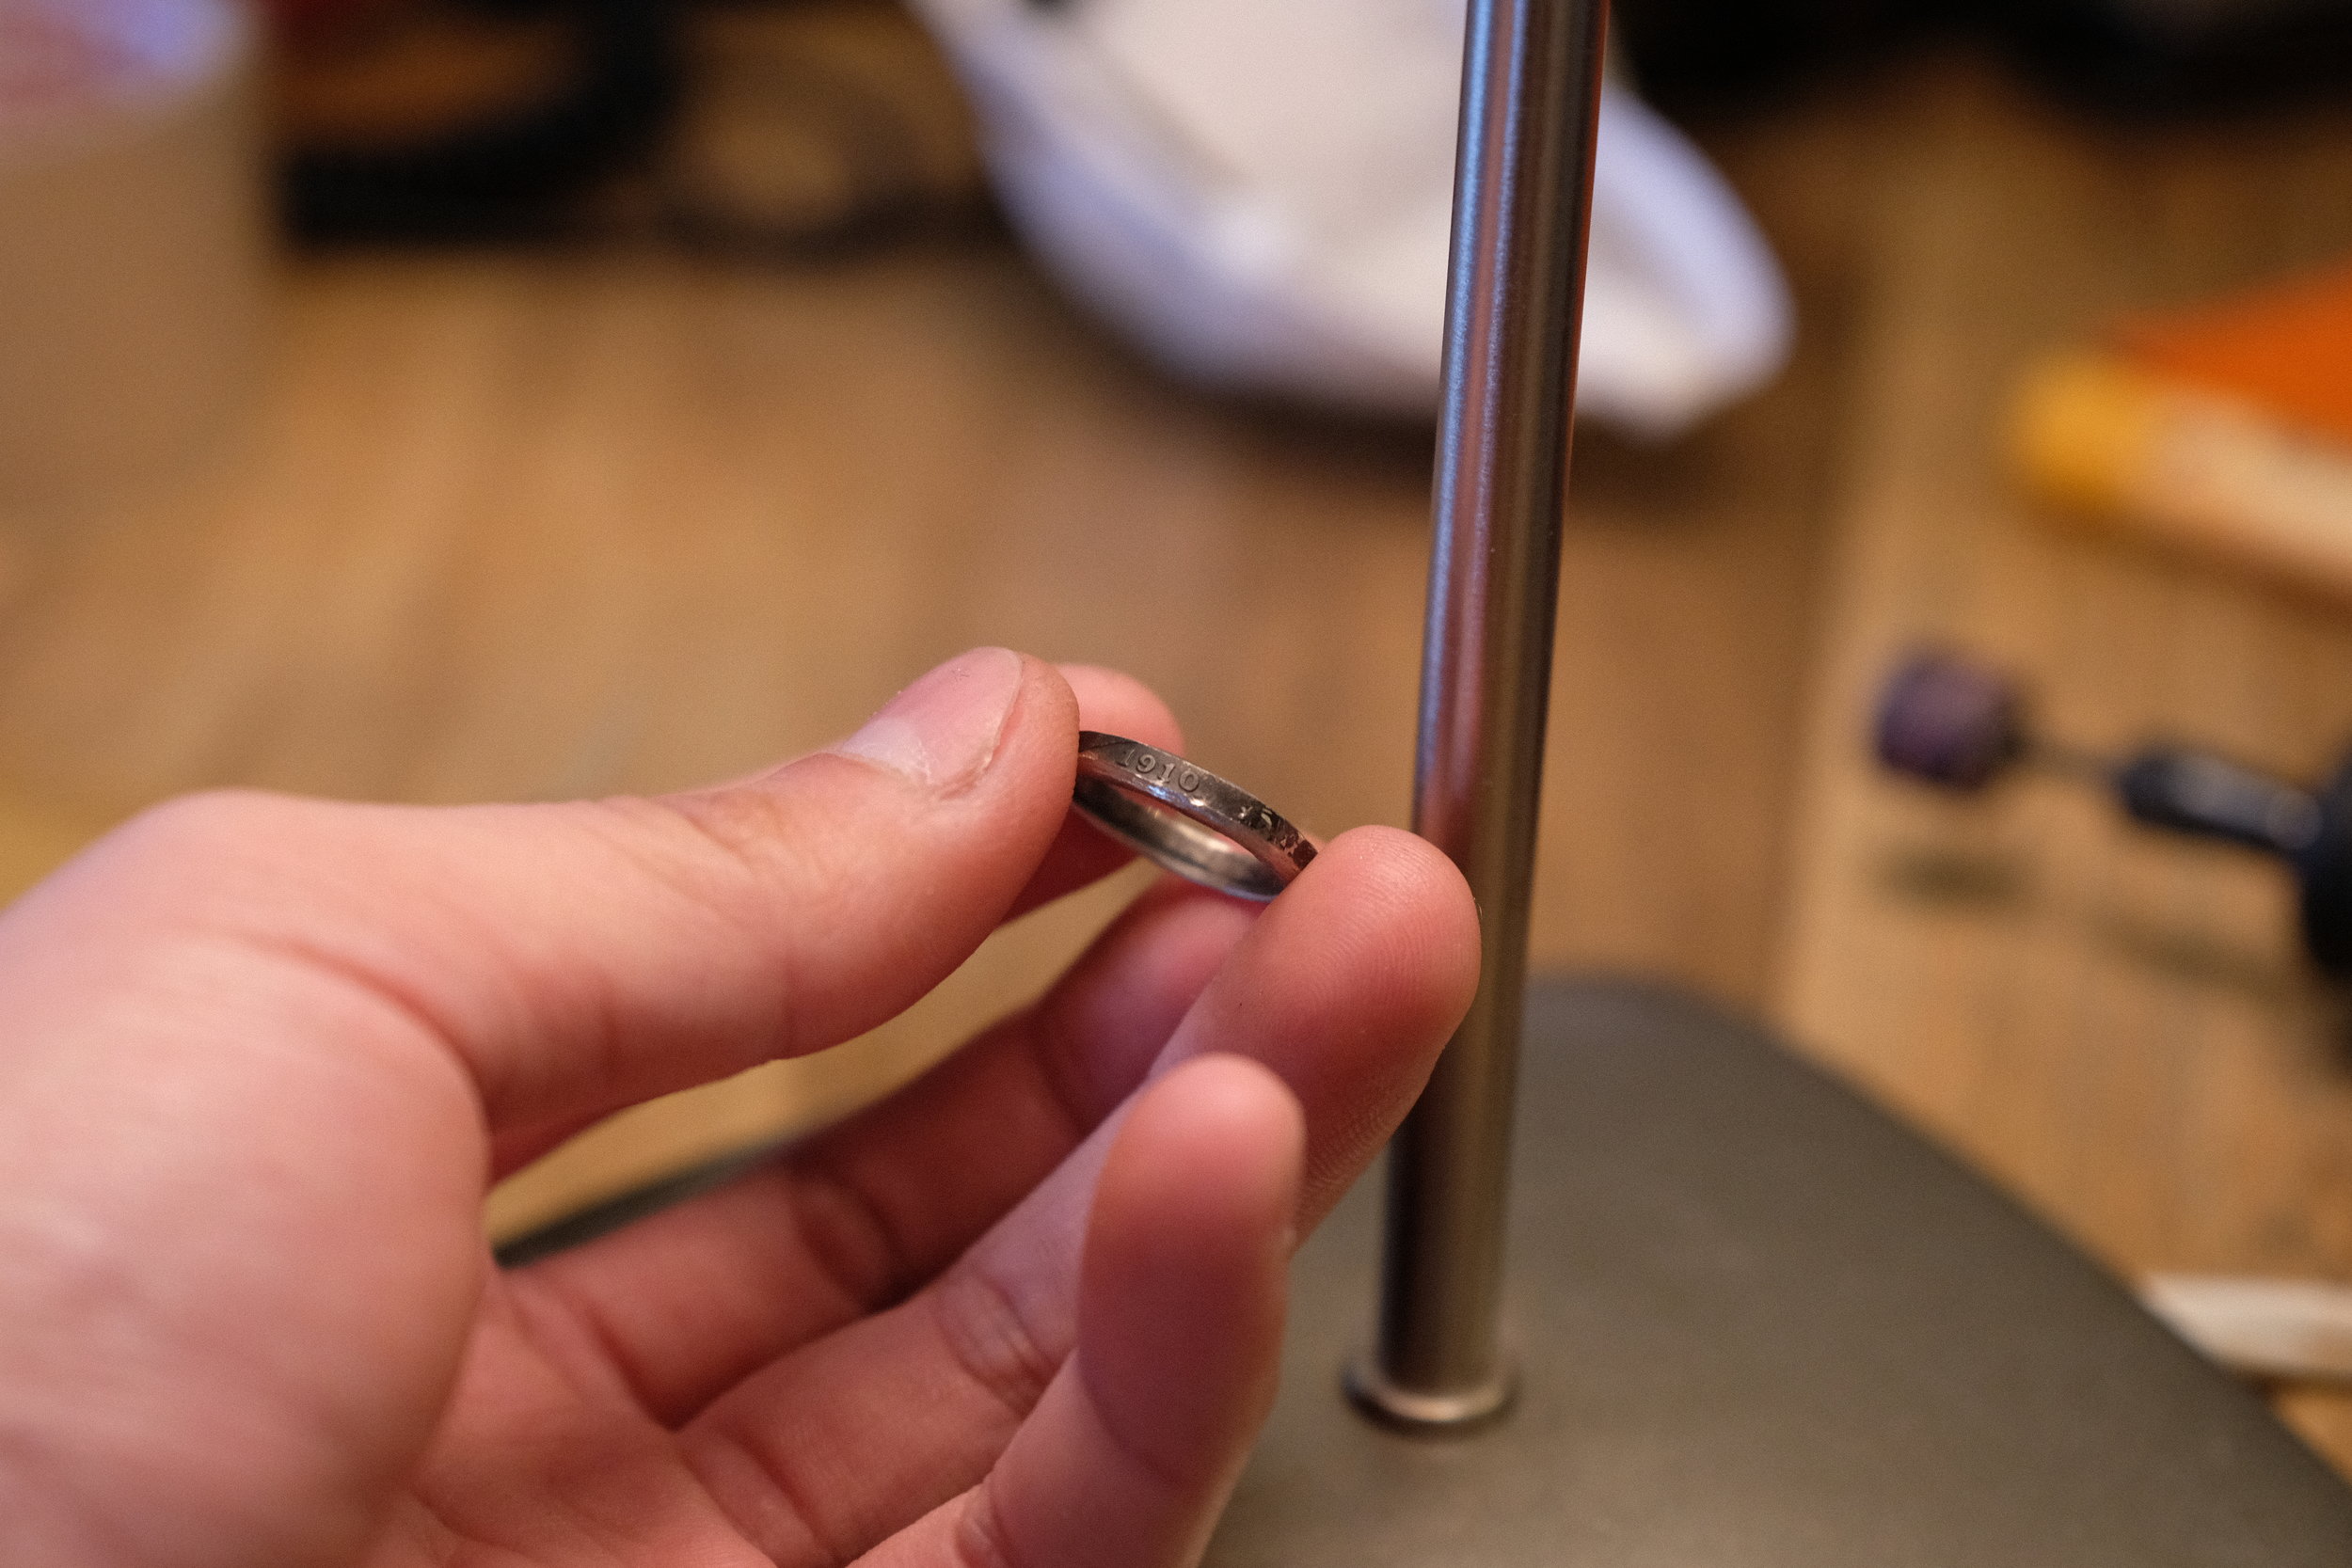
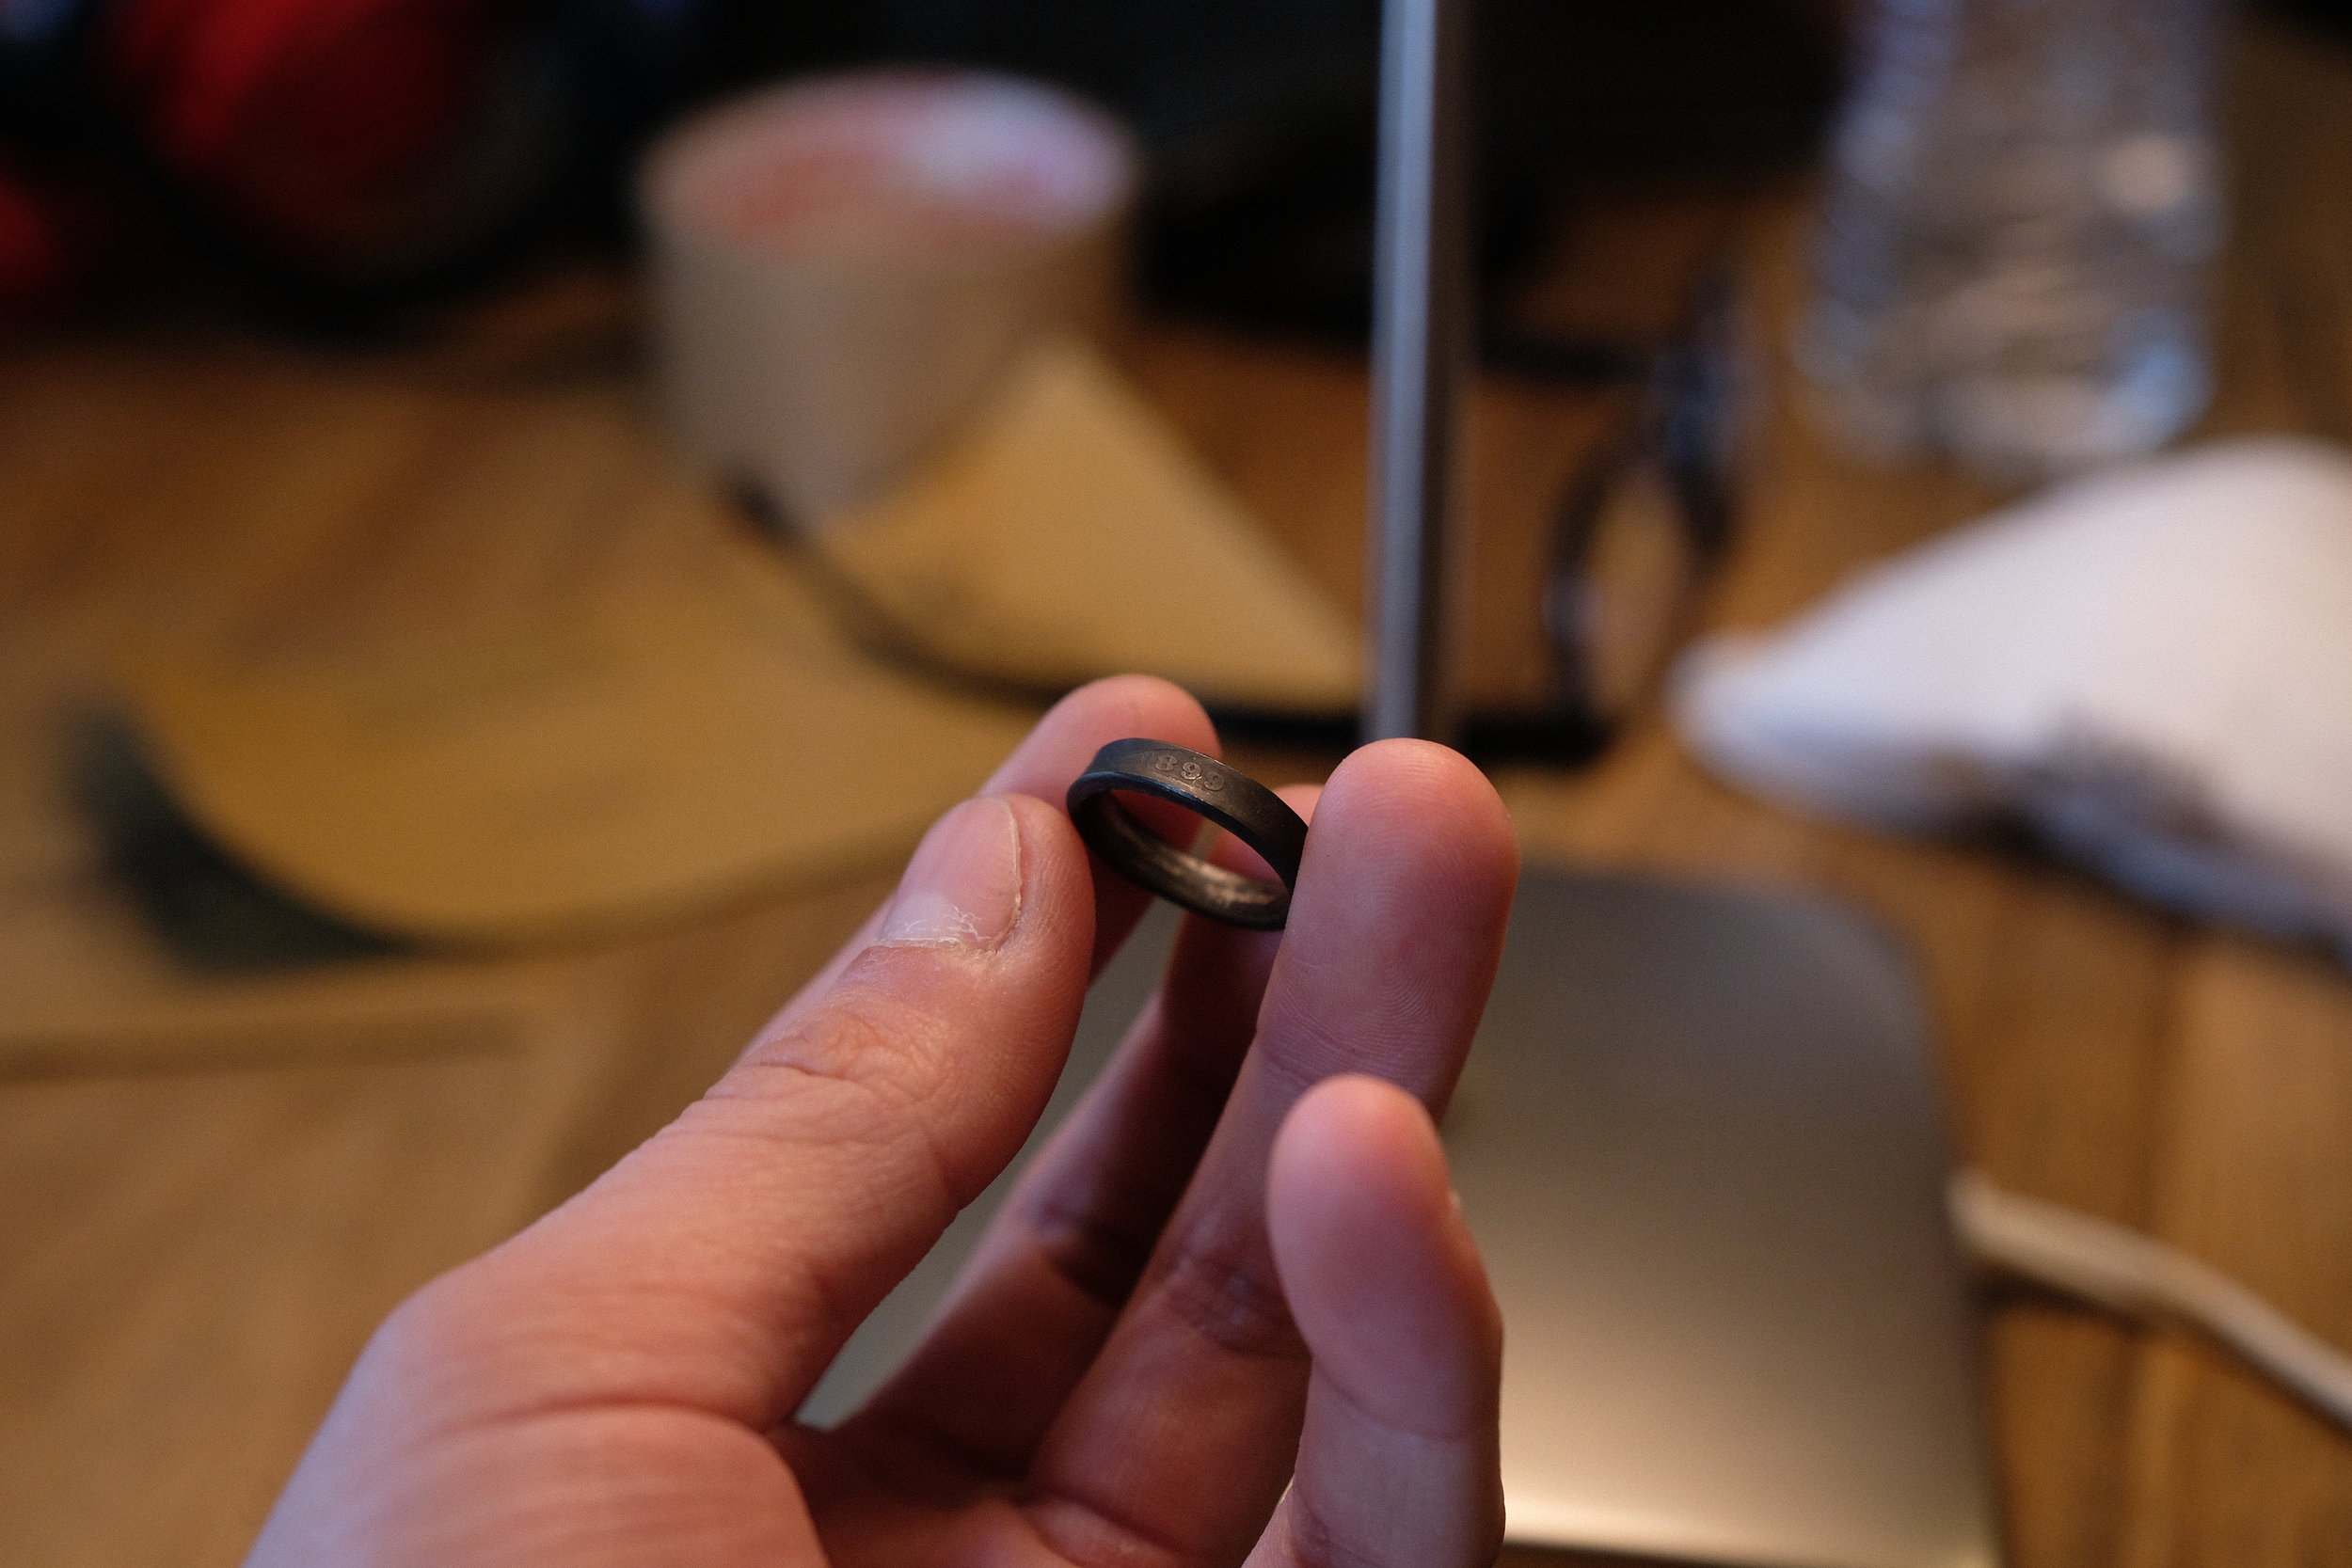
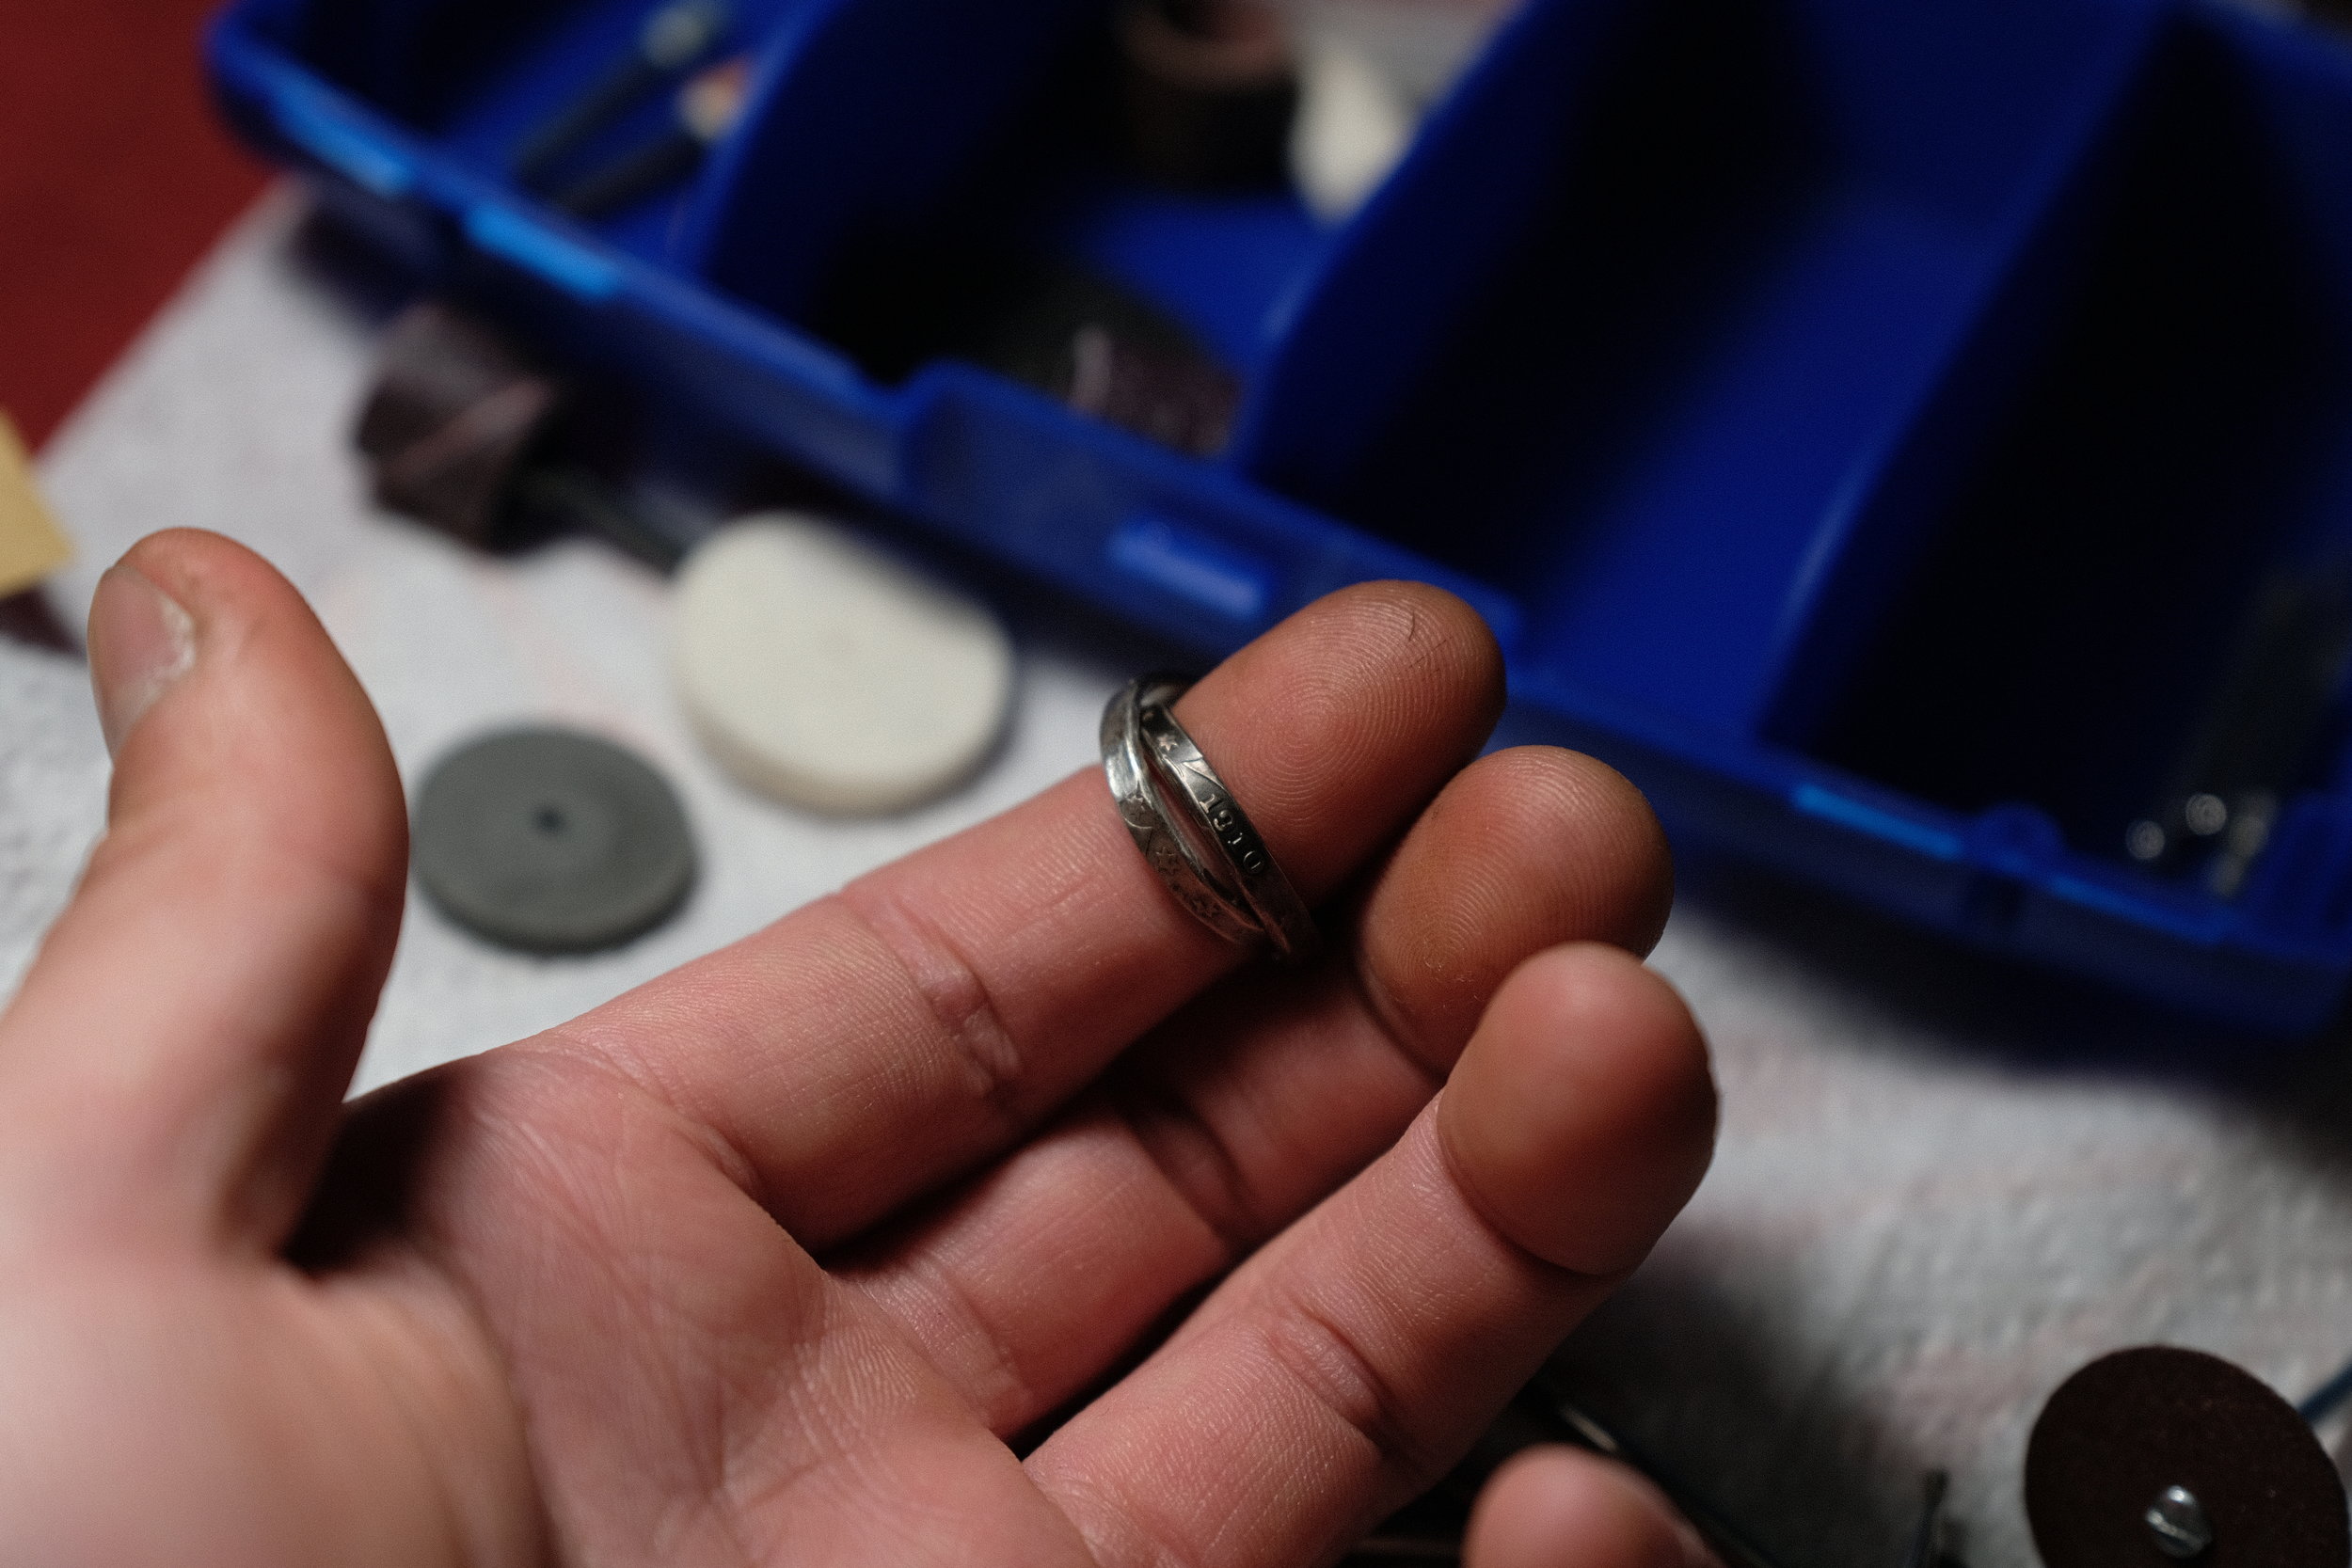
These are Liberty Head 'V' nickels from 1899 and 1910. Each is worth about $3.
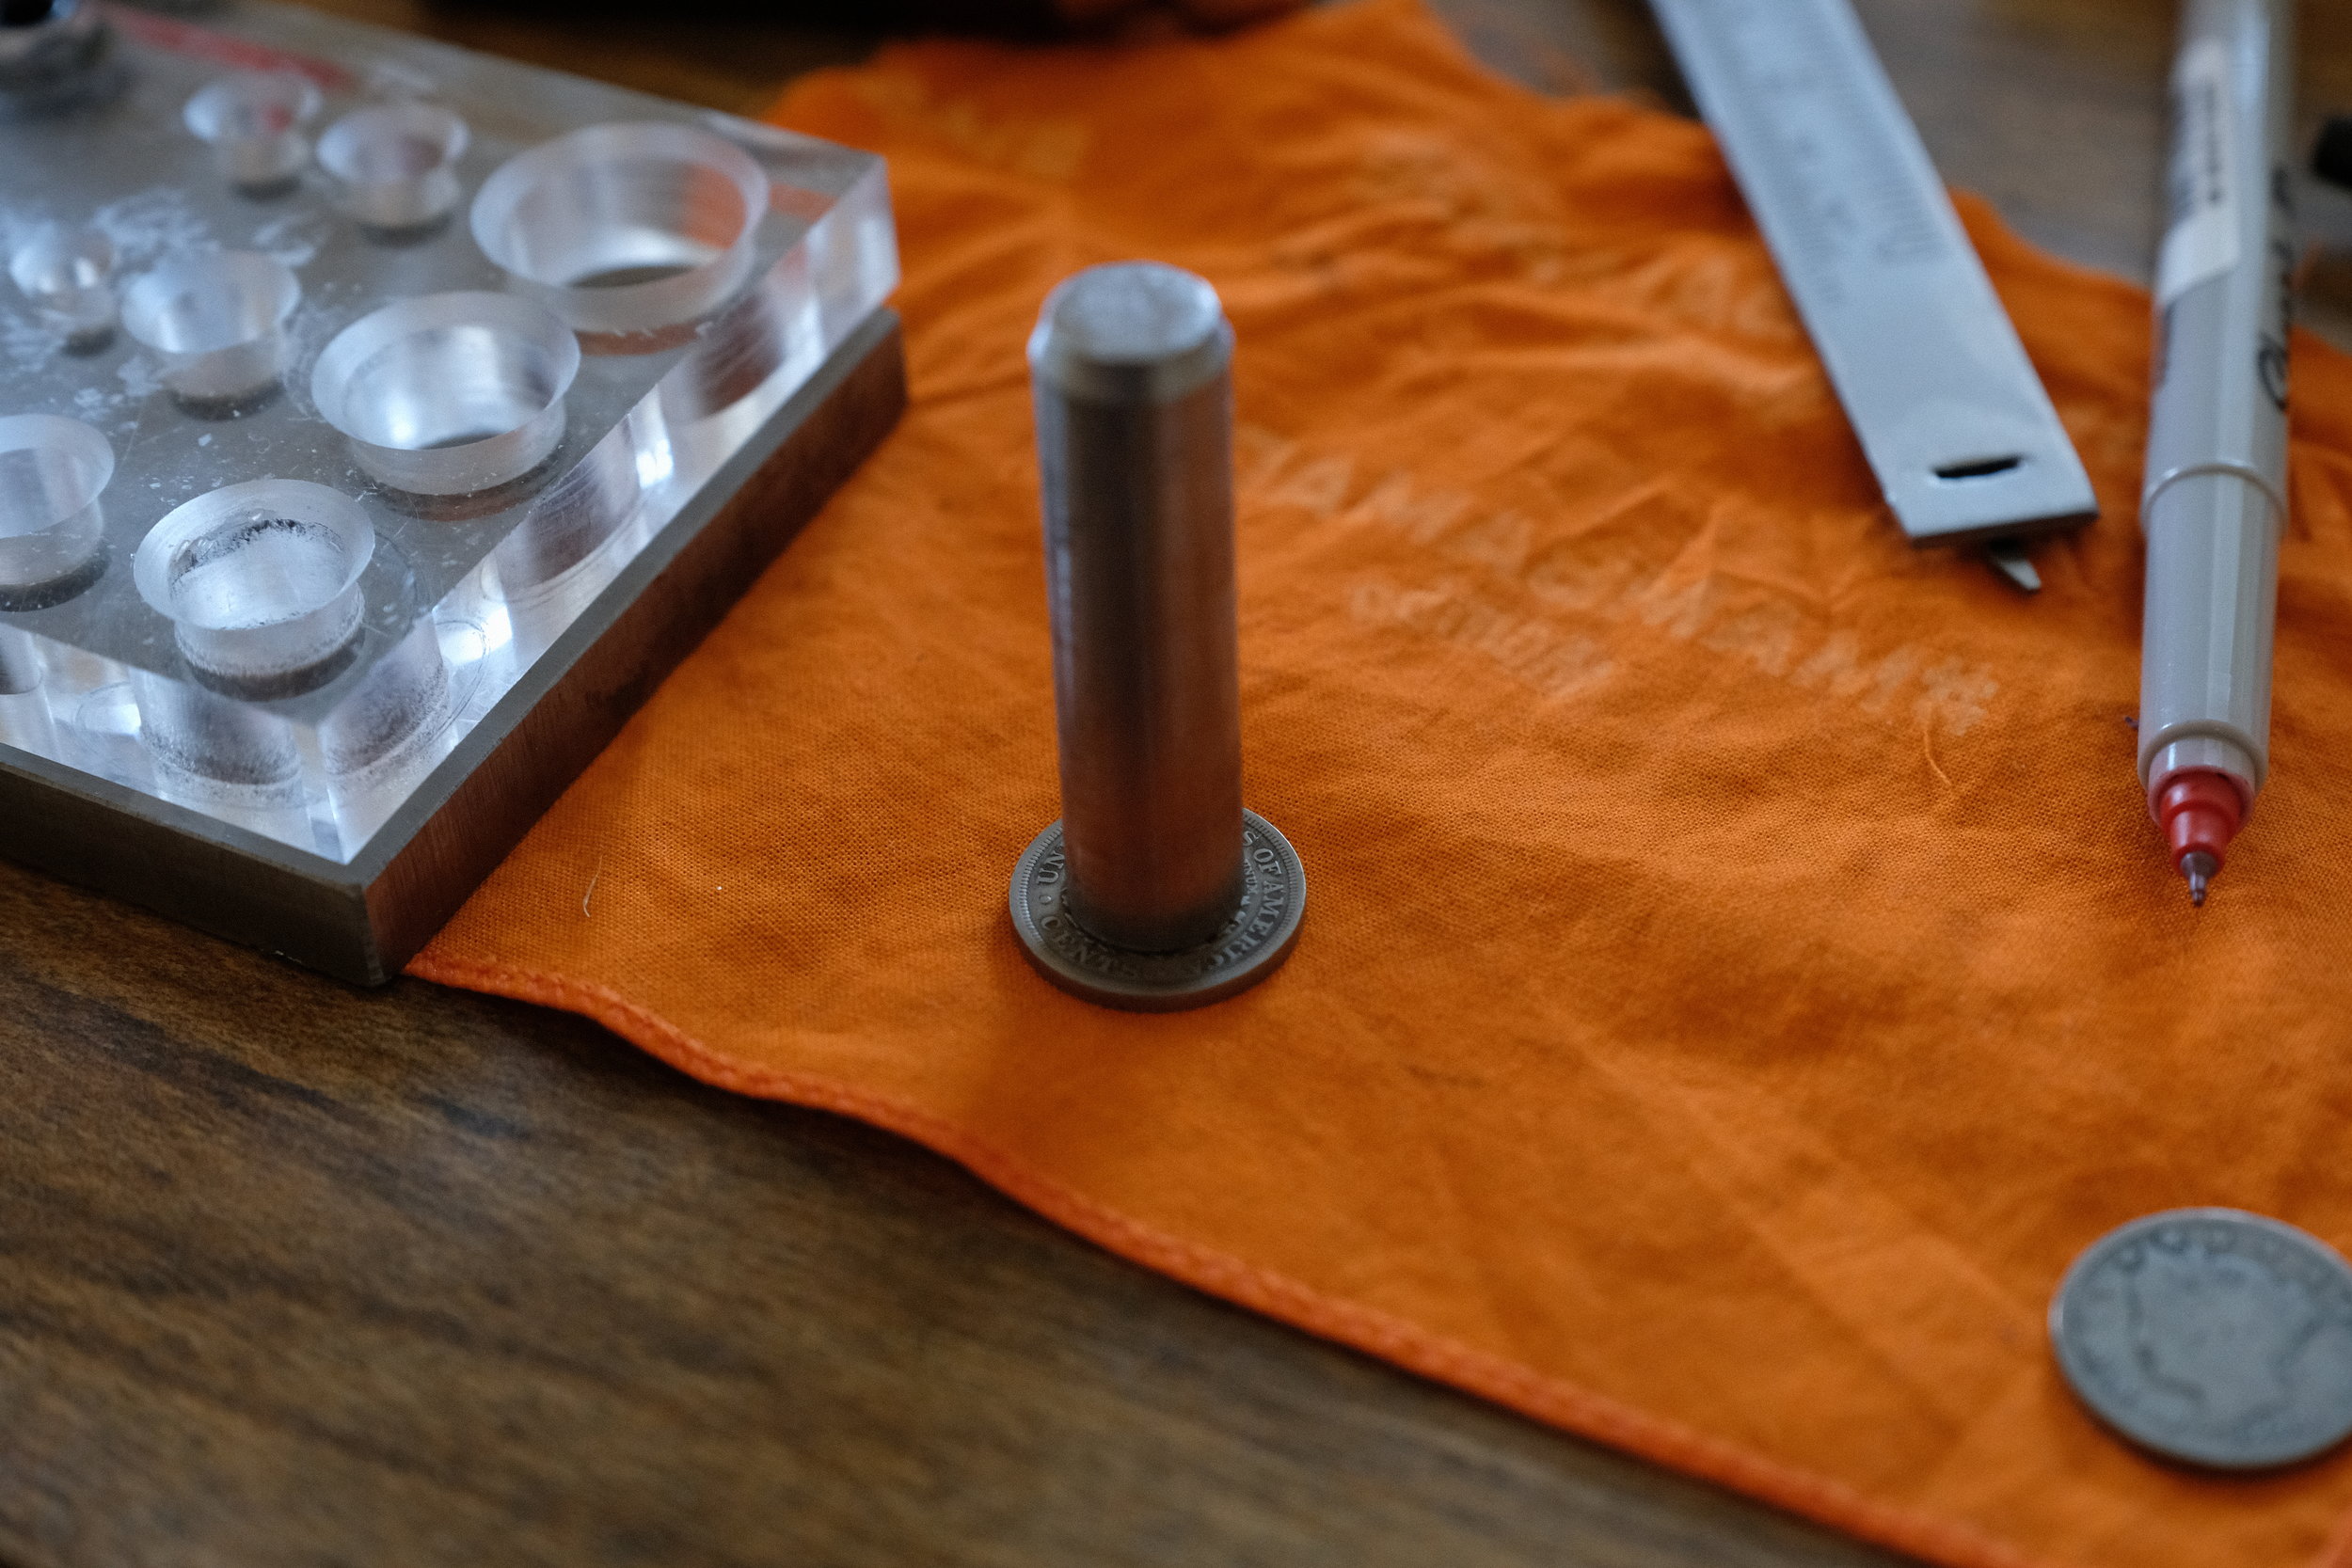
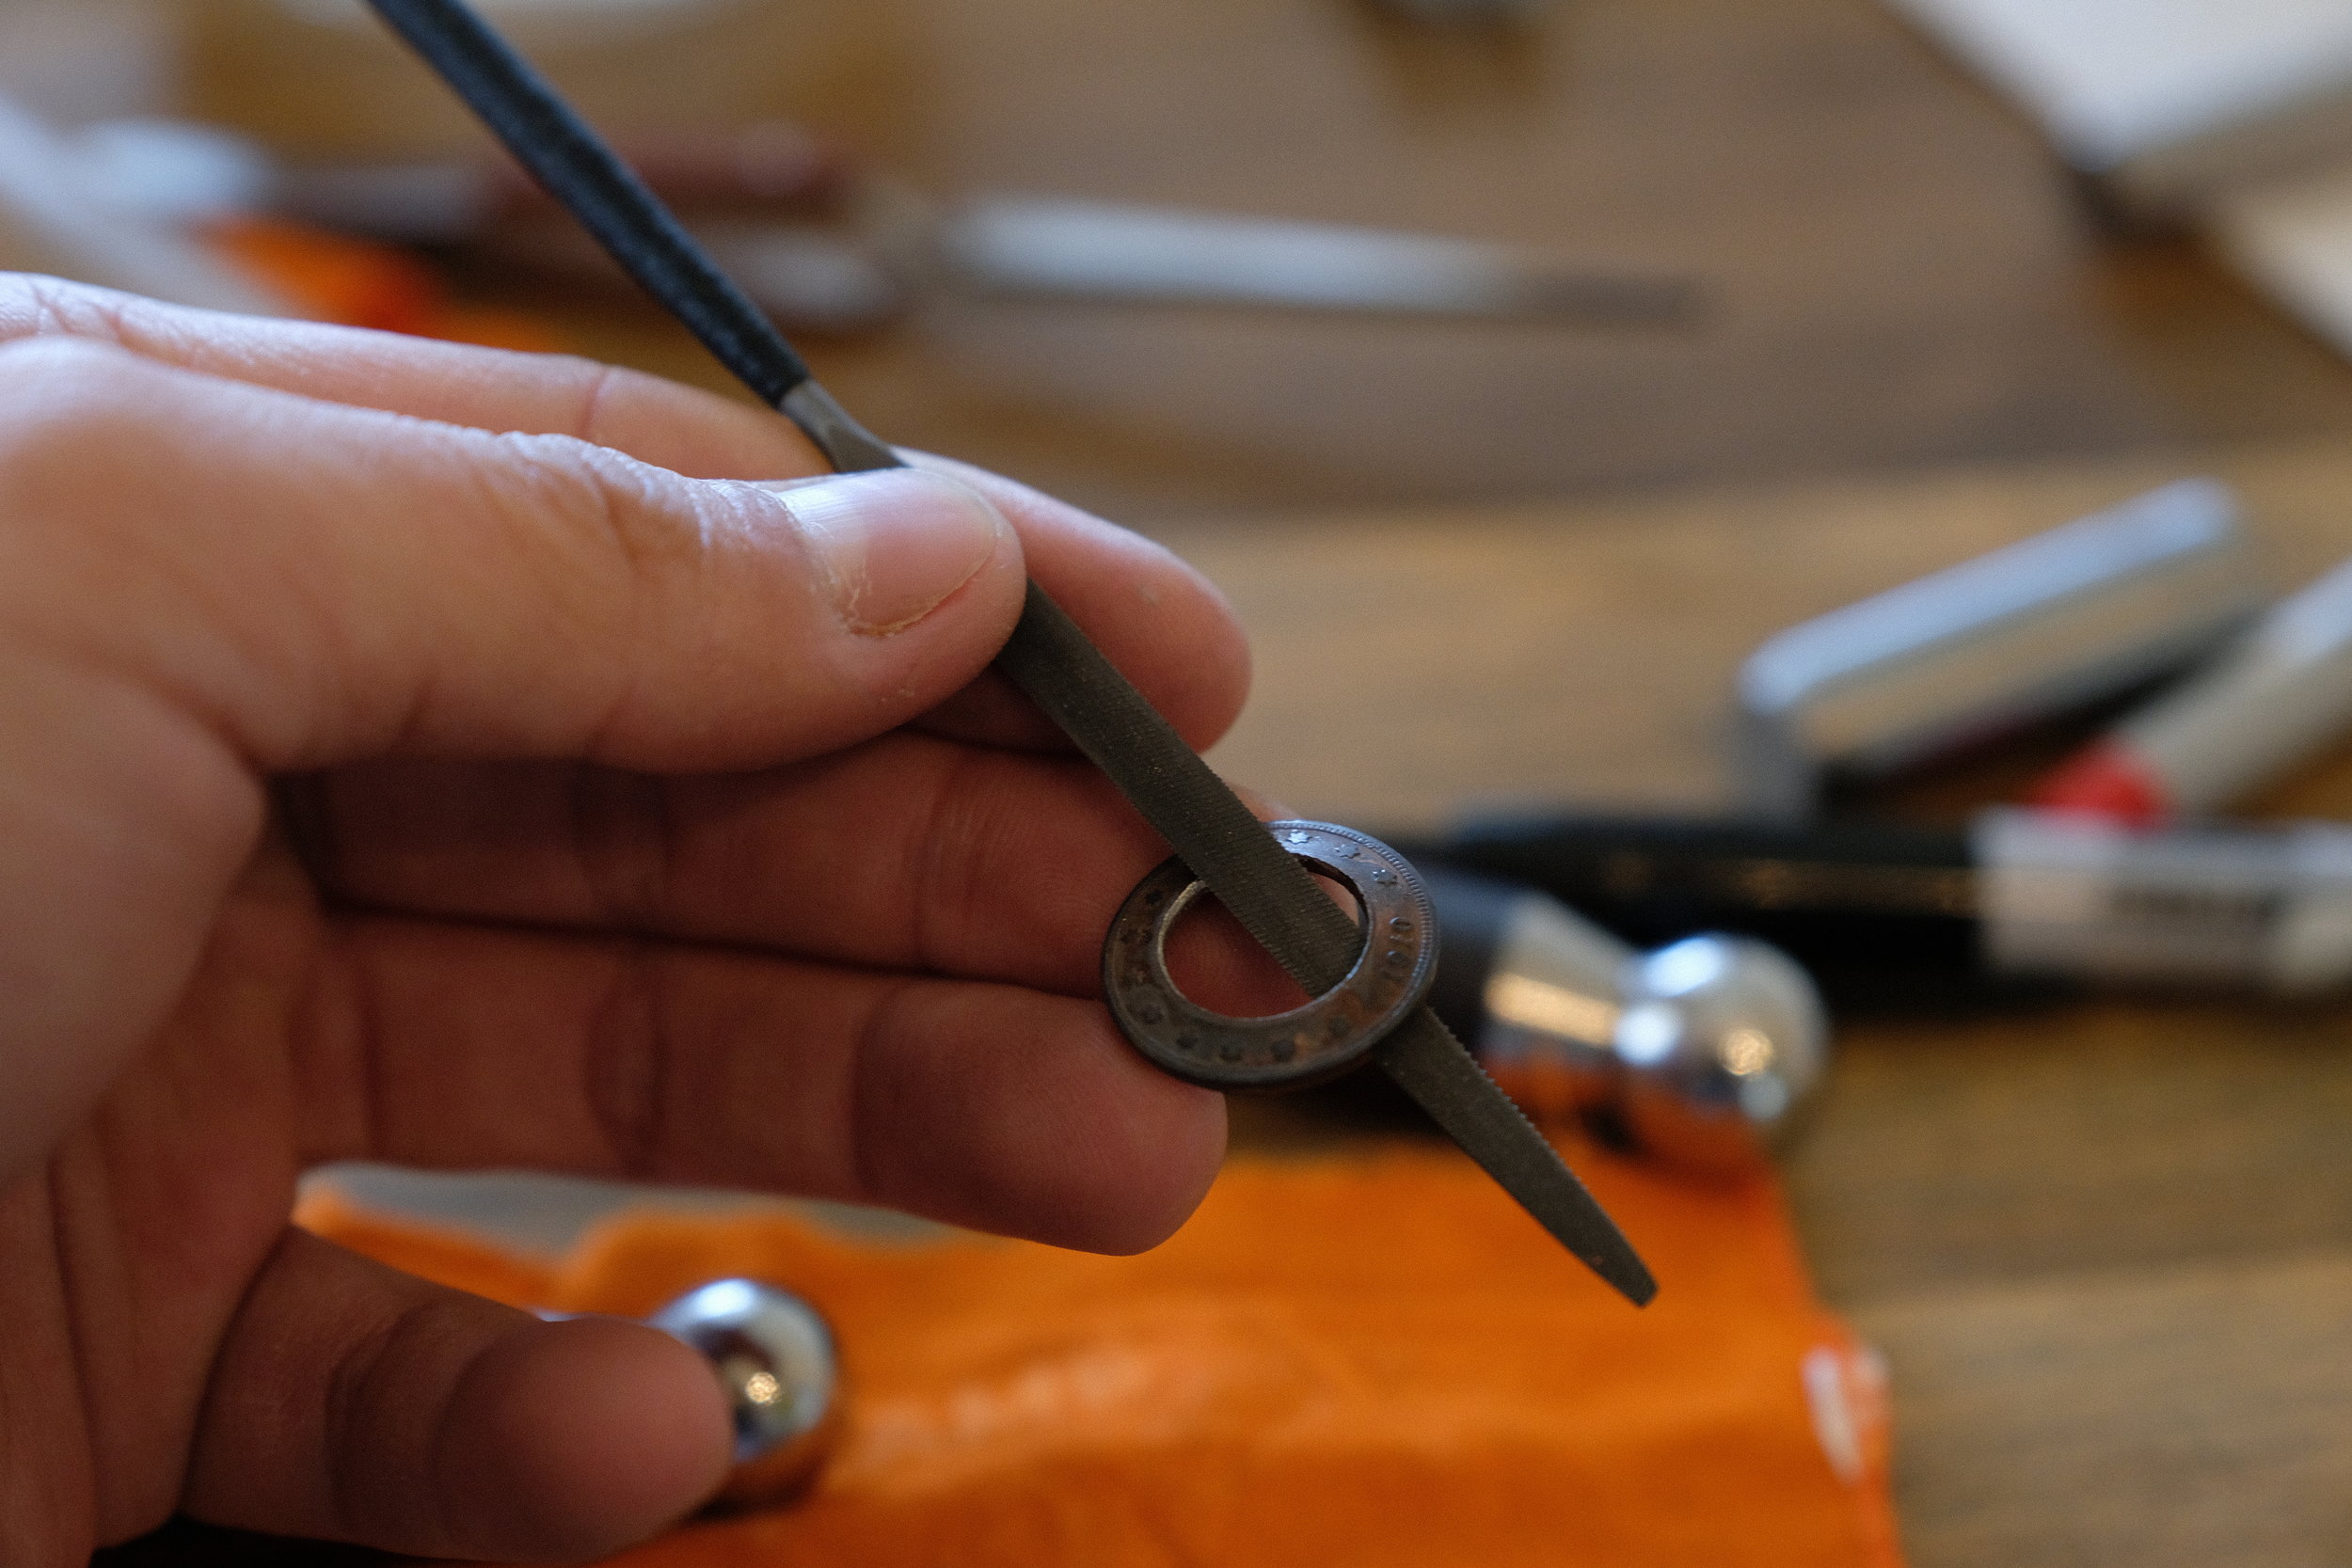
The hole in the coin needs to be as perfectly centered as possible. Tracing the punch will make it easier to center the coin on the die.
The coins must be annealed regularly to remain pliable. Annealing is the process whereby metals are heated to a dull glow, then quickly quenched in water; rapidly cooling the metal changes its crystalline structure and makes it softer. I will repeat this process many times throughout.
The coin is annealed and centered as well as possible. If it is off by more than half a millimeter, the ring will come out misshapen. Fingers crossed...
The punch is struck through the coin and die. Brute force is undesirable but necessary, as I have no ability to make a custom coin punch.
Each strike was felt in my numismatist's heart, and piercing these coins was acutely saddening. But all good things require sacrifice.
Filing the inner edge de-burrs and helps prevent cracking later on.
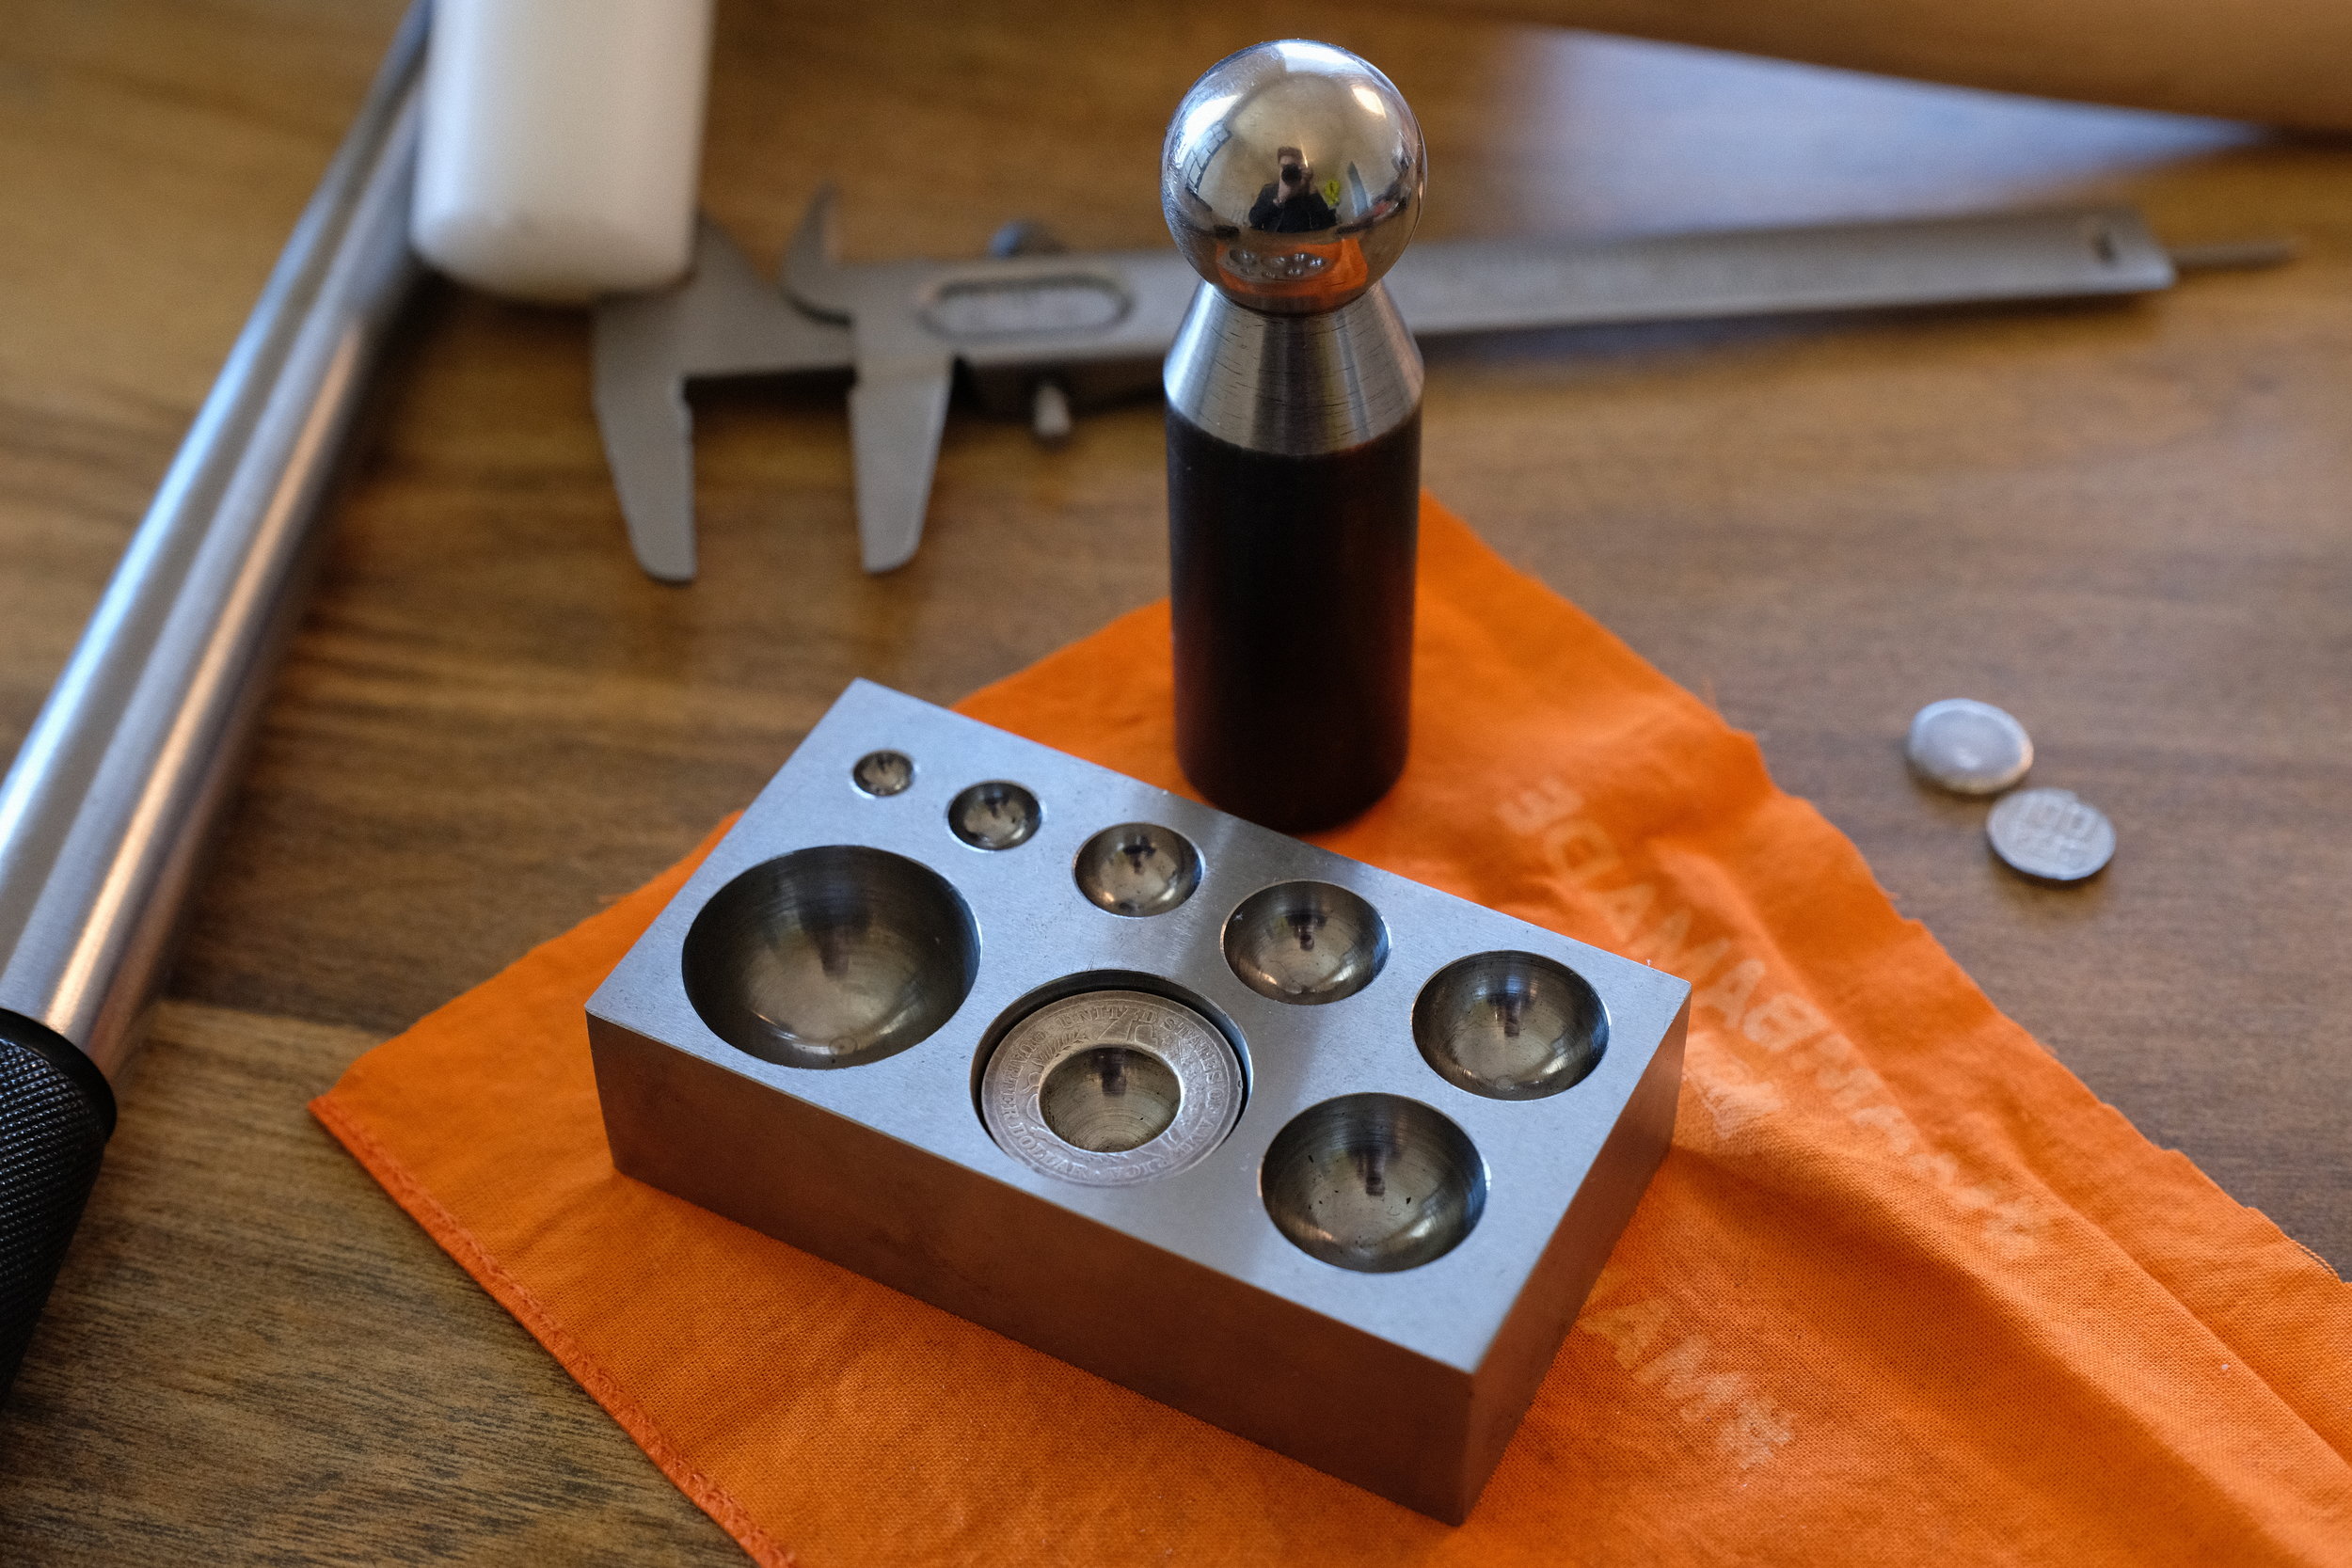
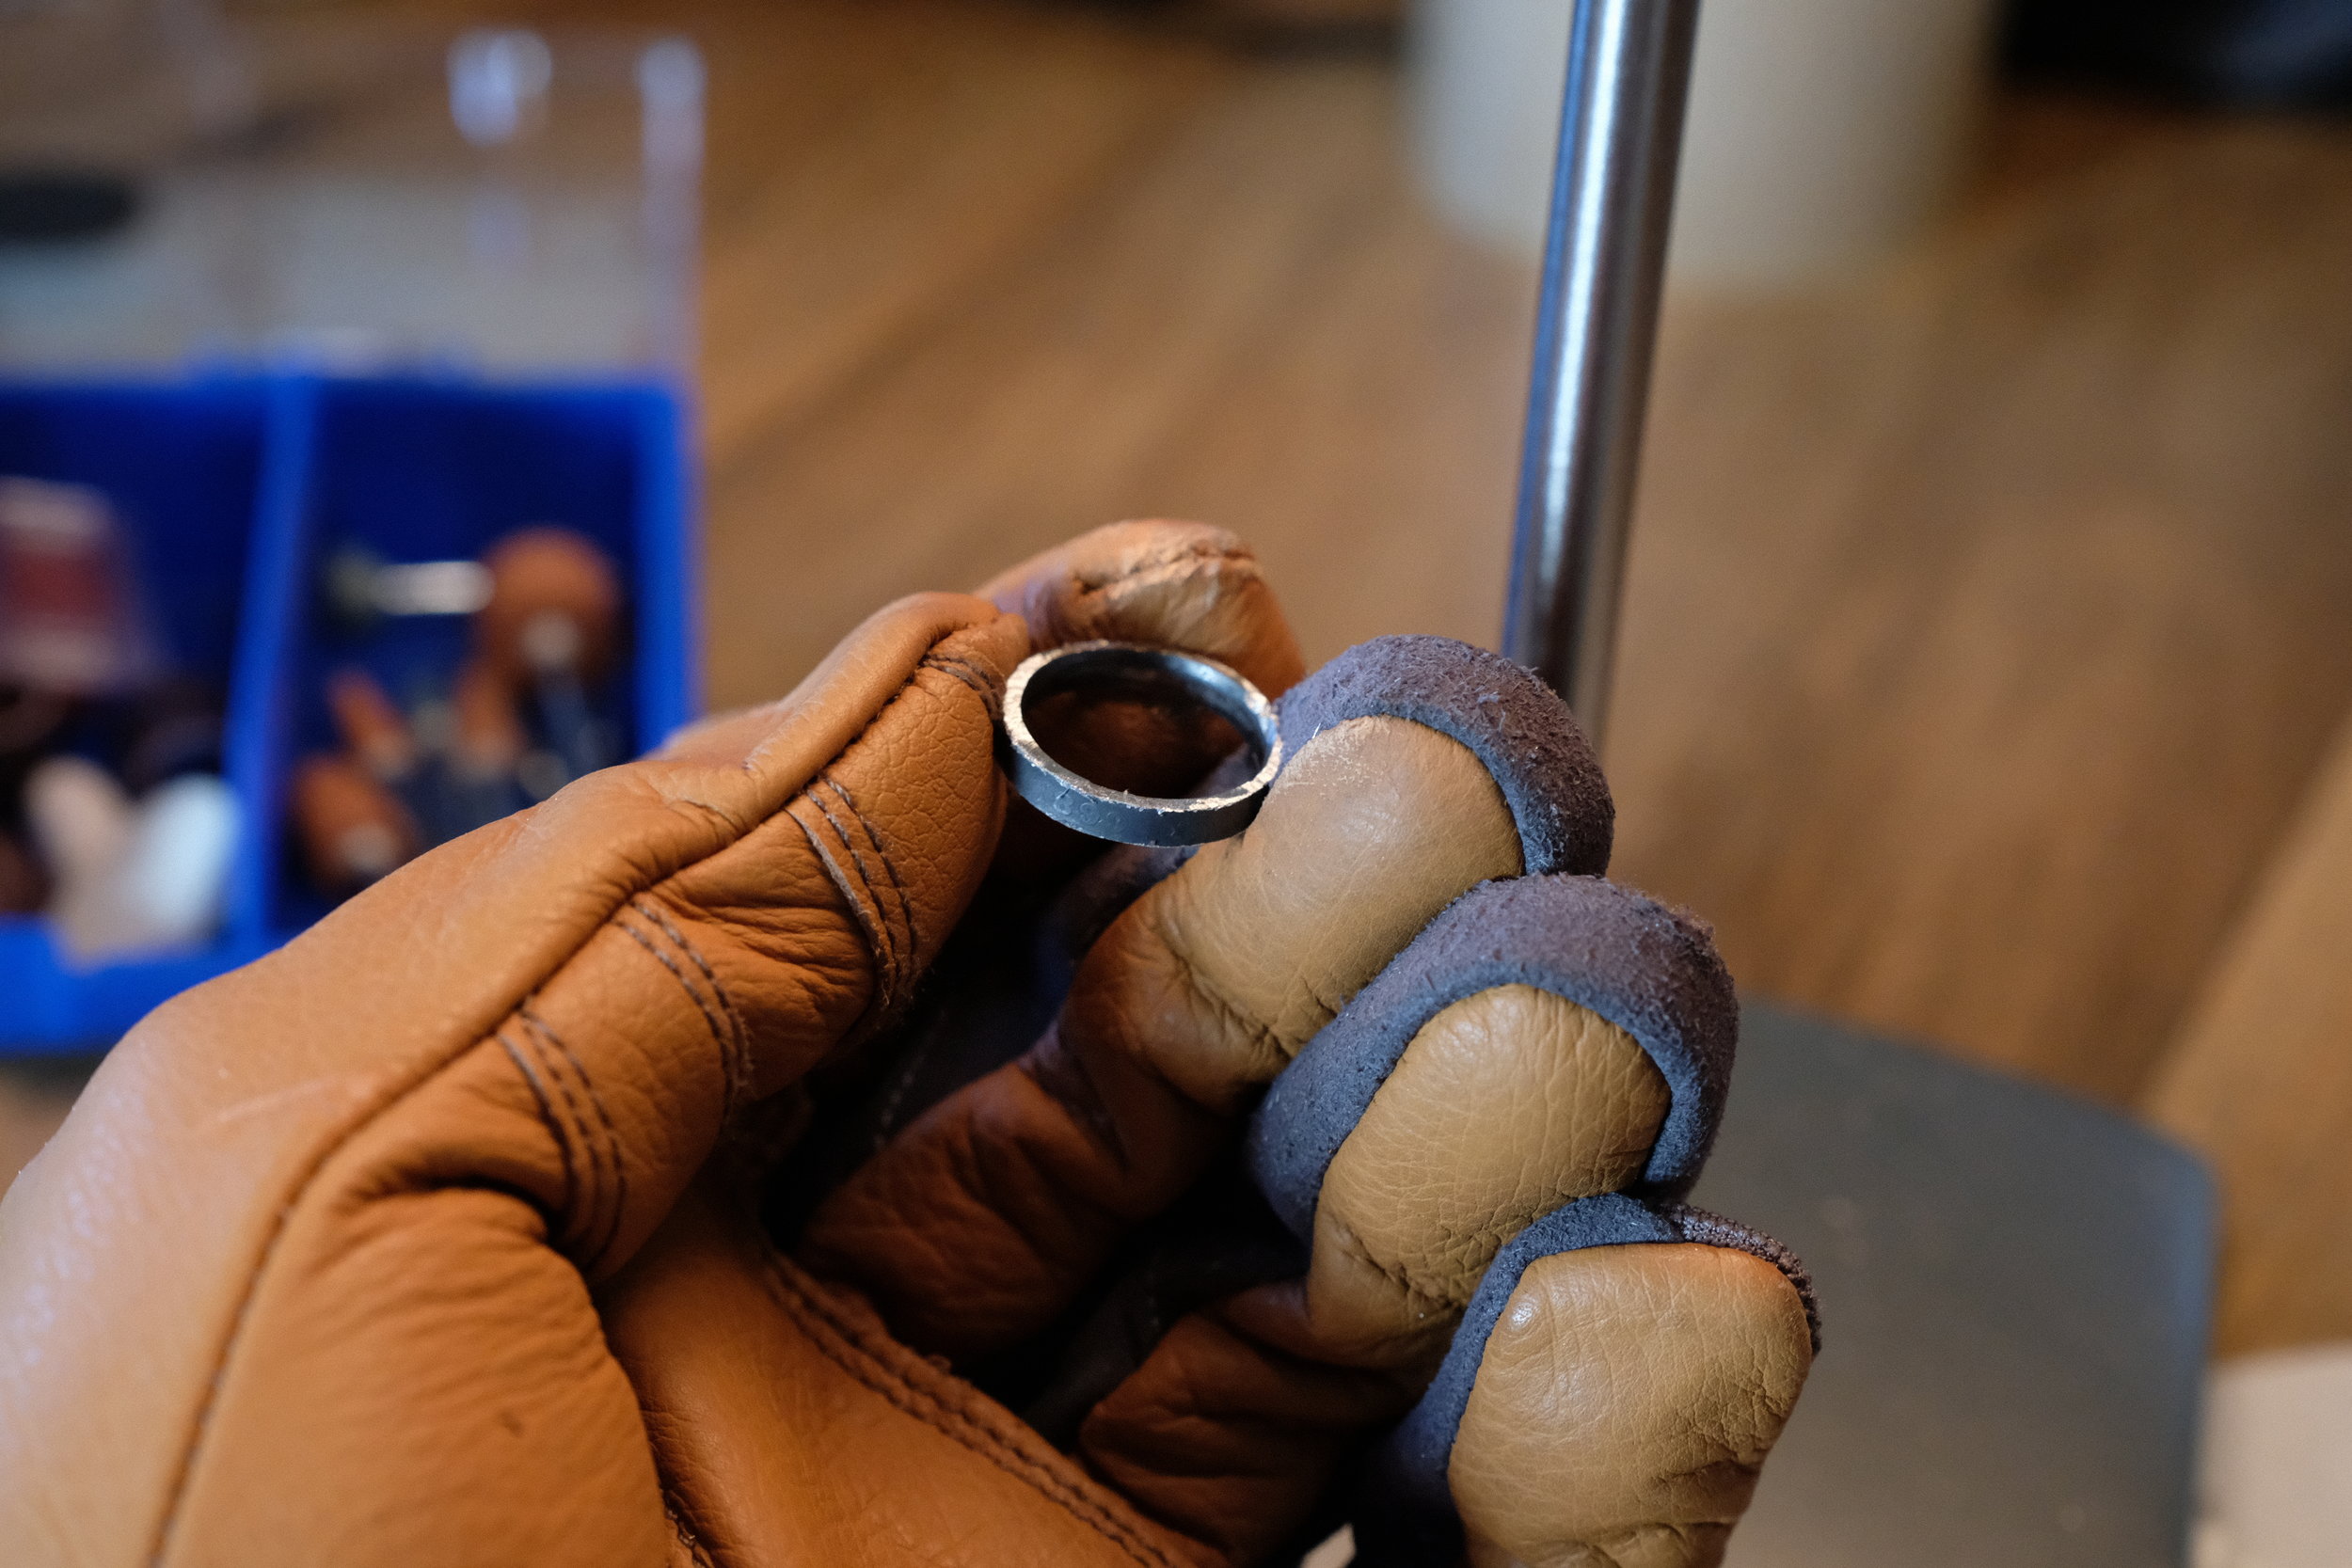
The coin-donut is placed in the dapping block to taper the ring-to-be. The side that will face out goes down.
Extreme care must be taken to center the coin. Any unevenness in the taper will be greatly amplified as the metal is hammered into a ring.
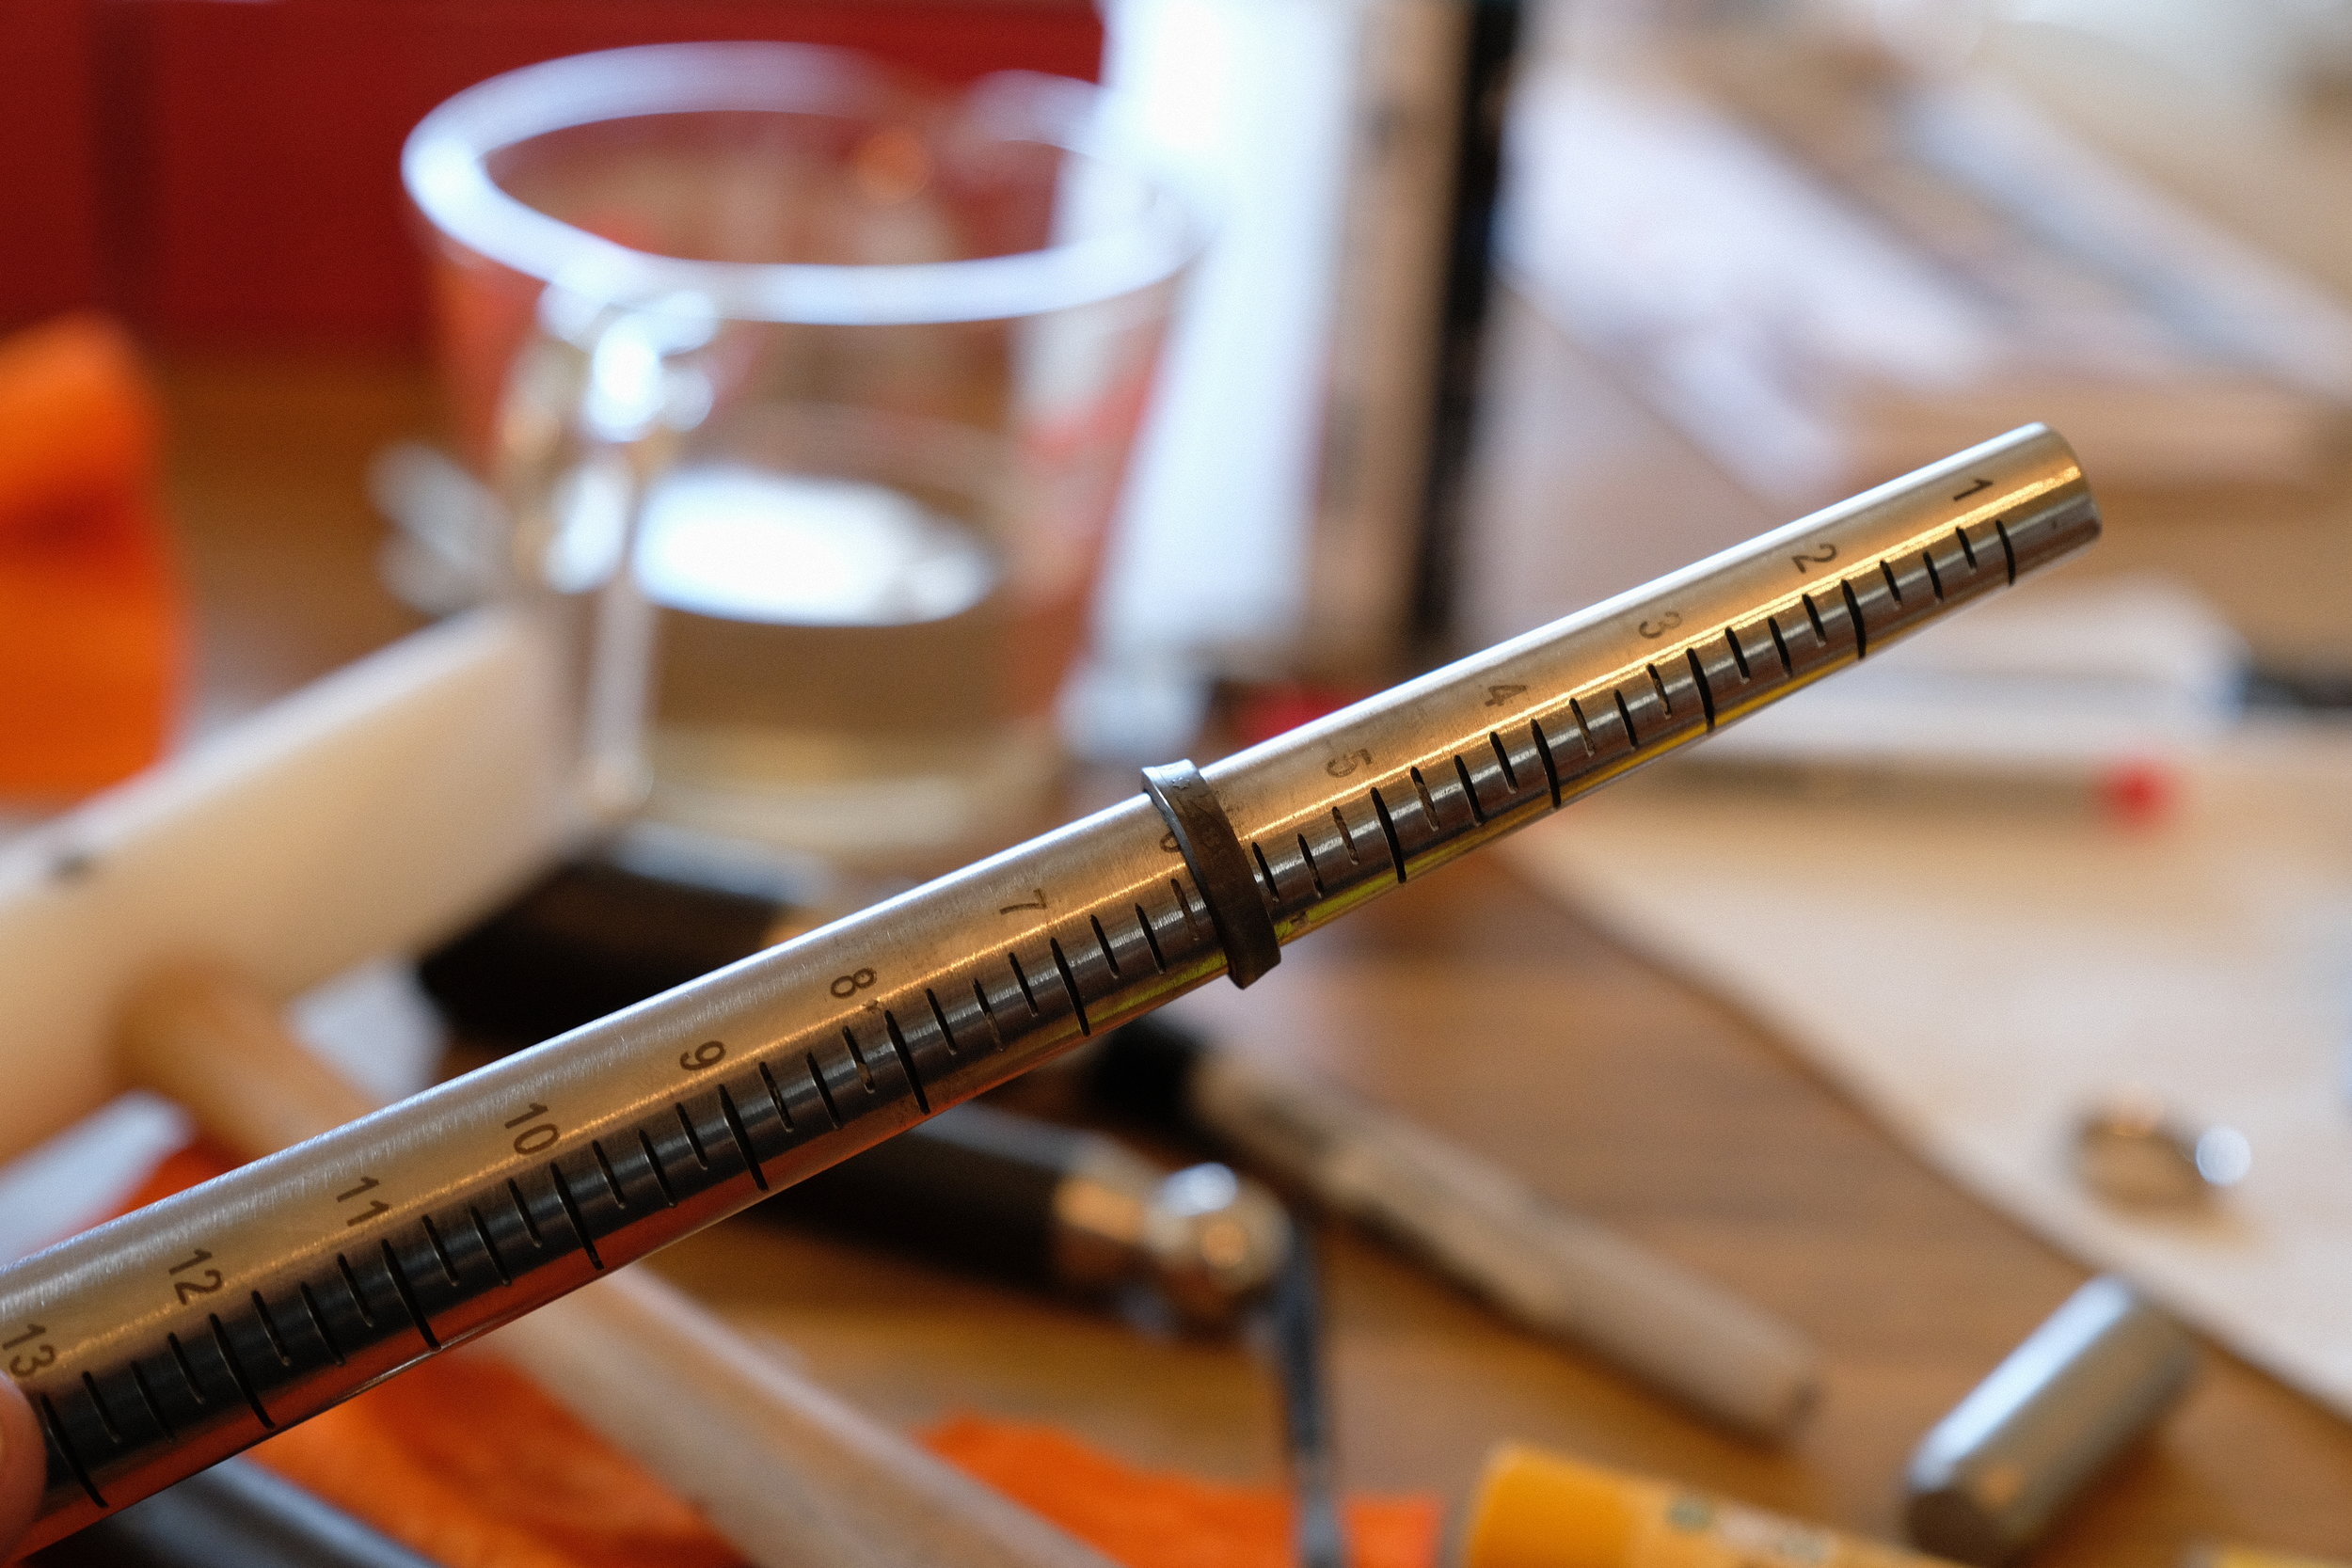
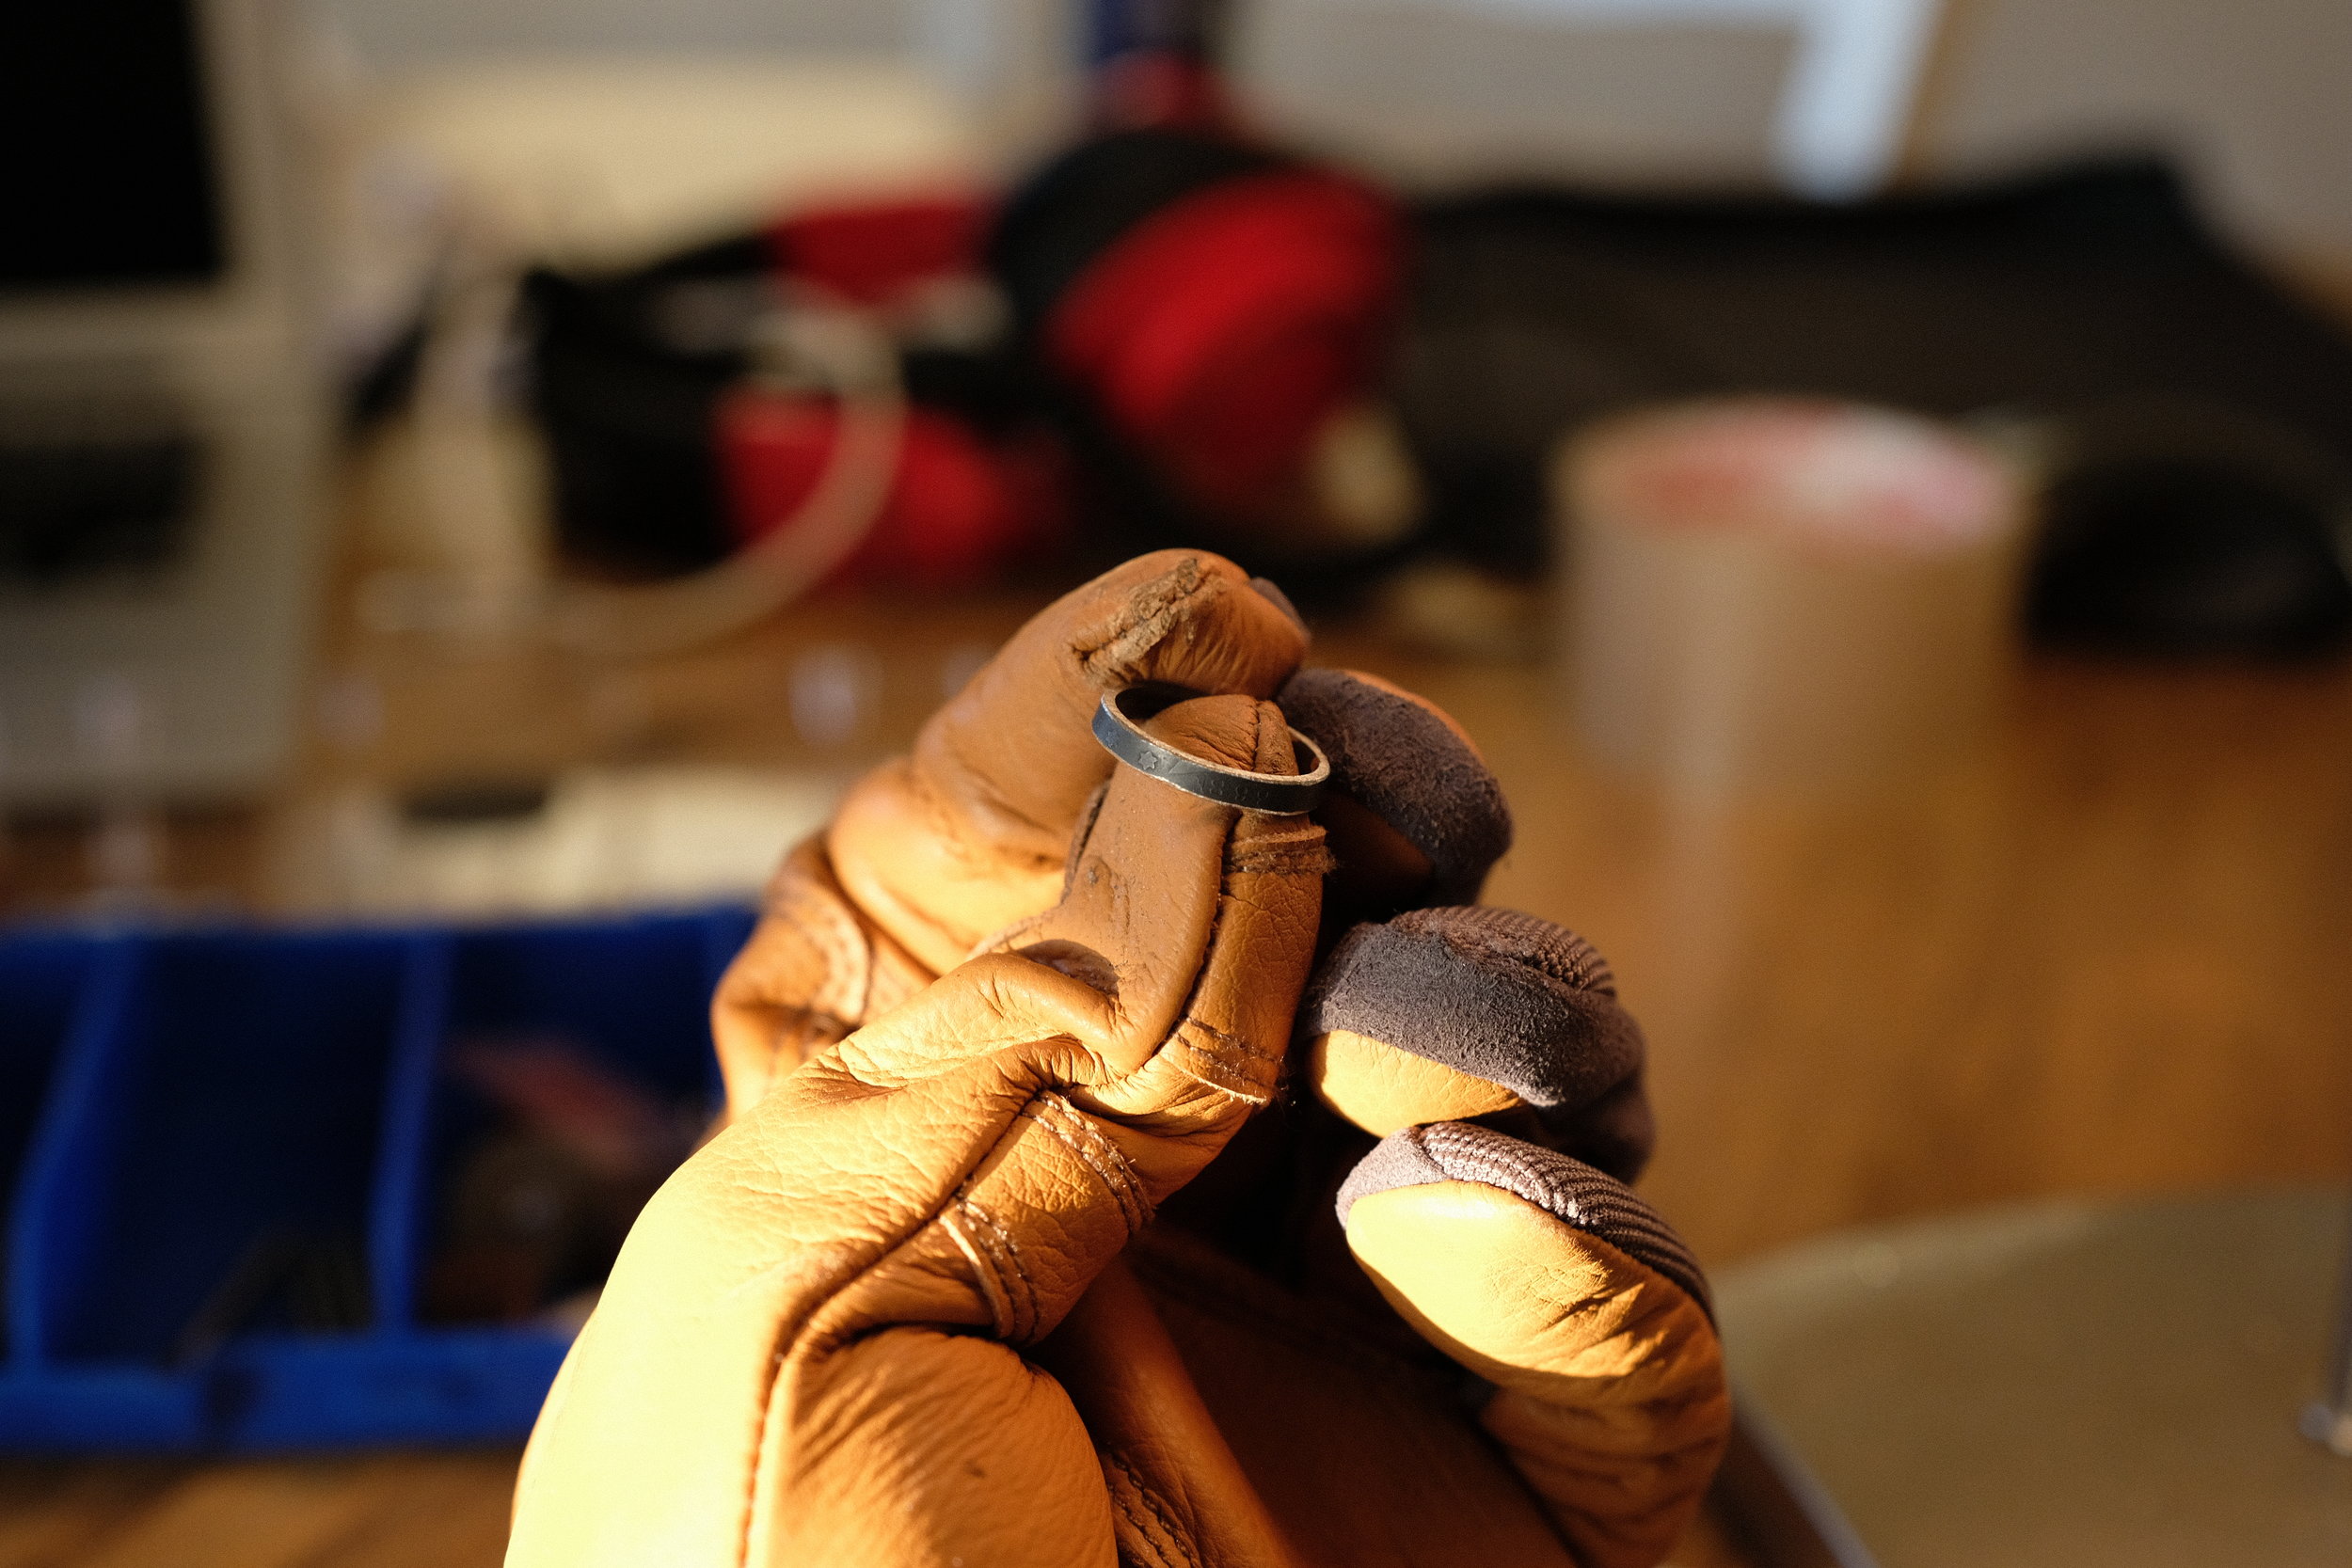
The initial taper was nicely even. The almost-ring is a size 3, and the goal is a size 6. The ring is expanded by hammering it down the mandrel with a non-marring mallet. Nylon or rawhide work well. I highly suggest earplugs for this step.
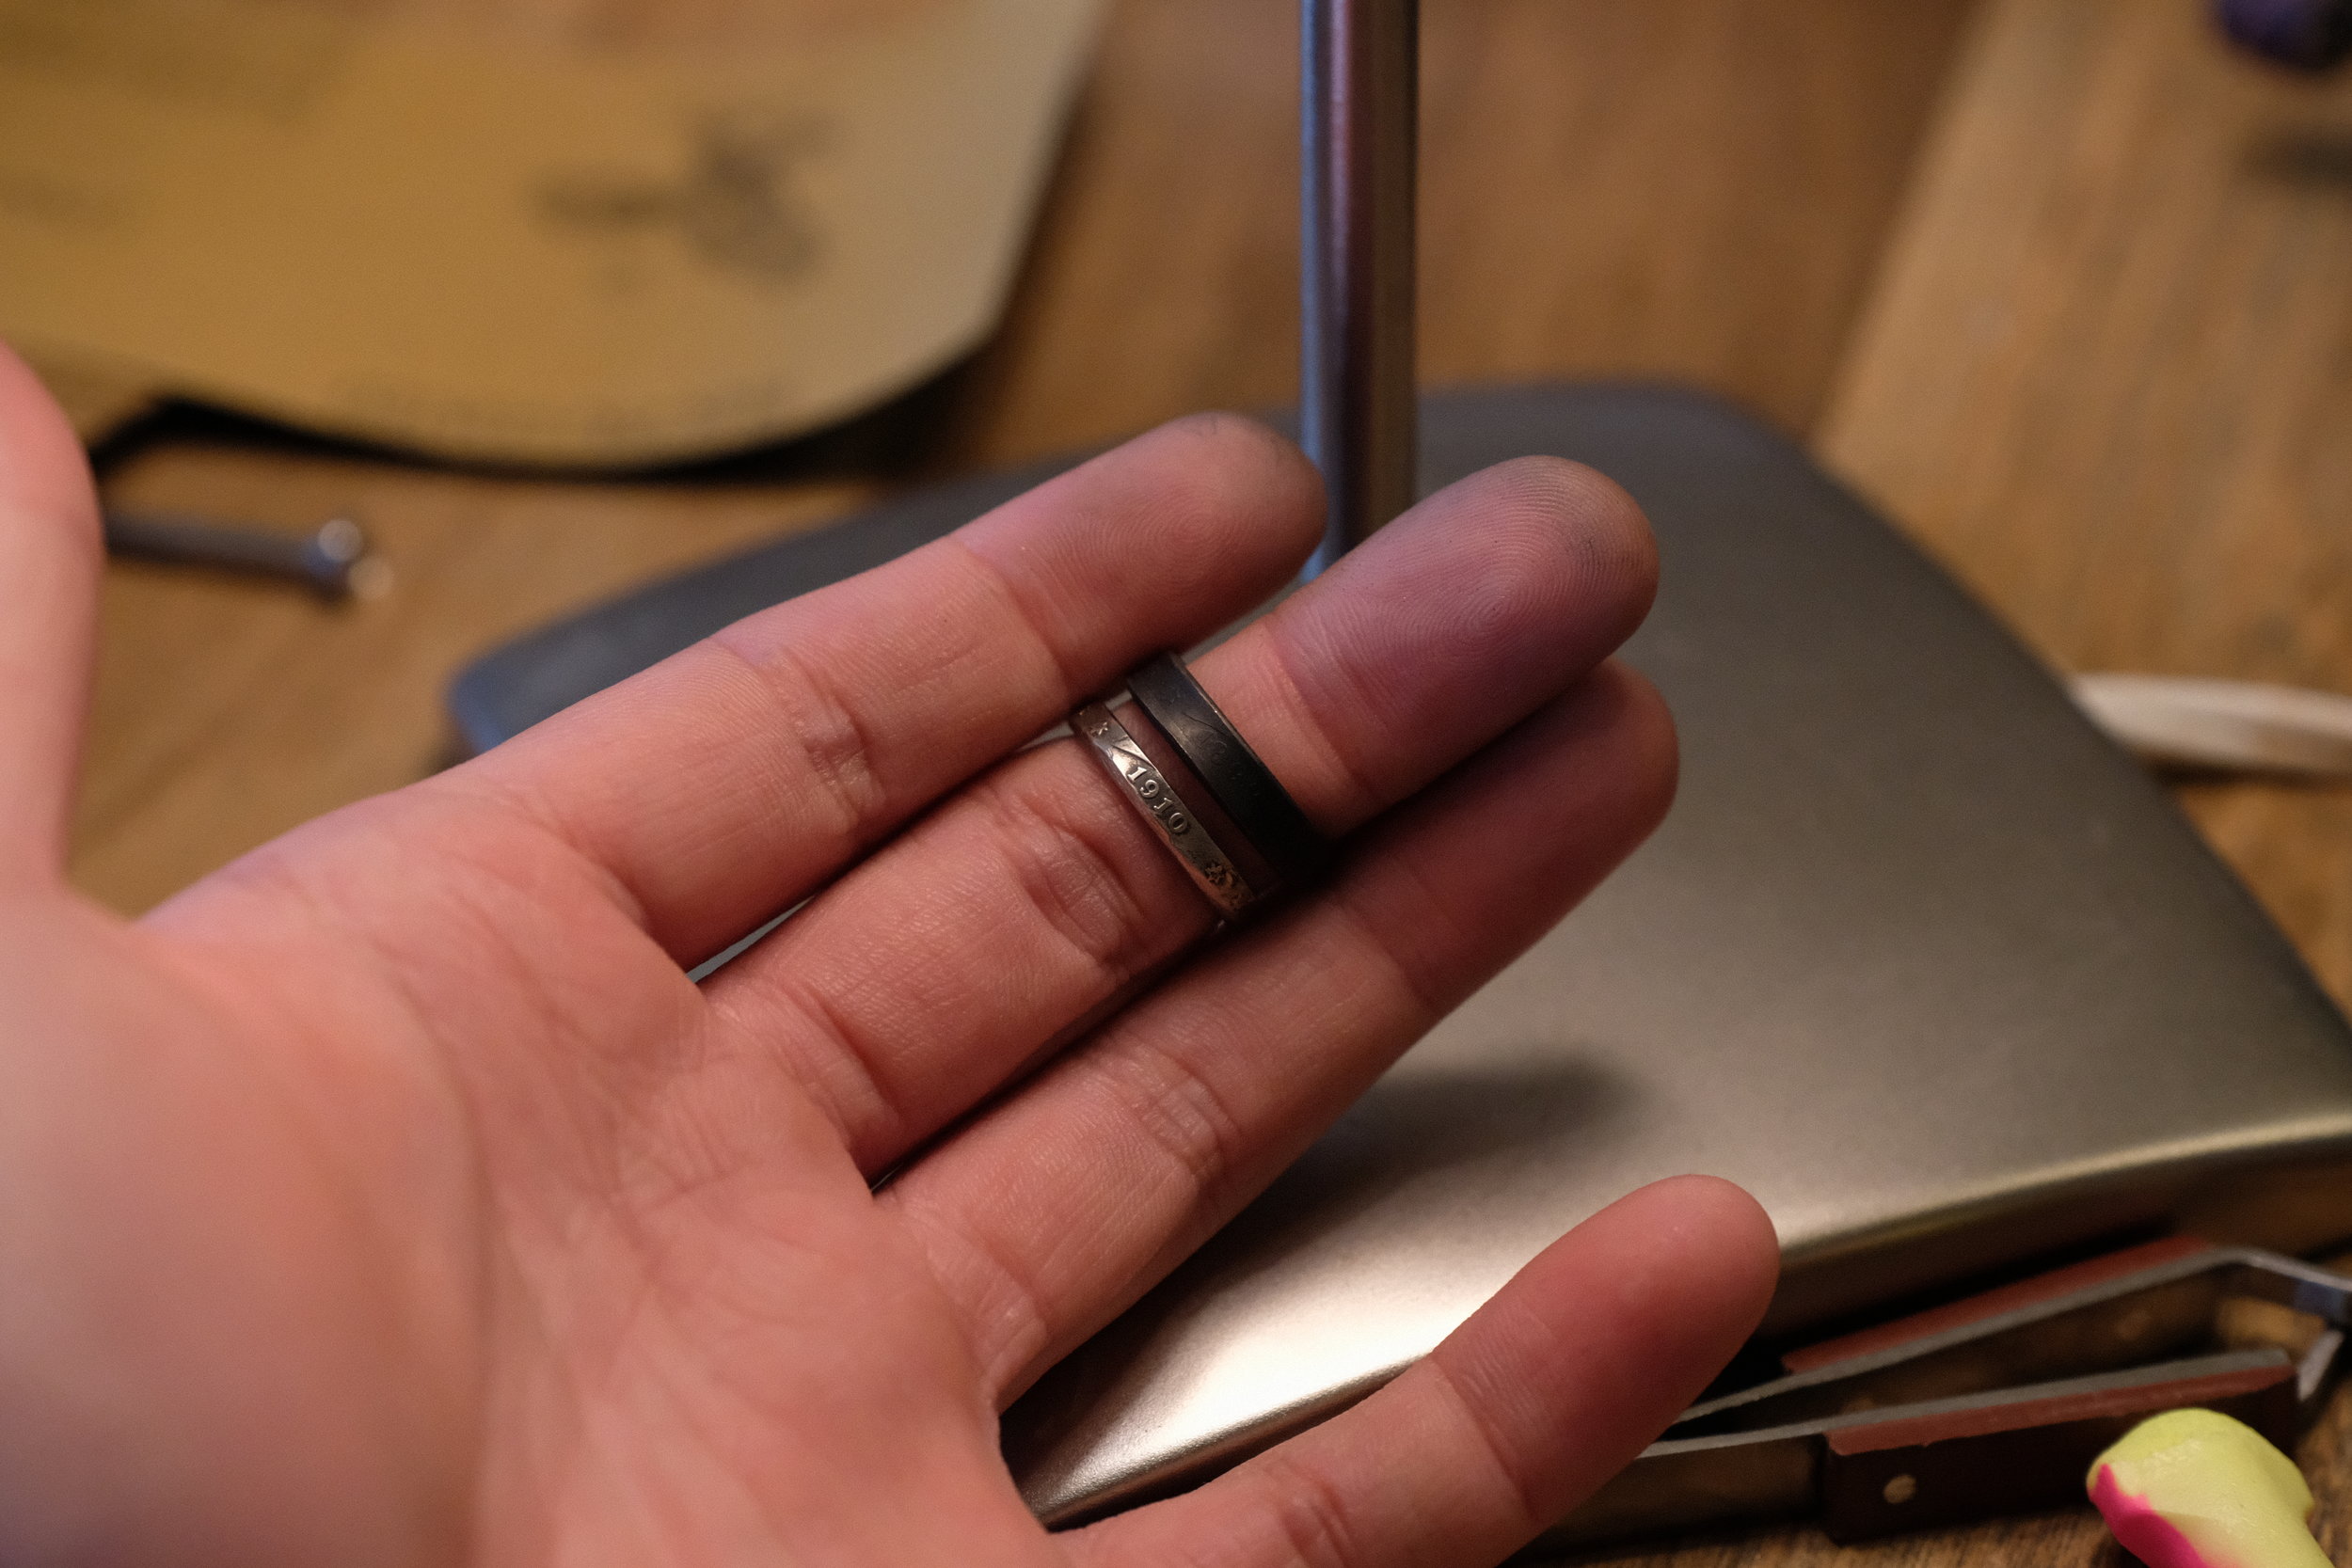
After hammering incessantly, the ring is now a size 6. (Apologies to my roommate and neighbors...) At this point, larger coins need to be adjusted with the dapping block so as to even out the taper. the nickels were small enough that they became cylindrical around size 5.
The process must be repeated for each ring. Luckily this project only requires two. In order for interlaced rings to be wearable and "roll" over each other, they must both be thin and uniform. At this stage, the nickel rings are too thick for that purpose.
Here you can see my initial attempts at thinning out the fatter edge. I tried a saw, files, and sandpaper before giving up and buying a Dremel.
Having never used a Dremel, initial progress was slow and careful. Here the initial layer of the bottom edge has been taken off.
The coin takes on more ringlike qualities as the sides are trimmed down.
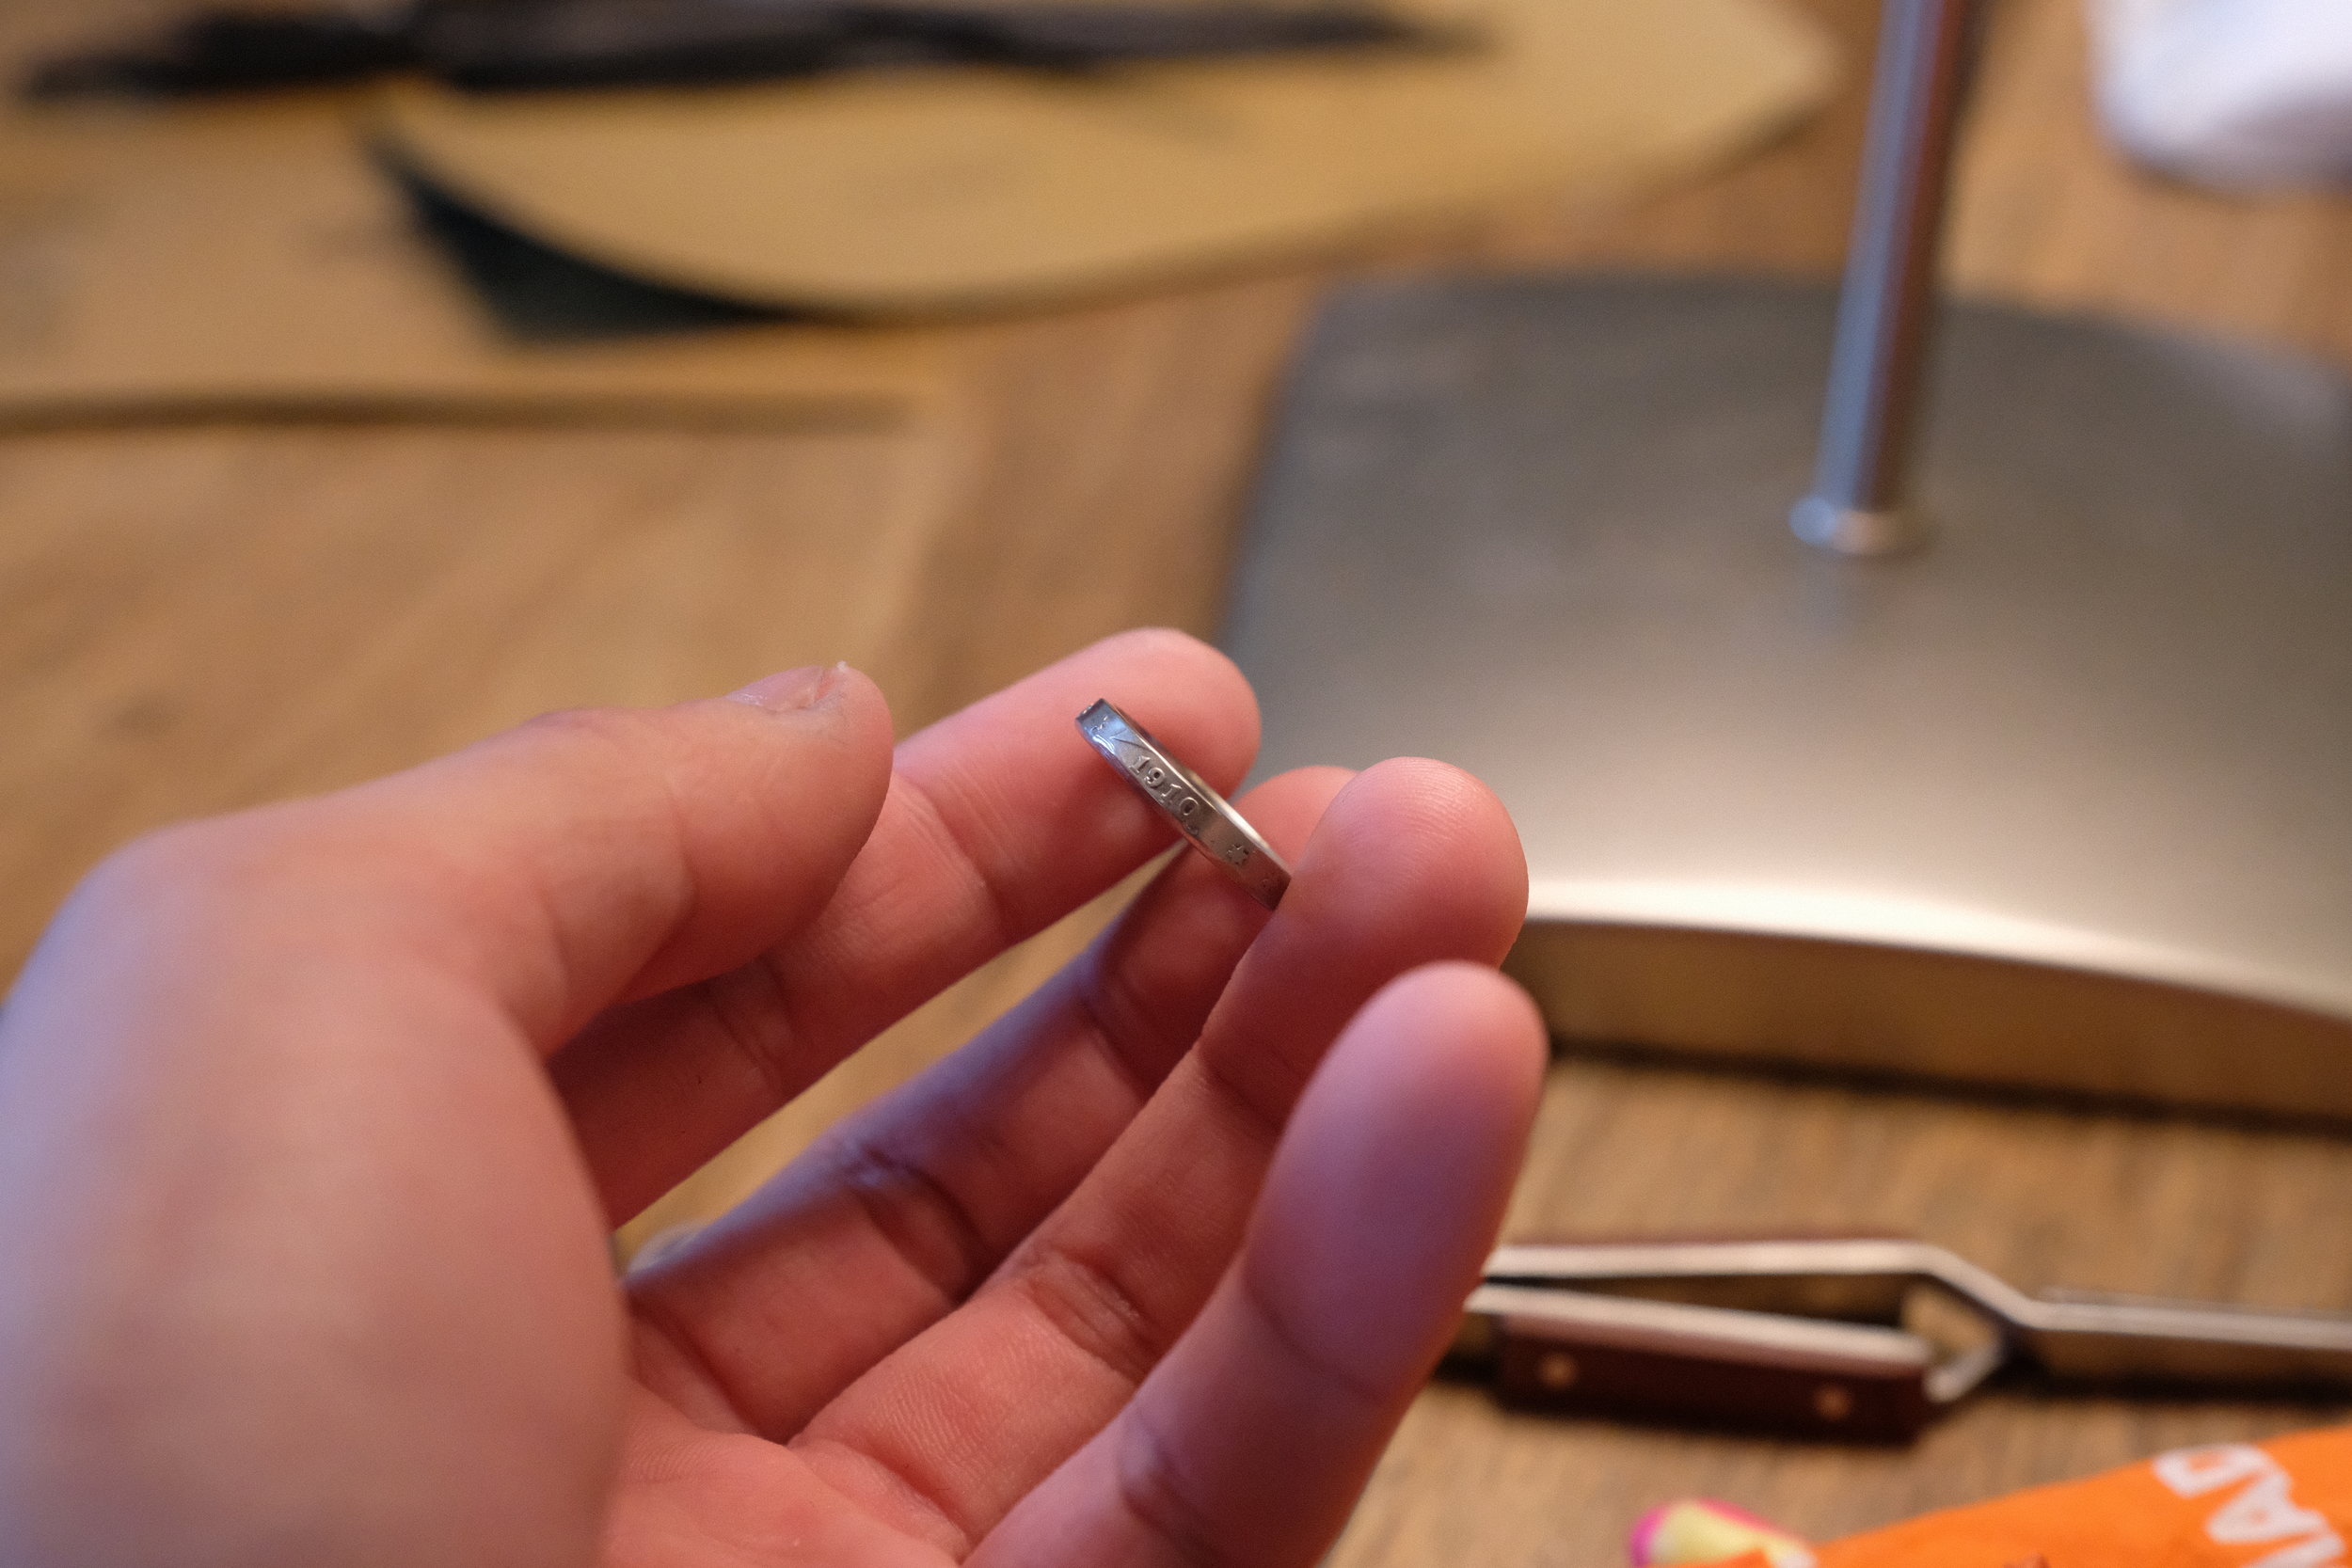
This was as thin as I was willing to take the ring using the Dremel. Further trimming is done by file and sandpaper.
A before/after comparison.
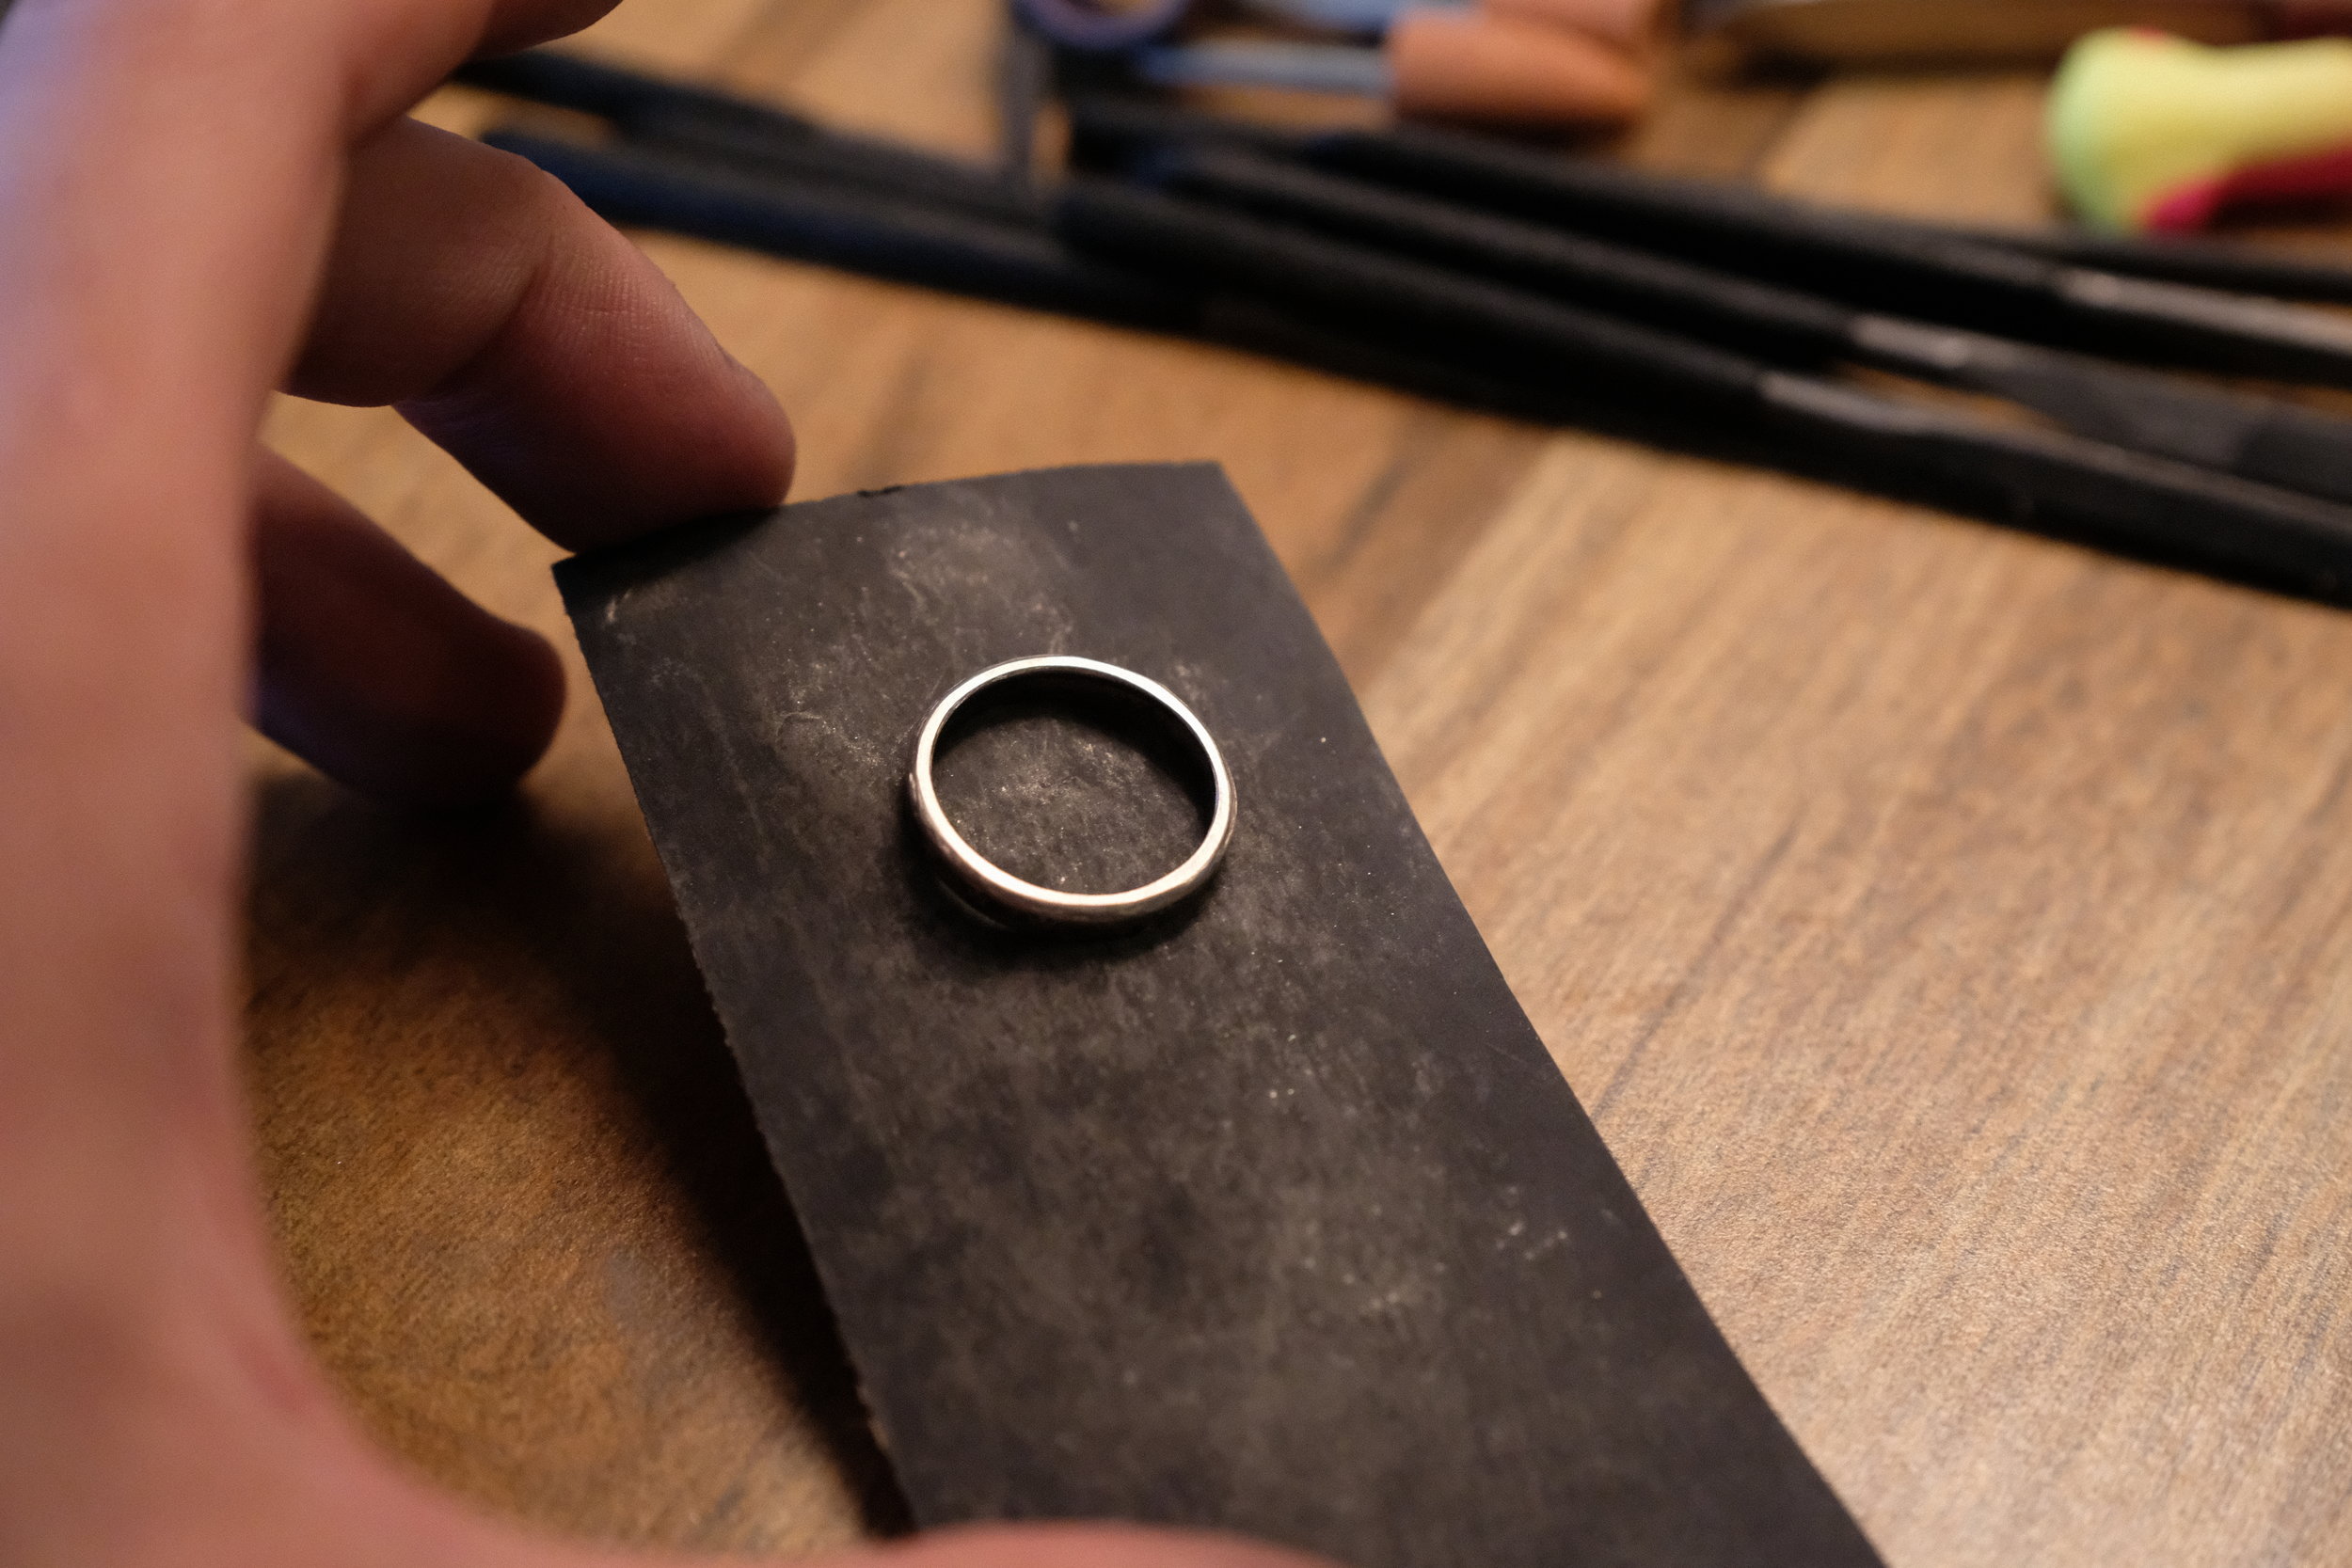
The ring is sanded with 400, 600, 800, 1000, 1200, and finally 1500 grit sandpaper. This takes off surface scratches and small imperfections.
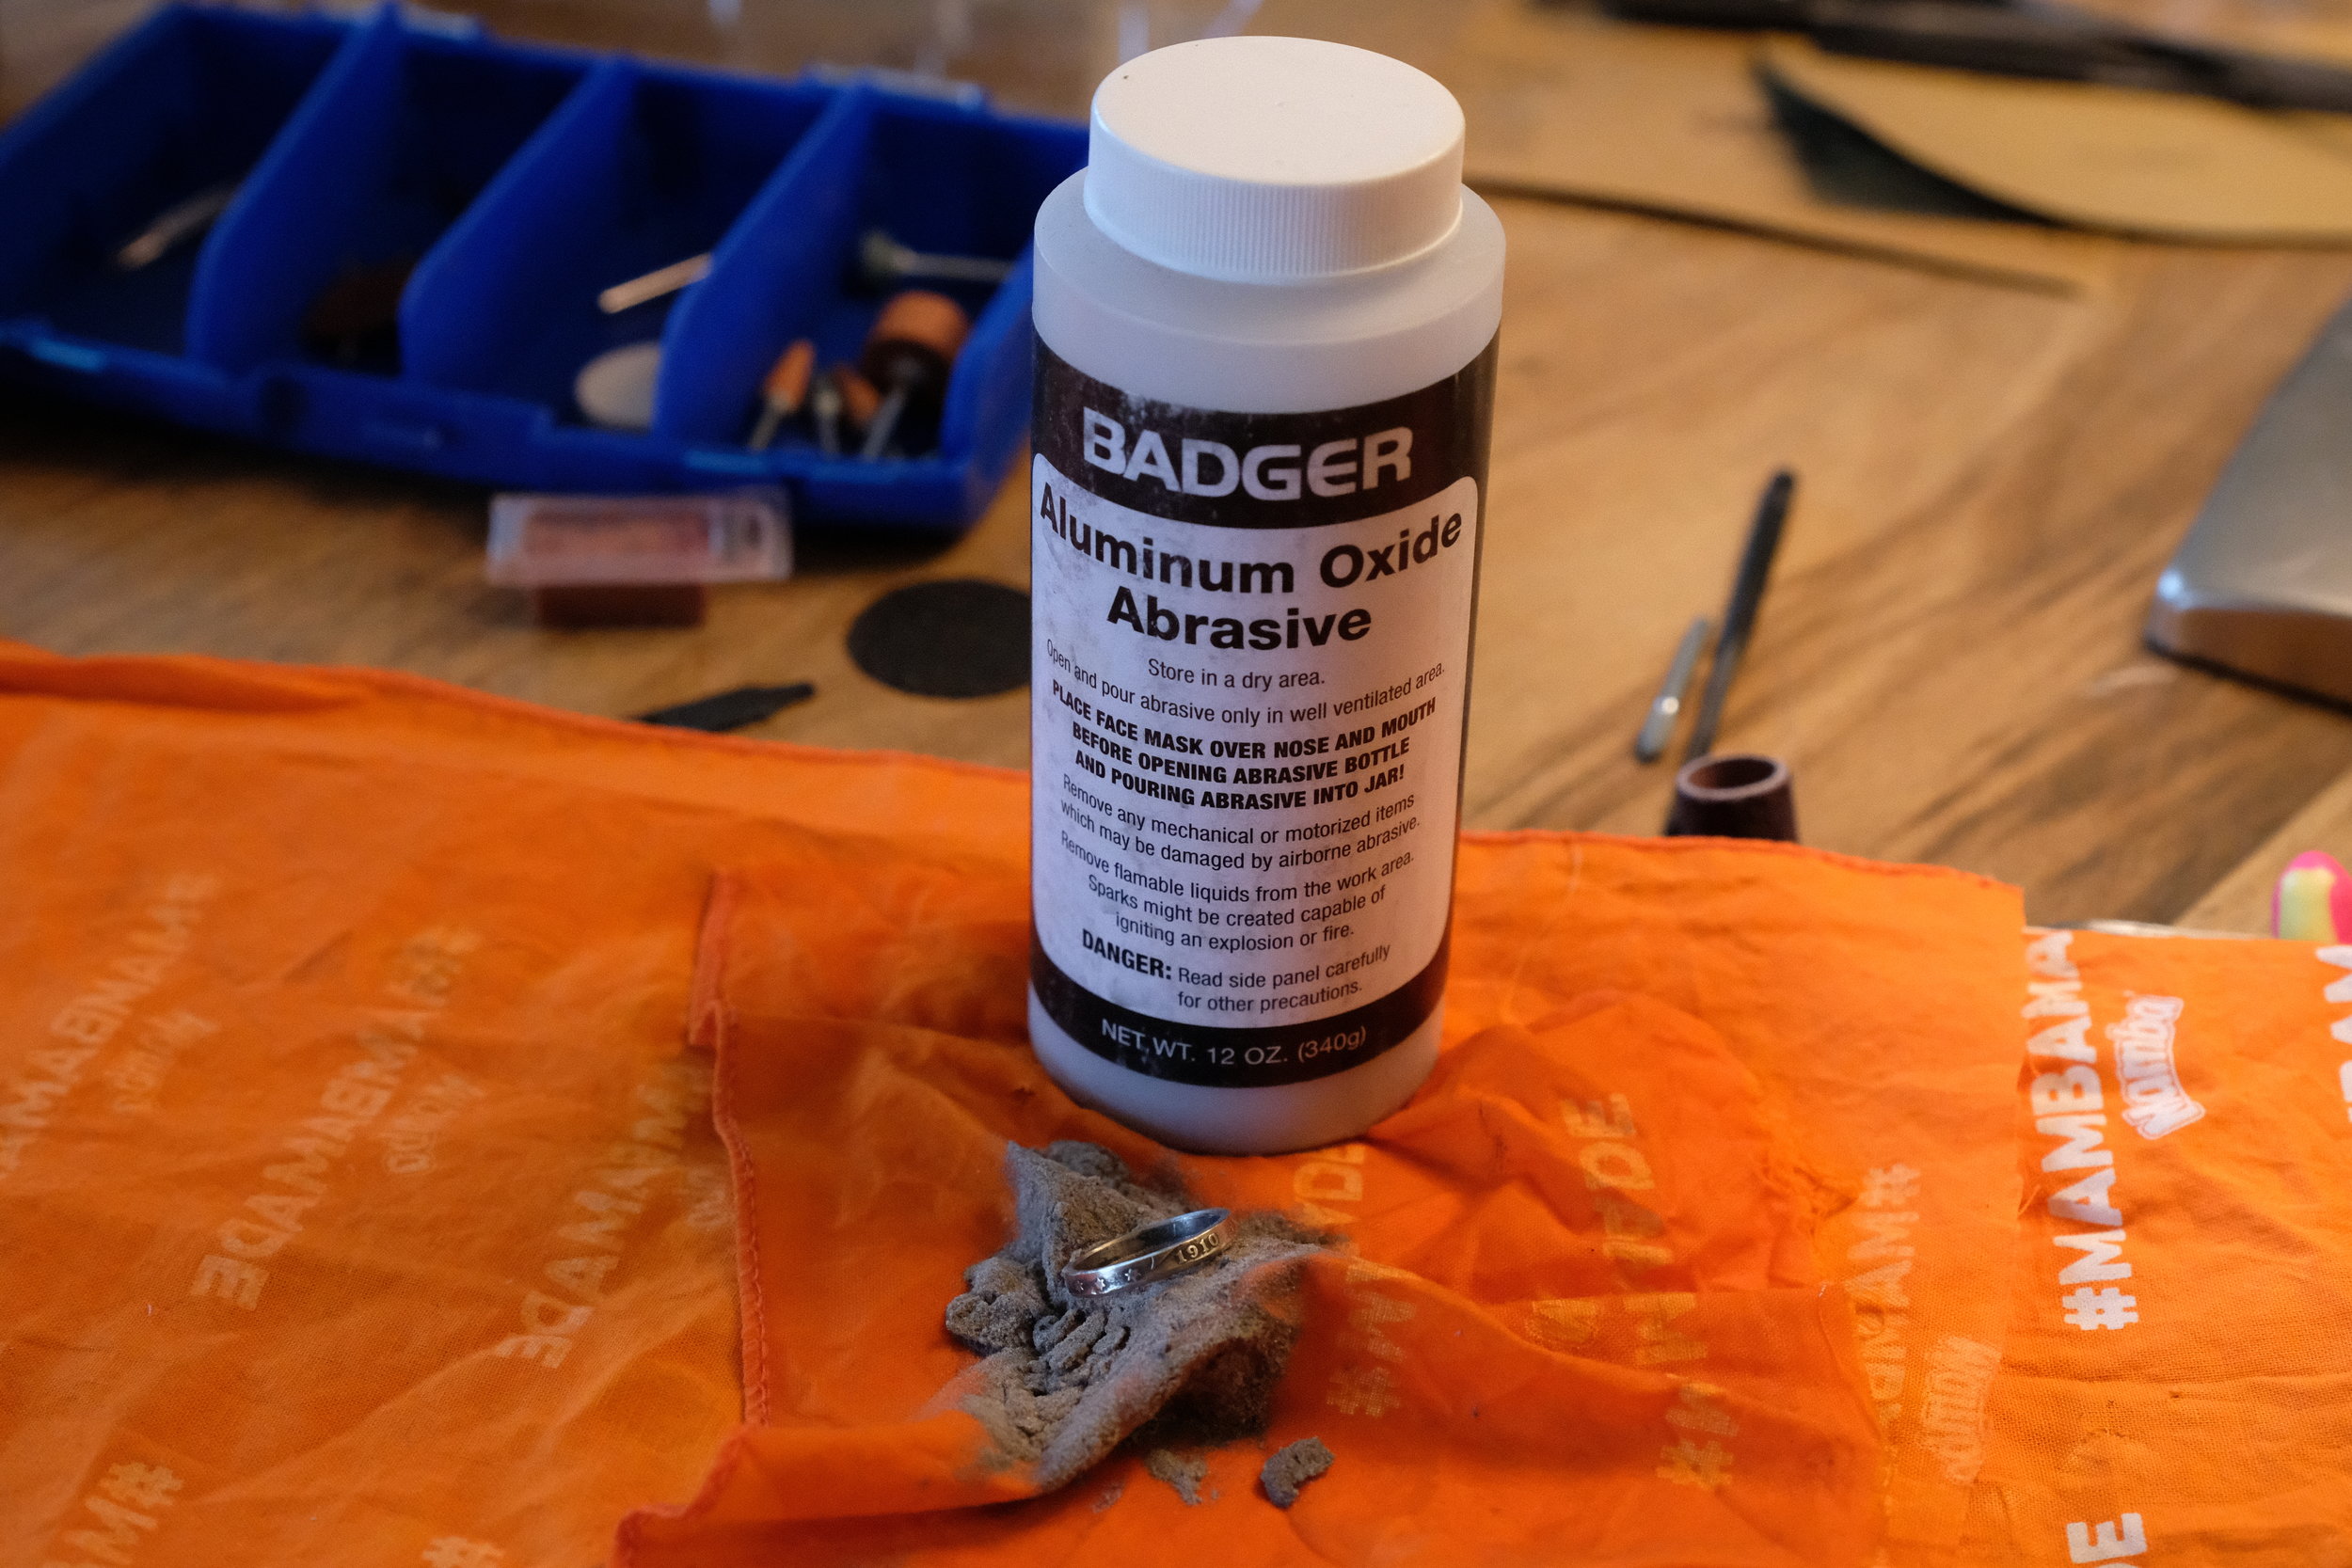
Scrubbing the ring with aluminum oxide and water polishes the ring fully. Suggestion: do not inhale aluminum oxide dust.
Before/after.
Shiny!
Coin 2, pre-trim.
The bottom edge was taken off quickly this time.
... Followed shortly by the top edge.
Final trim and de-burr. By this point I was far more accustomed to using the Dremel. Getting Ring 1 to this step took ~4 hours, while Ring 2 took 1-2 hours.
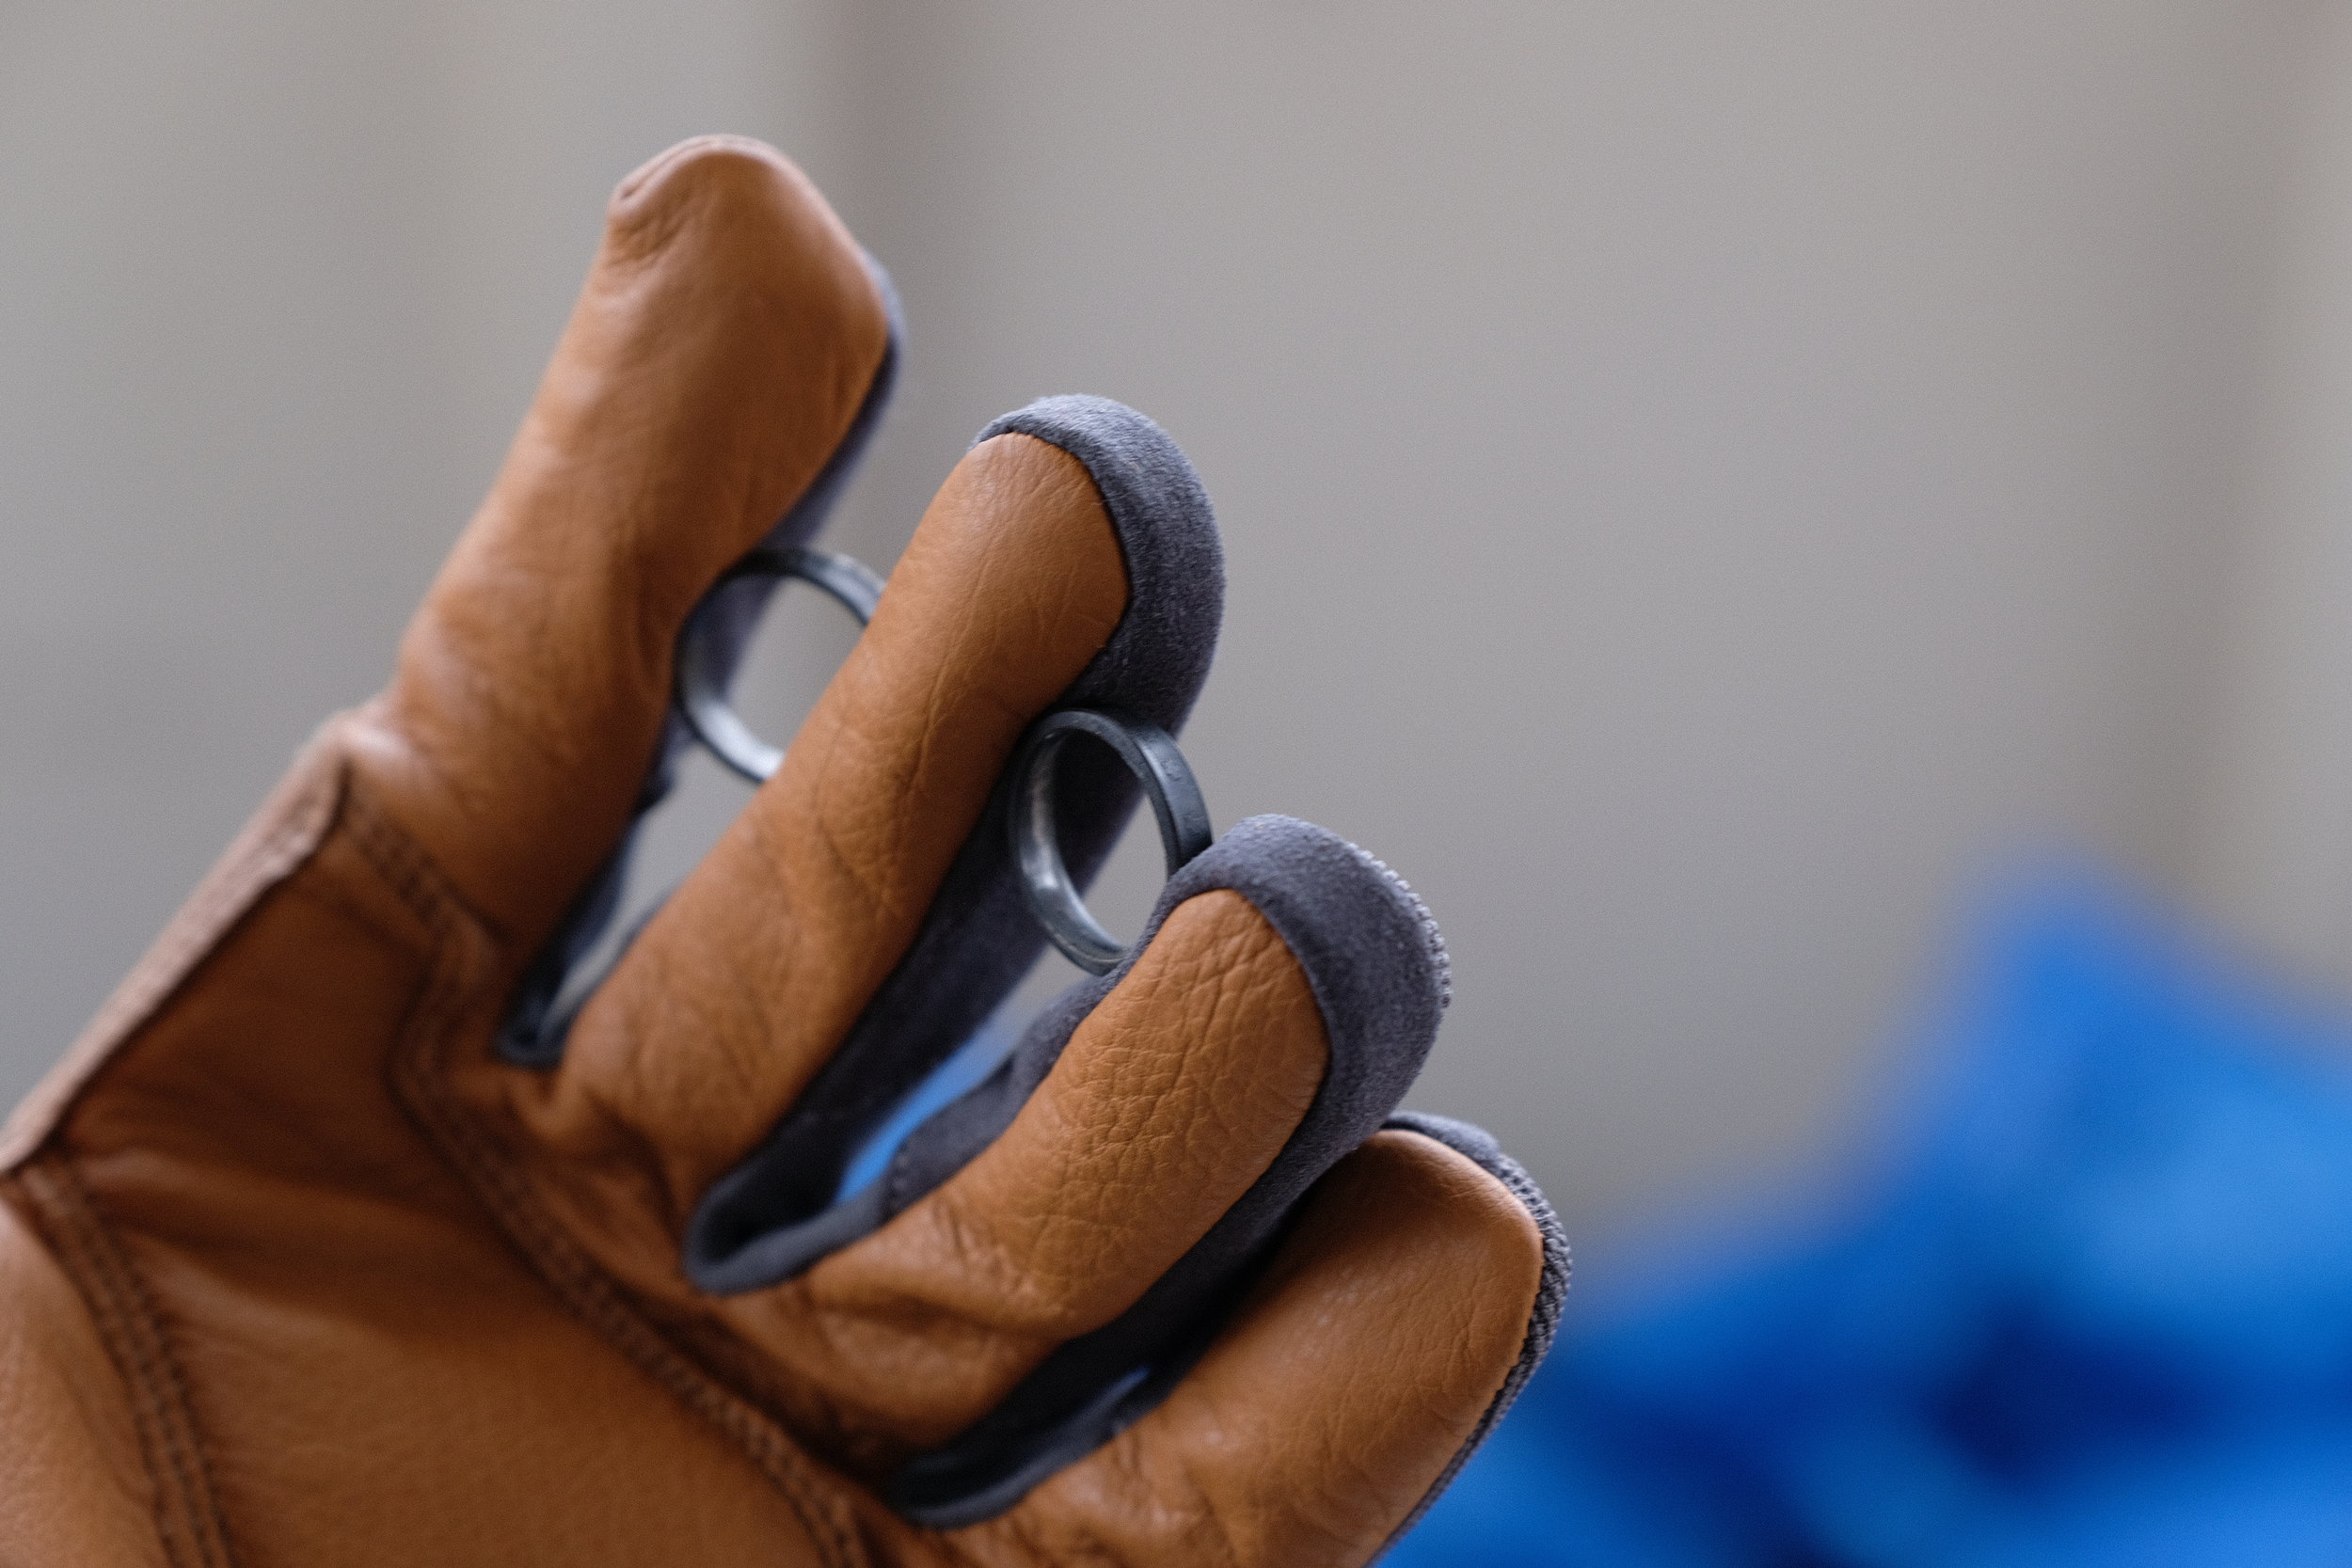
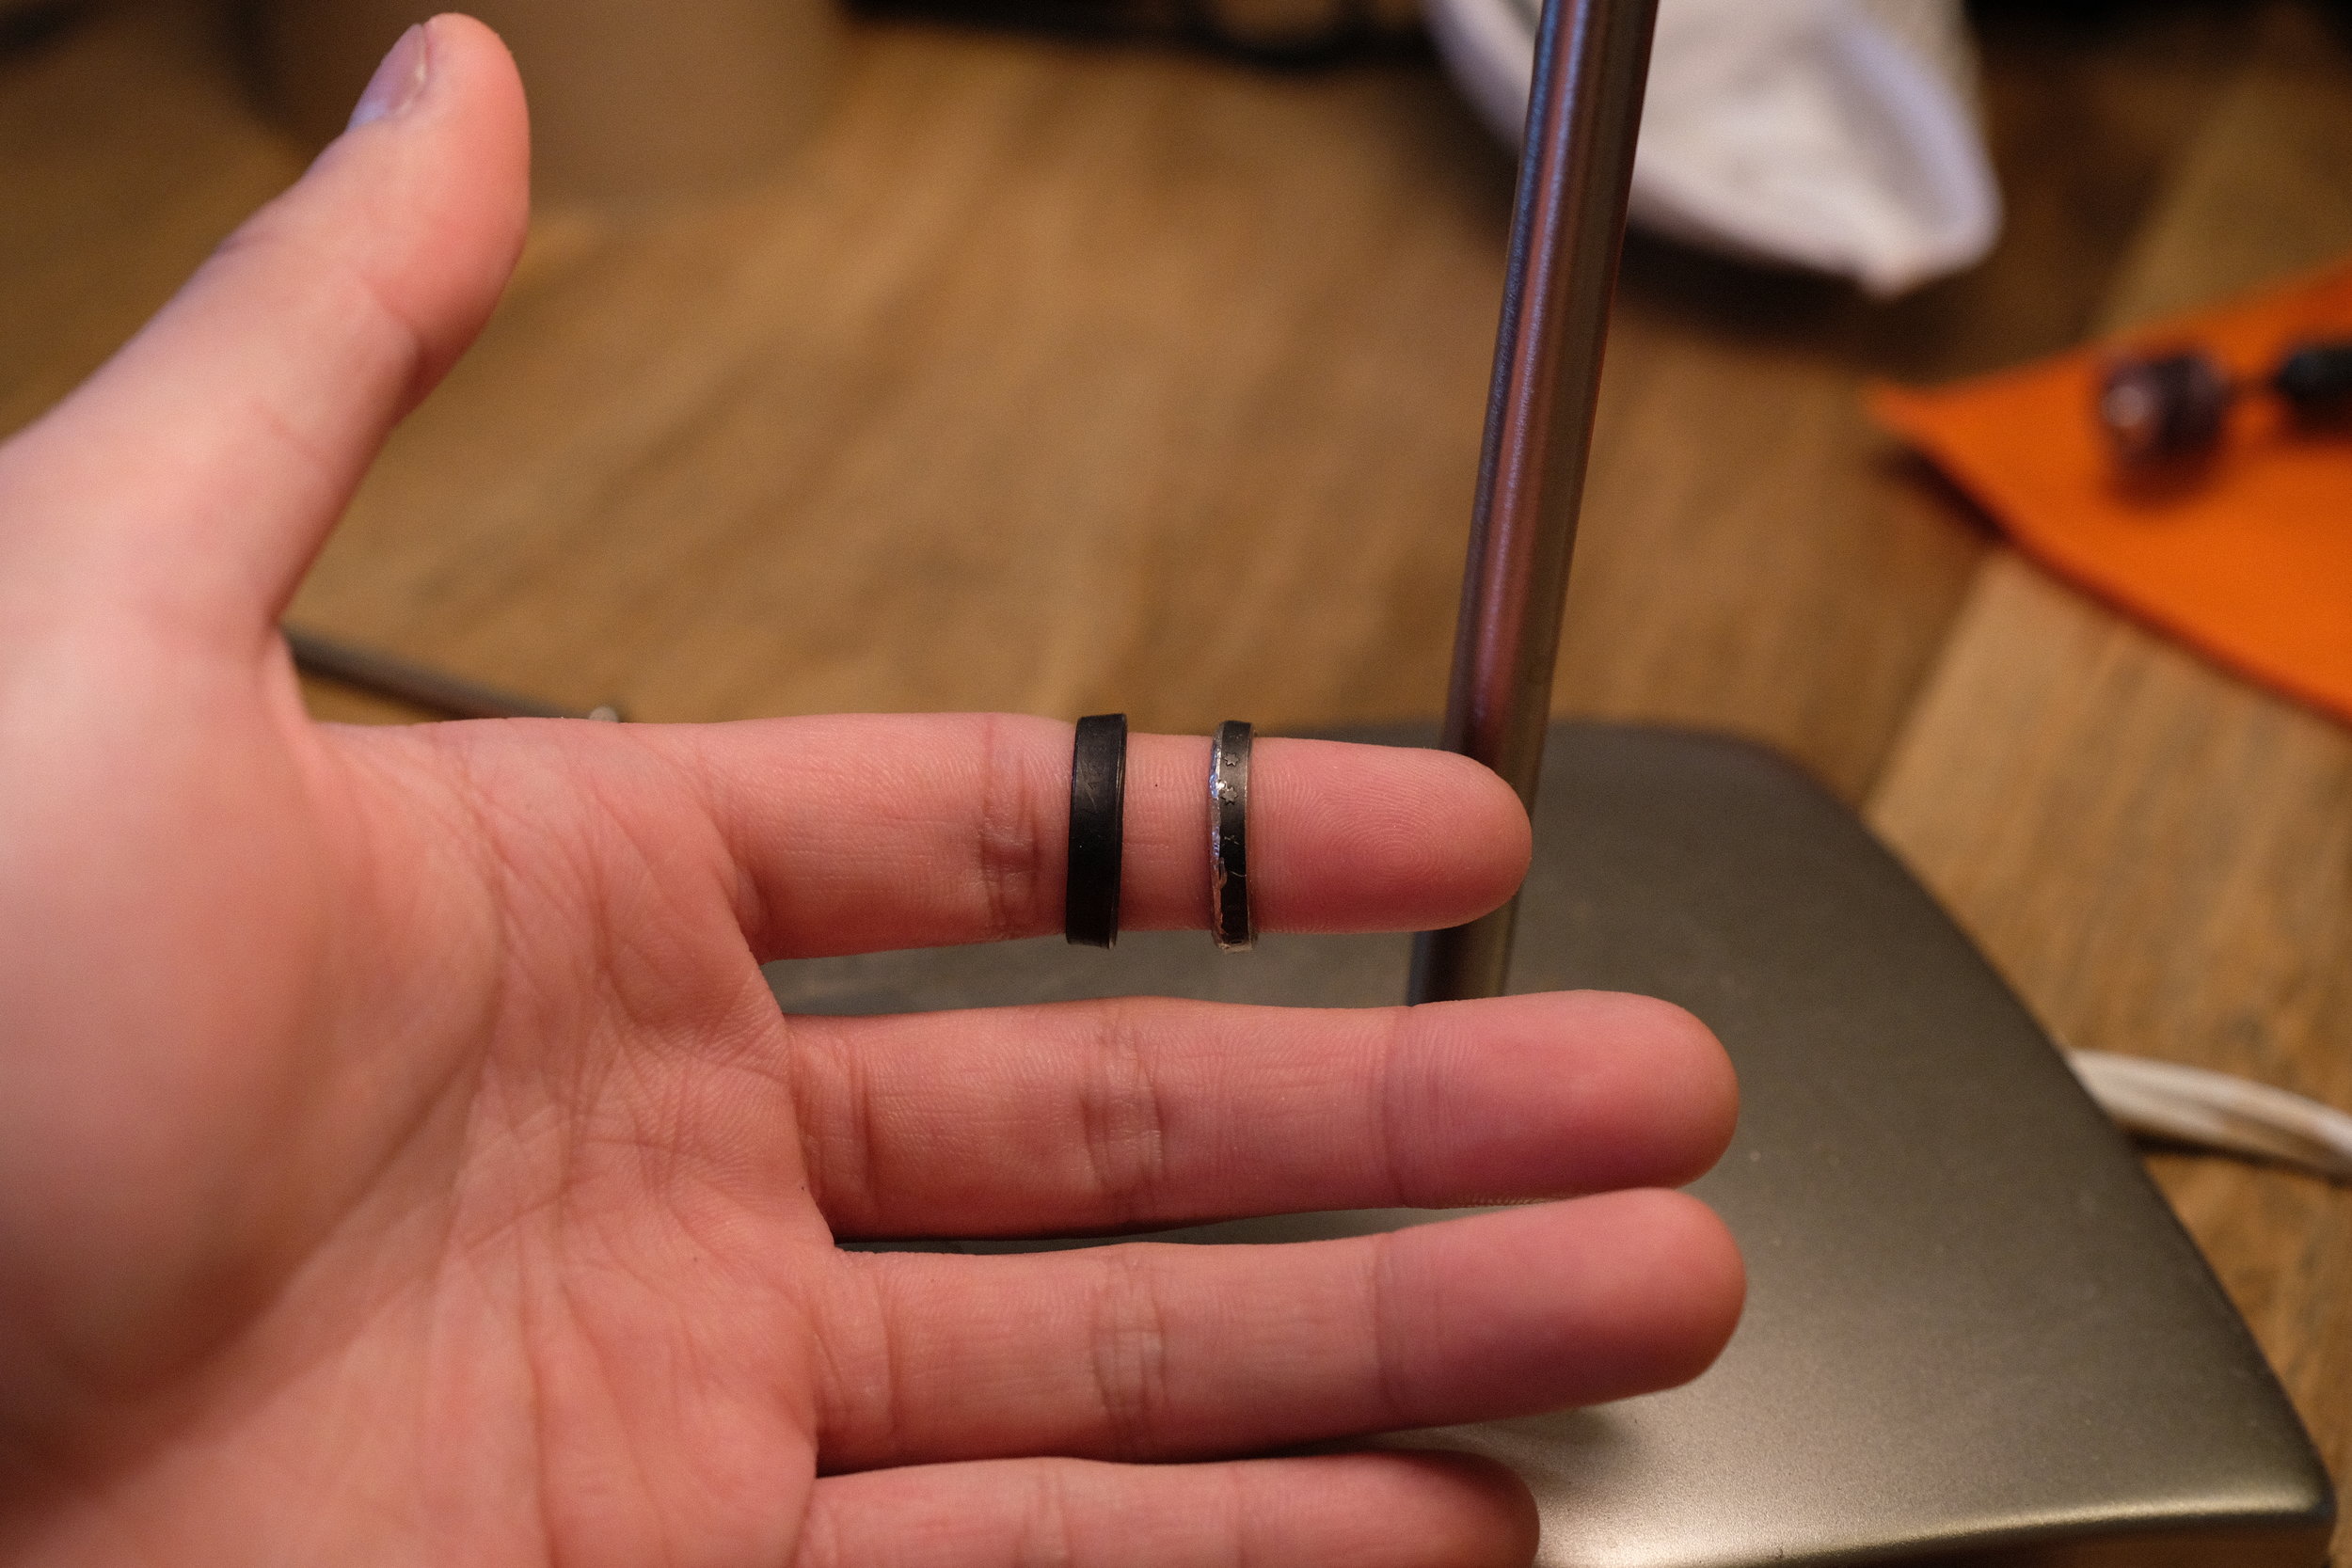
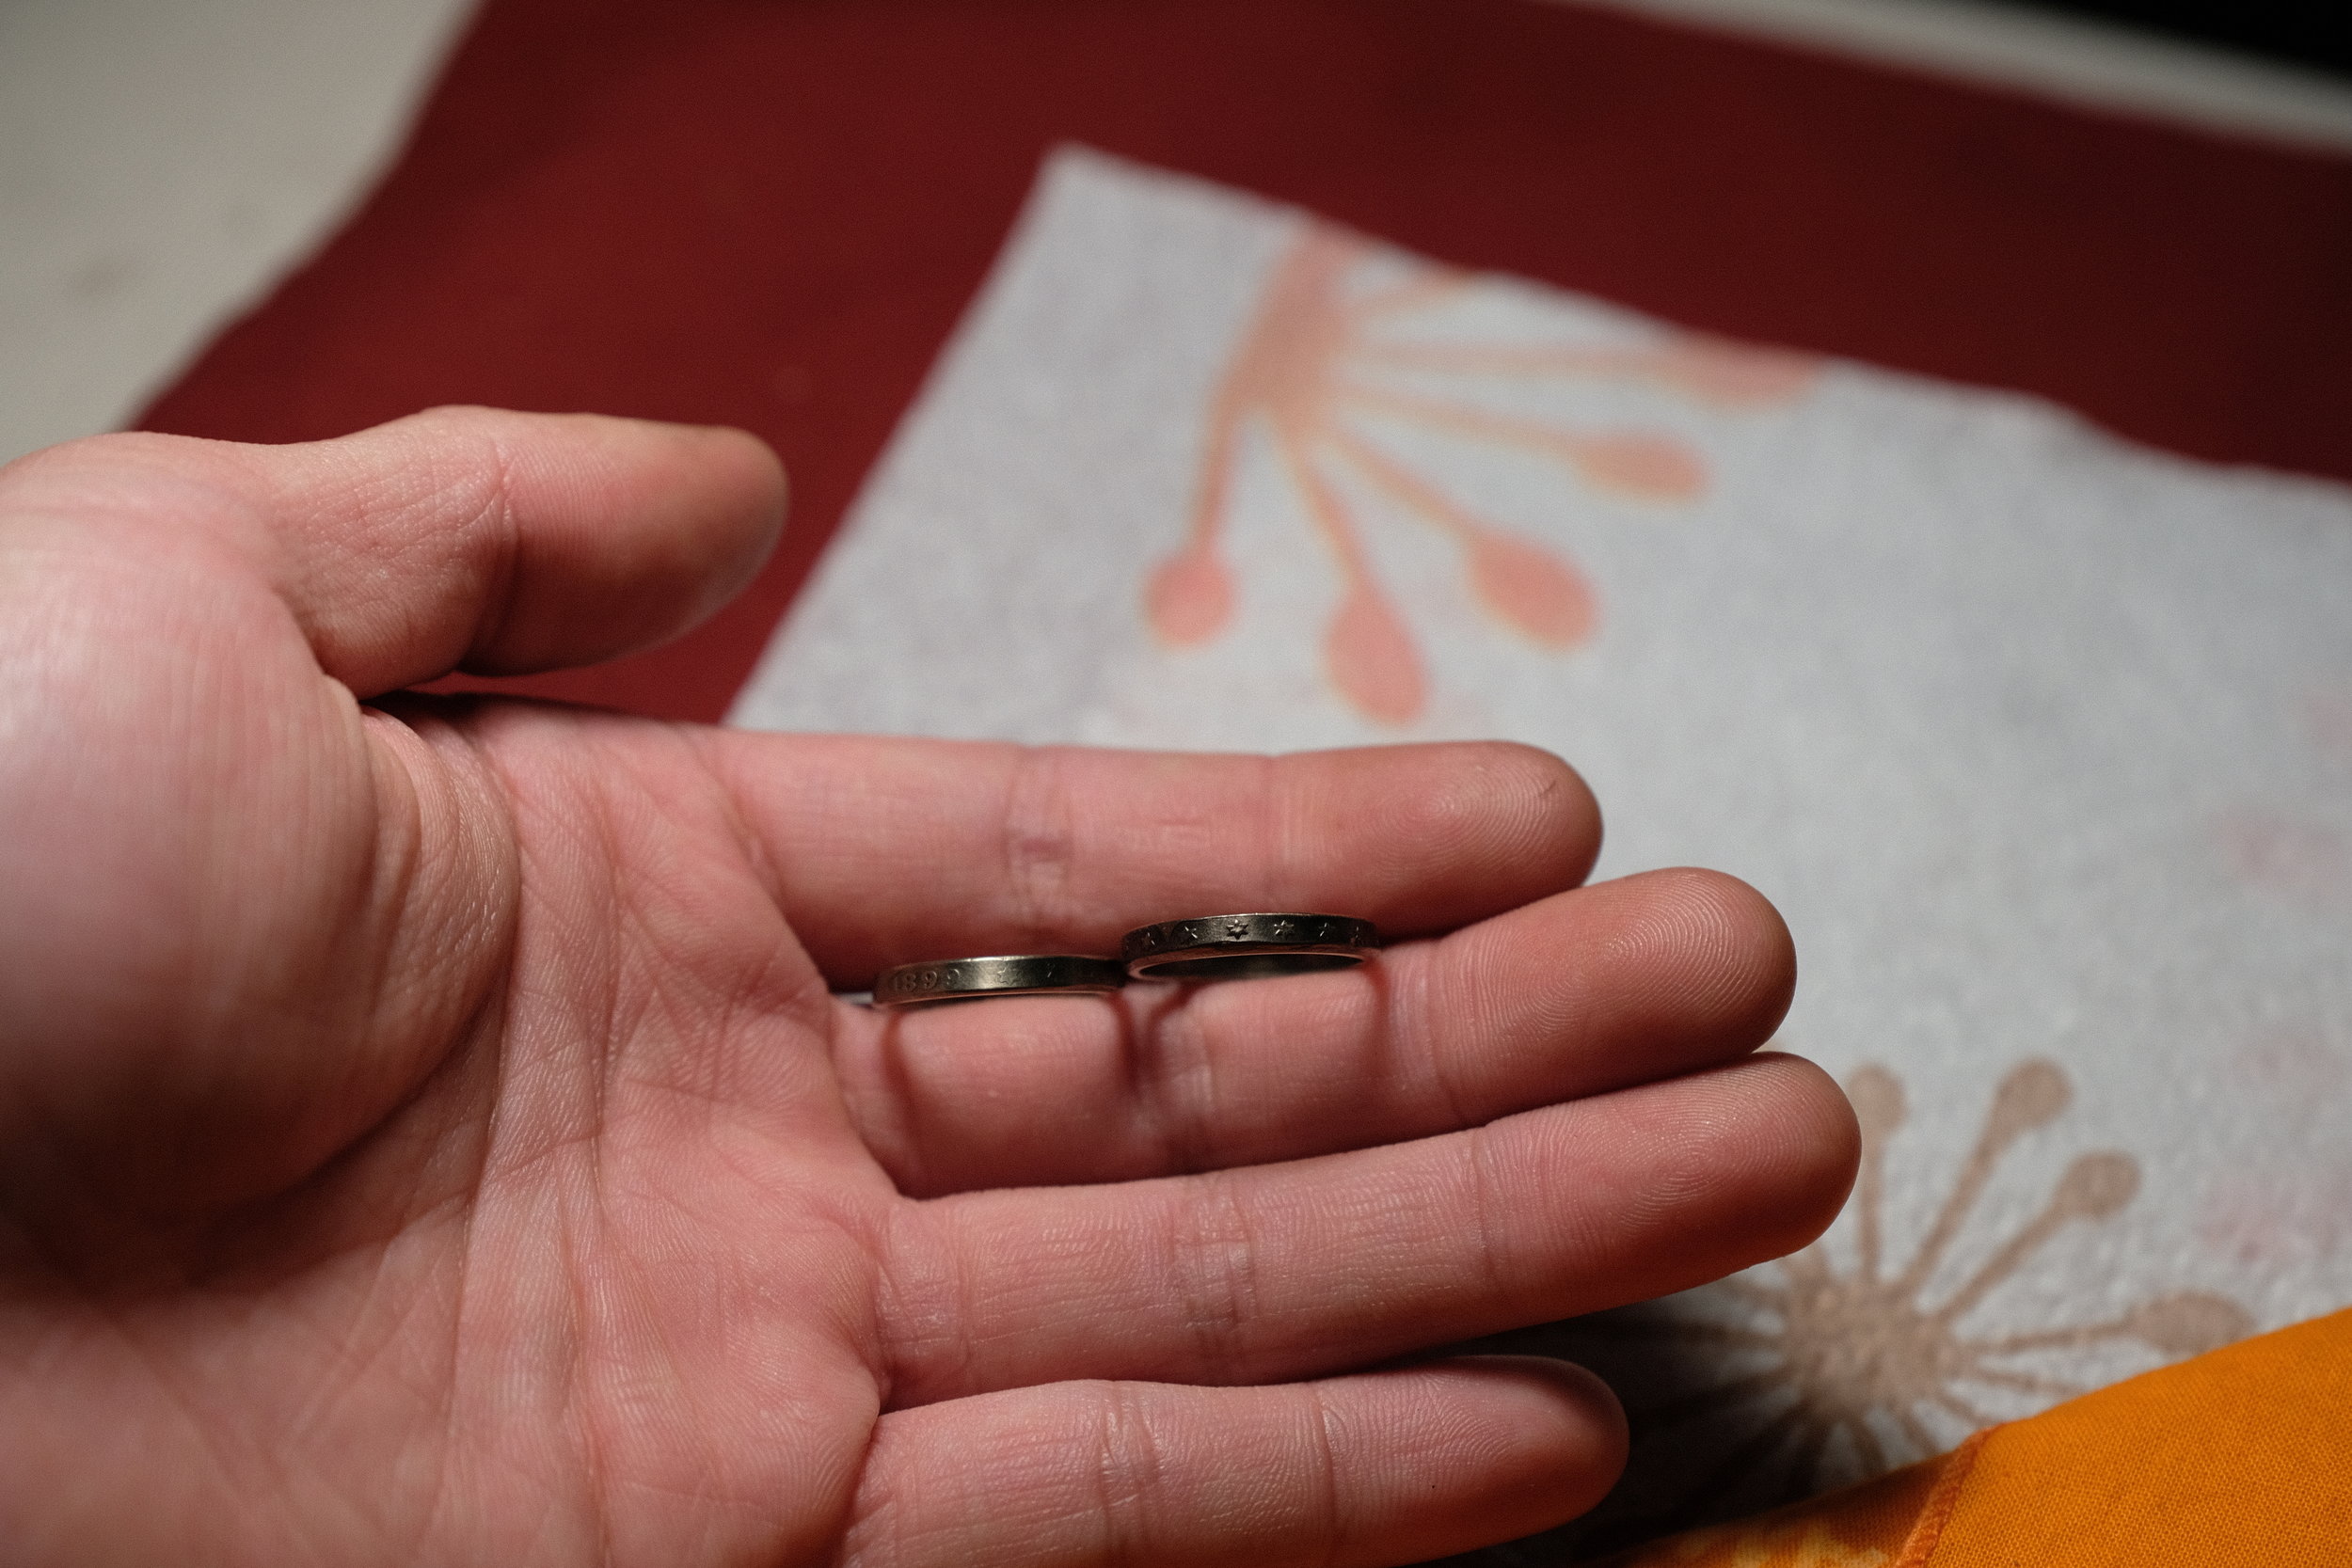
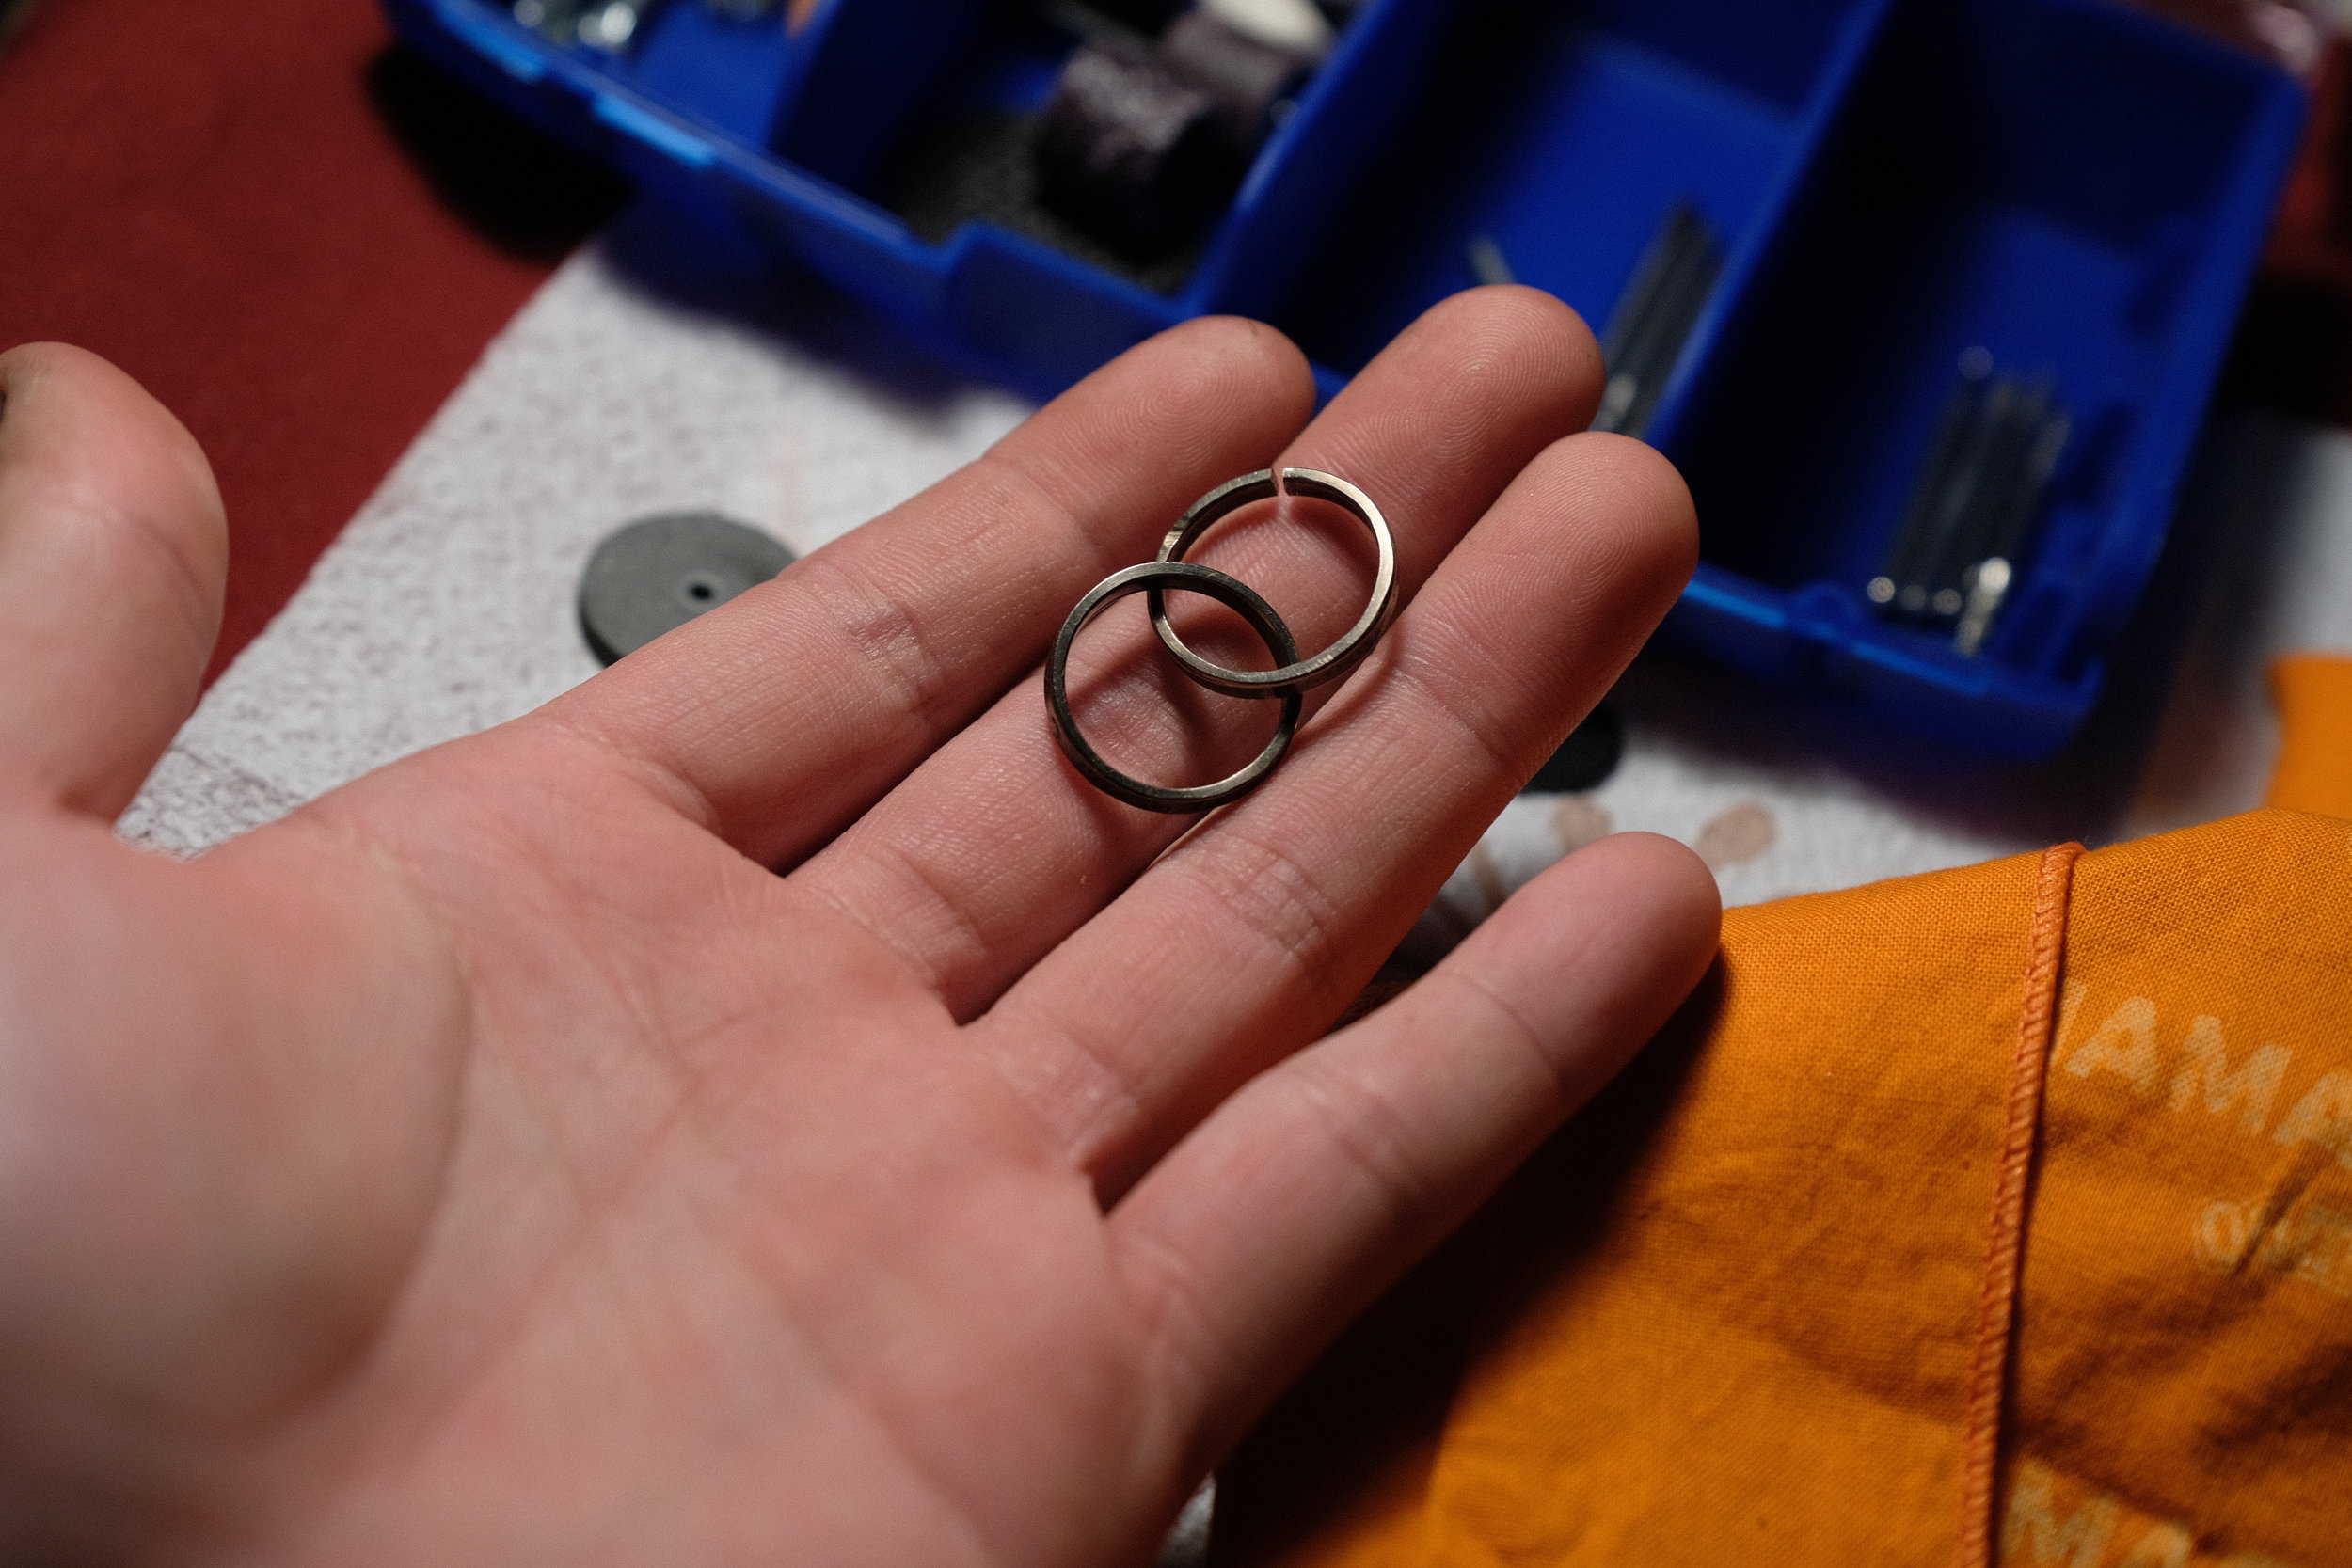
Rings 1 and 2 are complete! Next they must be interlaced.
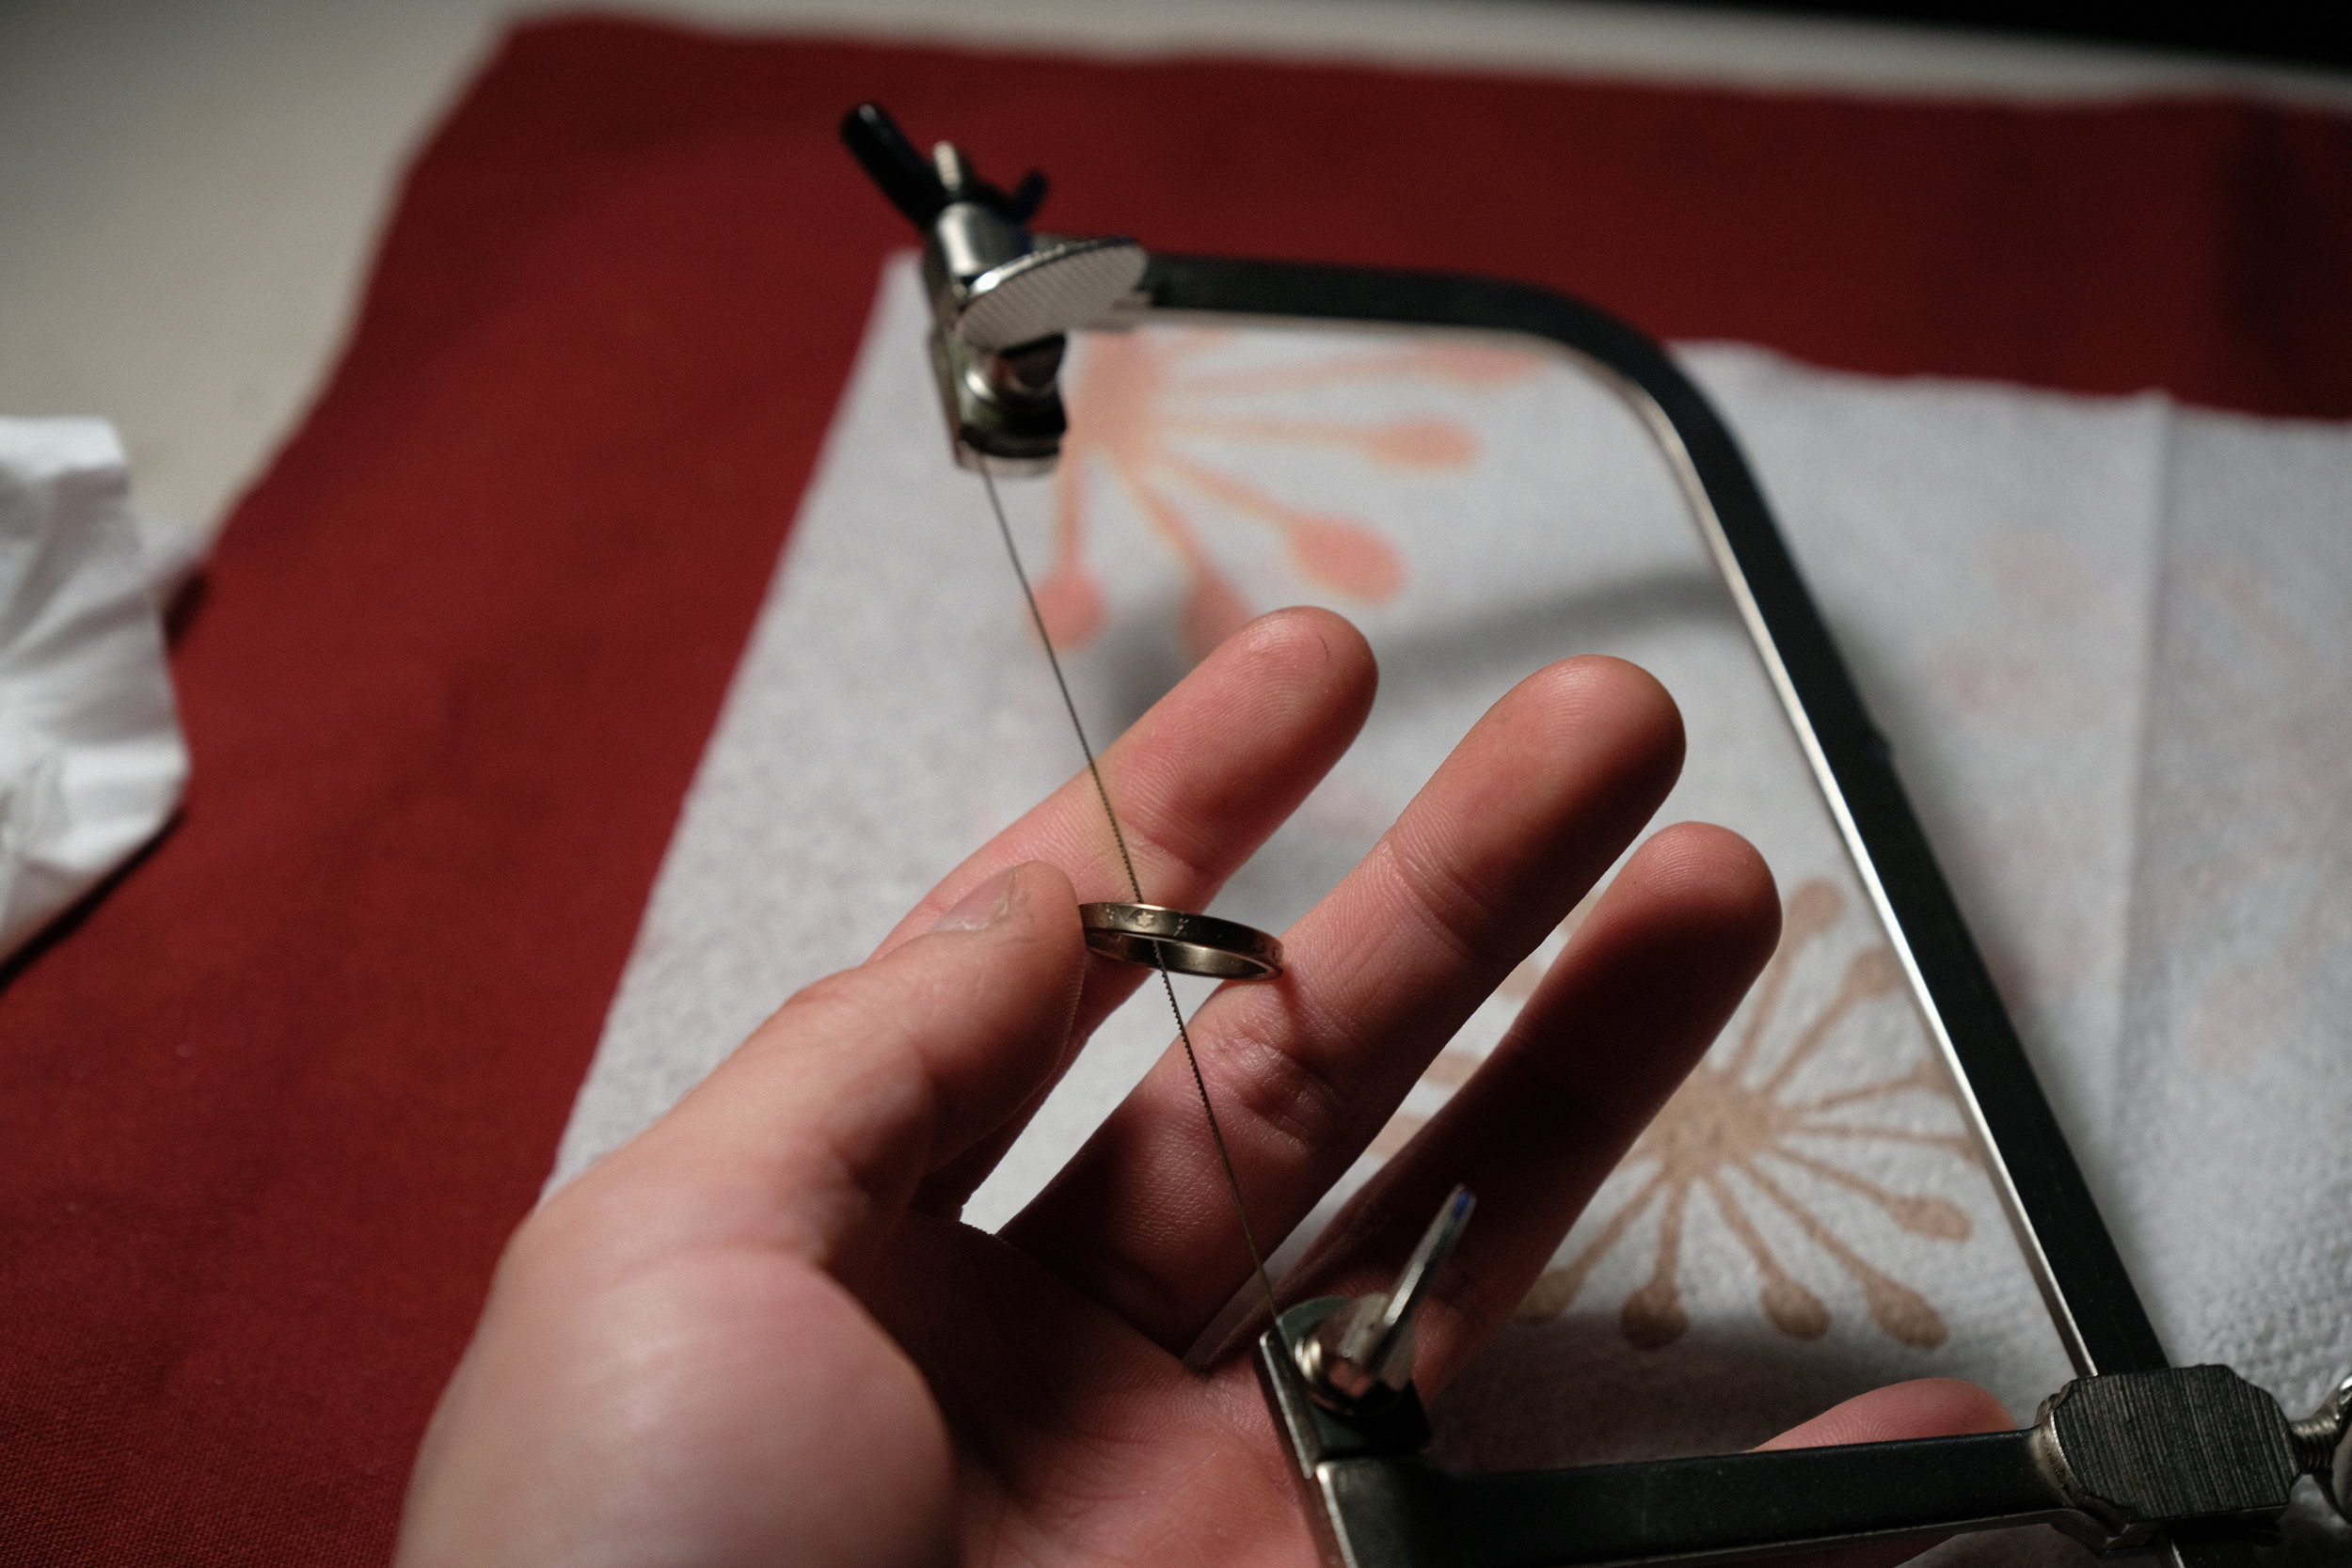
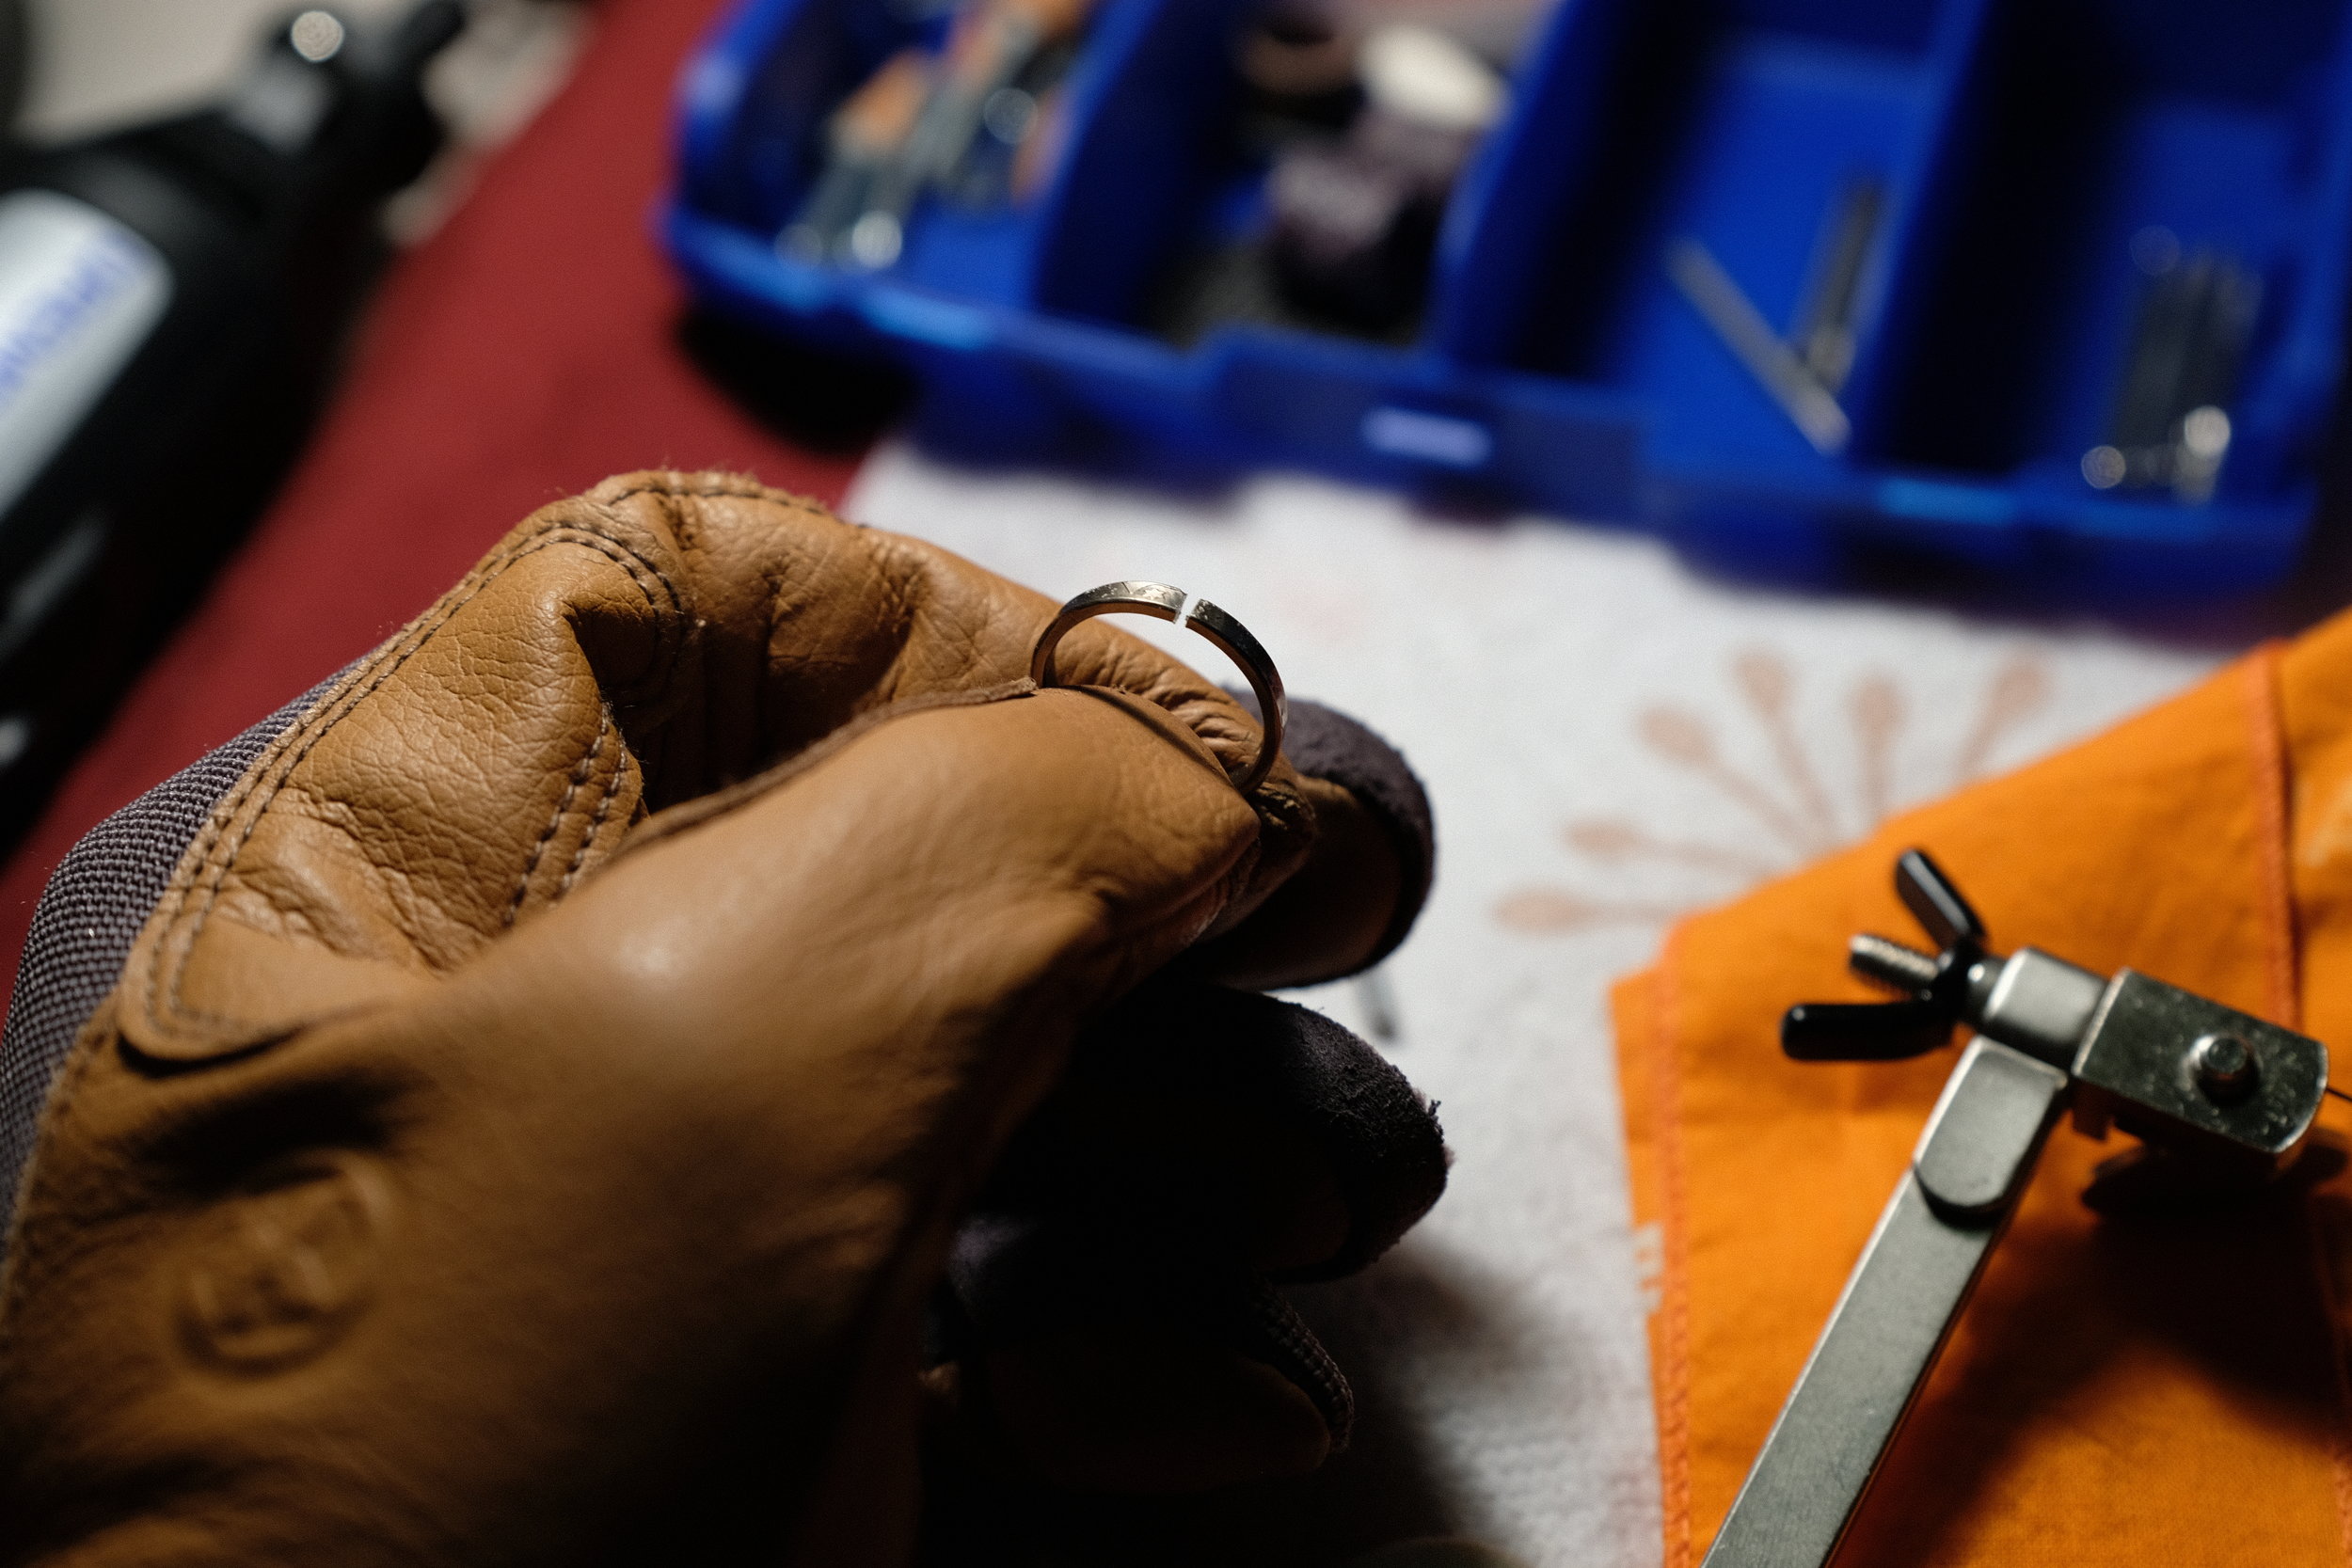
One ring must be chosen as sacrifice. A jeweler's saw is preferable here, as the cut is small and precise.
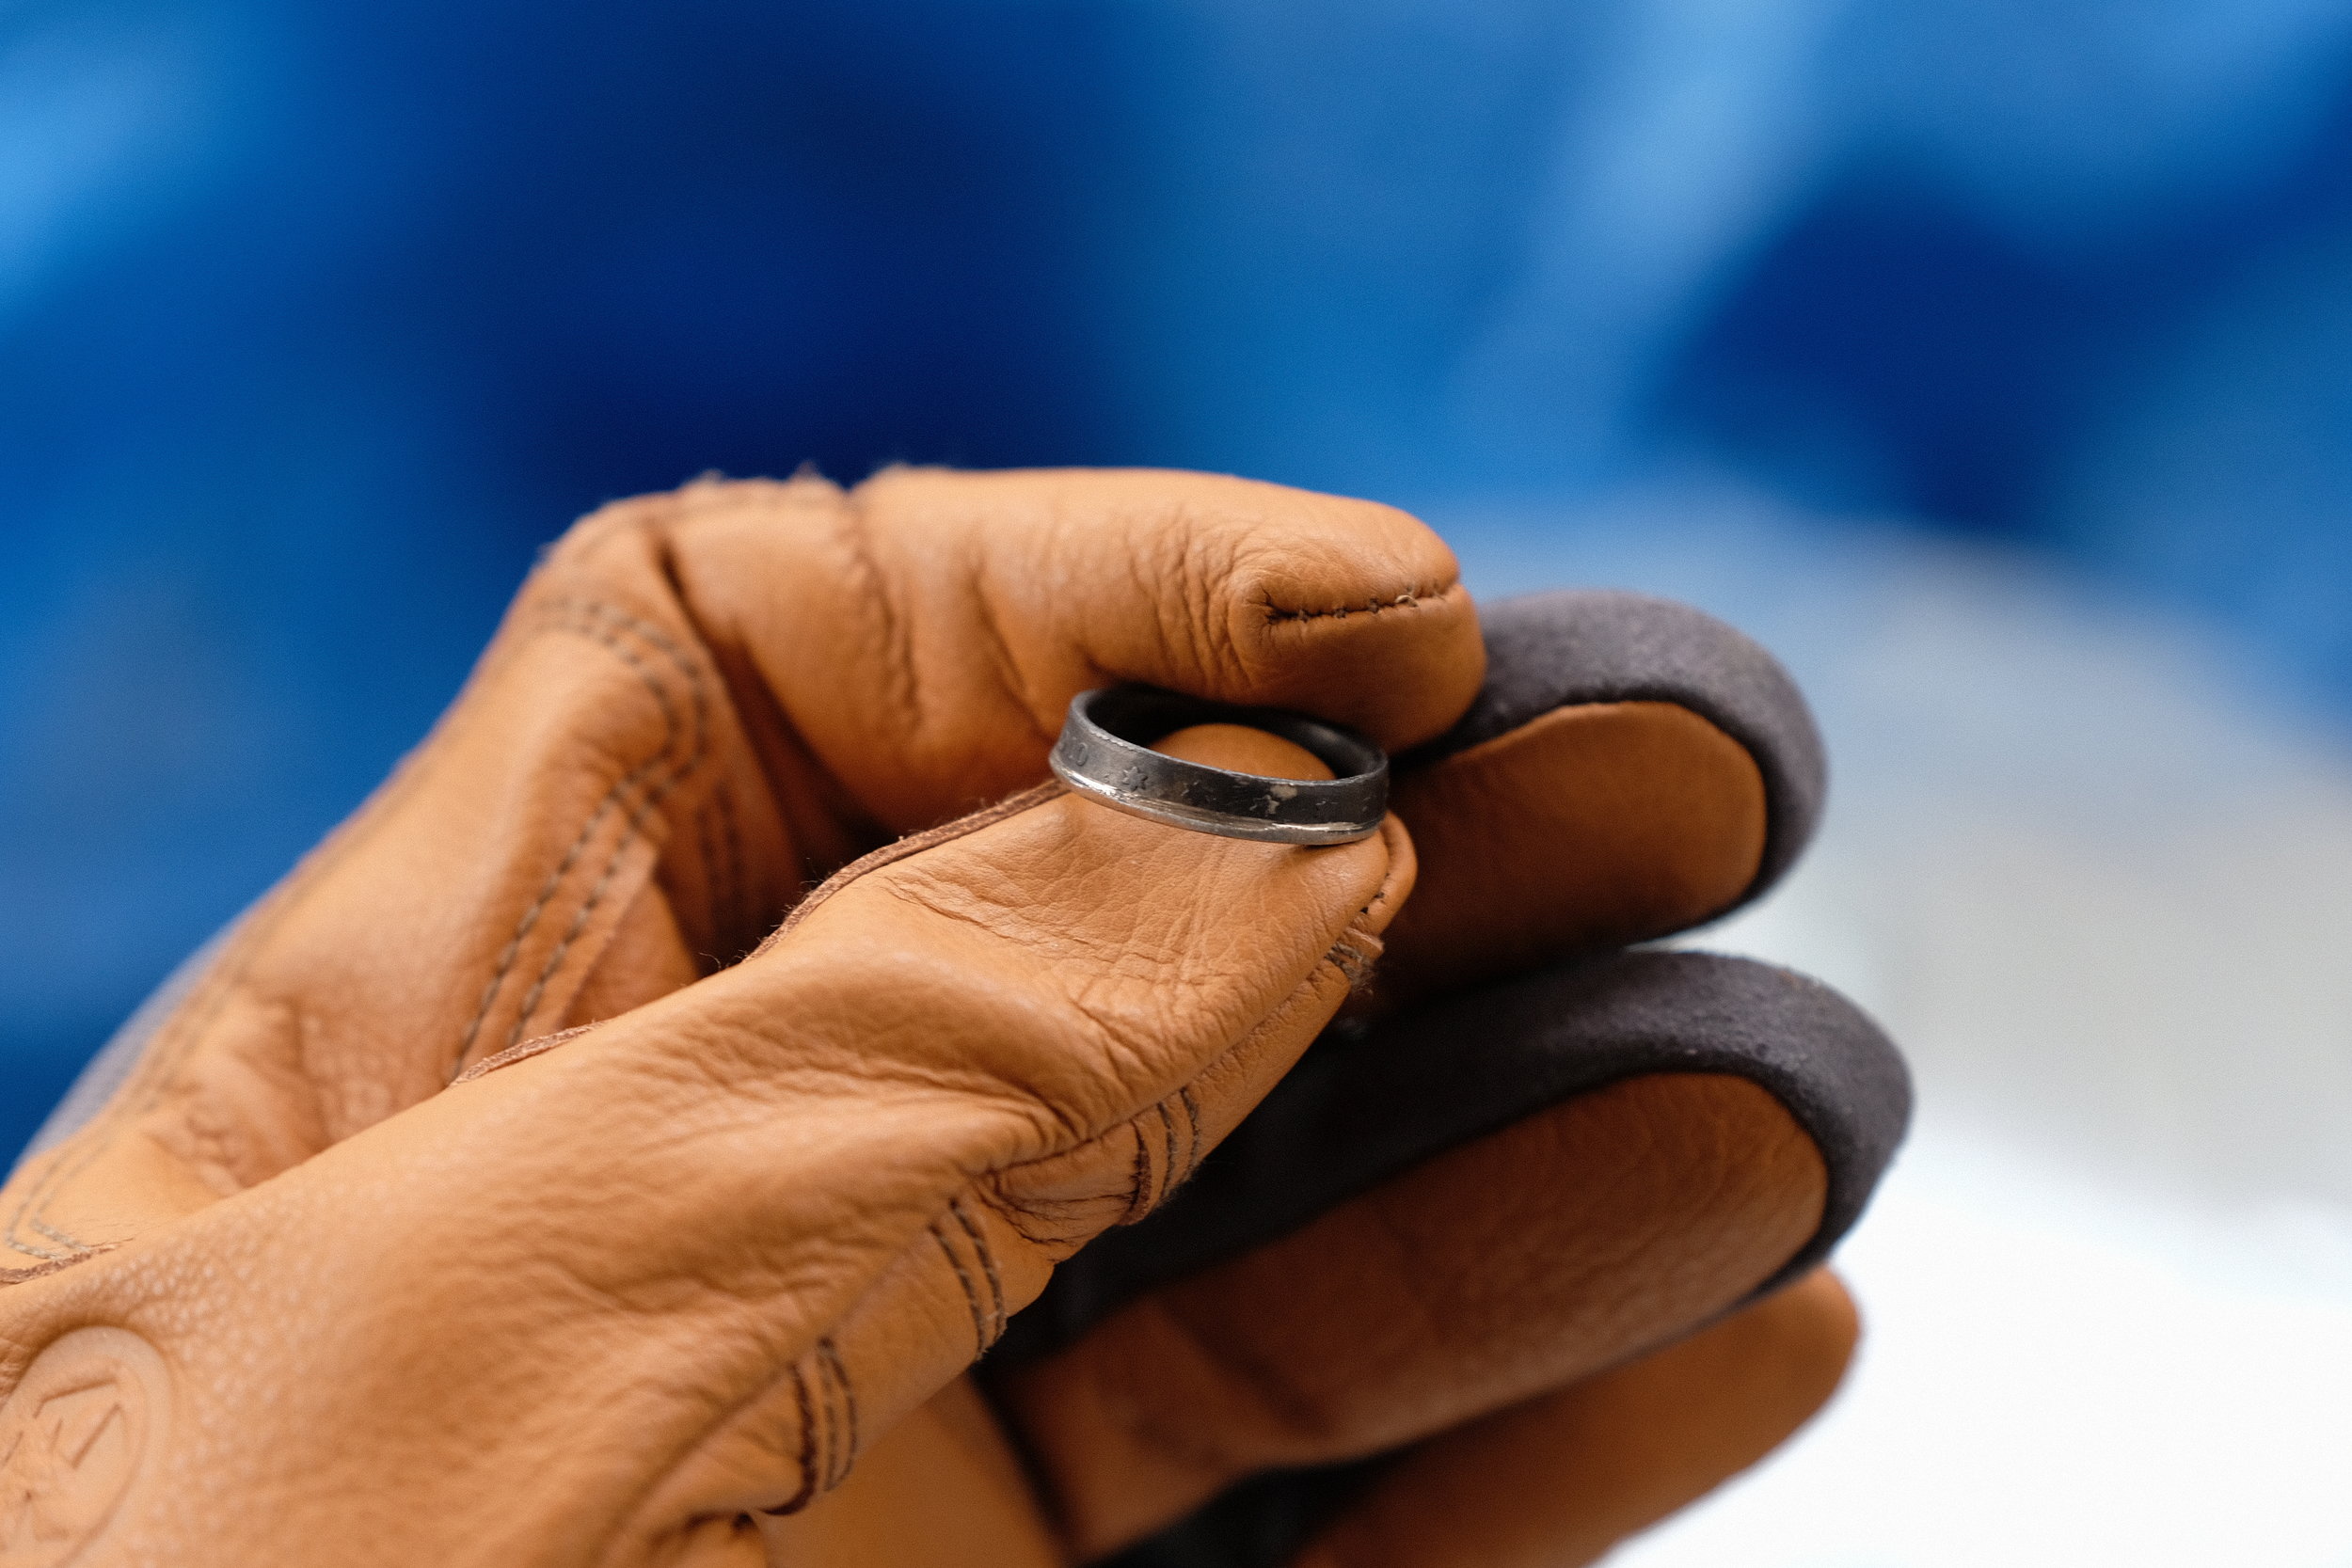
Once the ring is fully cut, the opening naturally widens a bit.
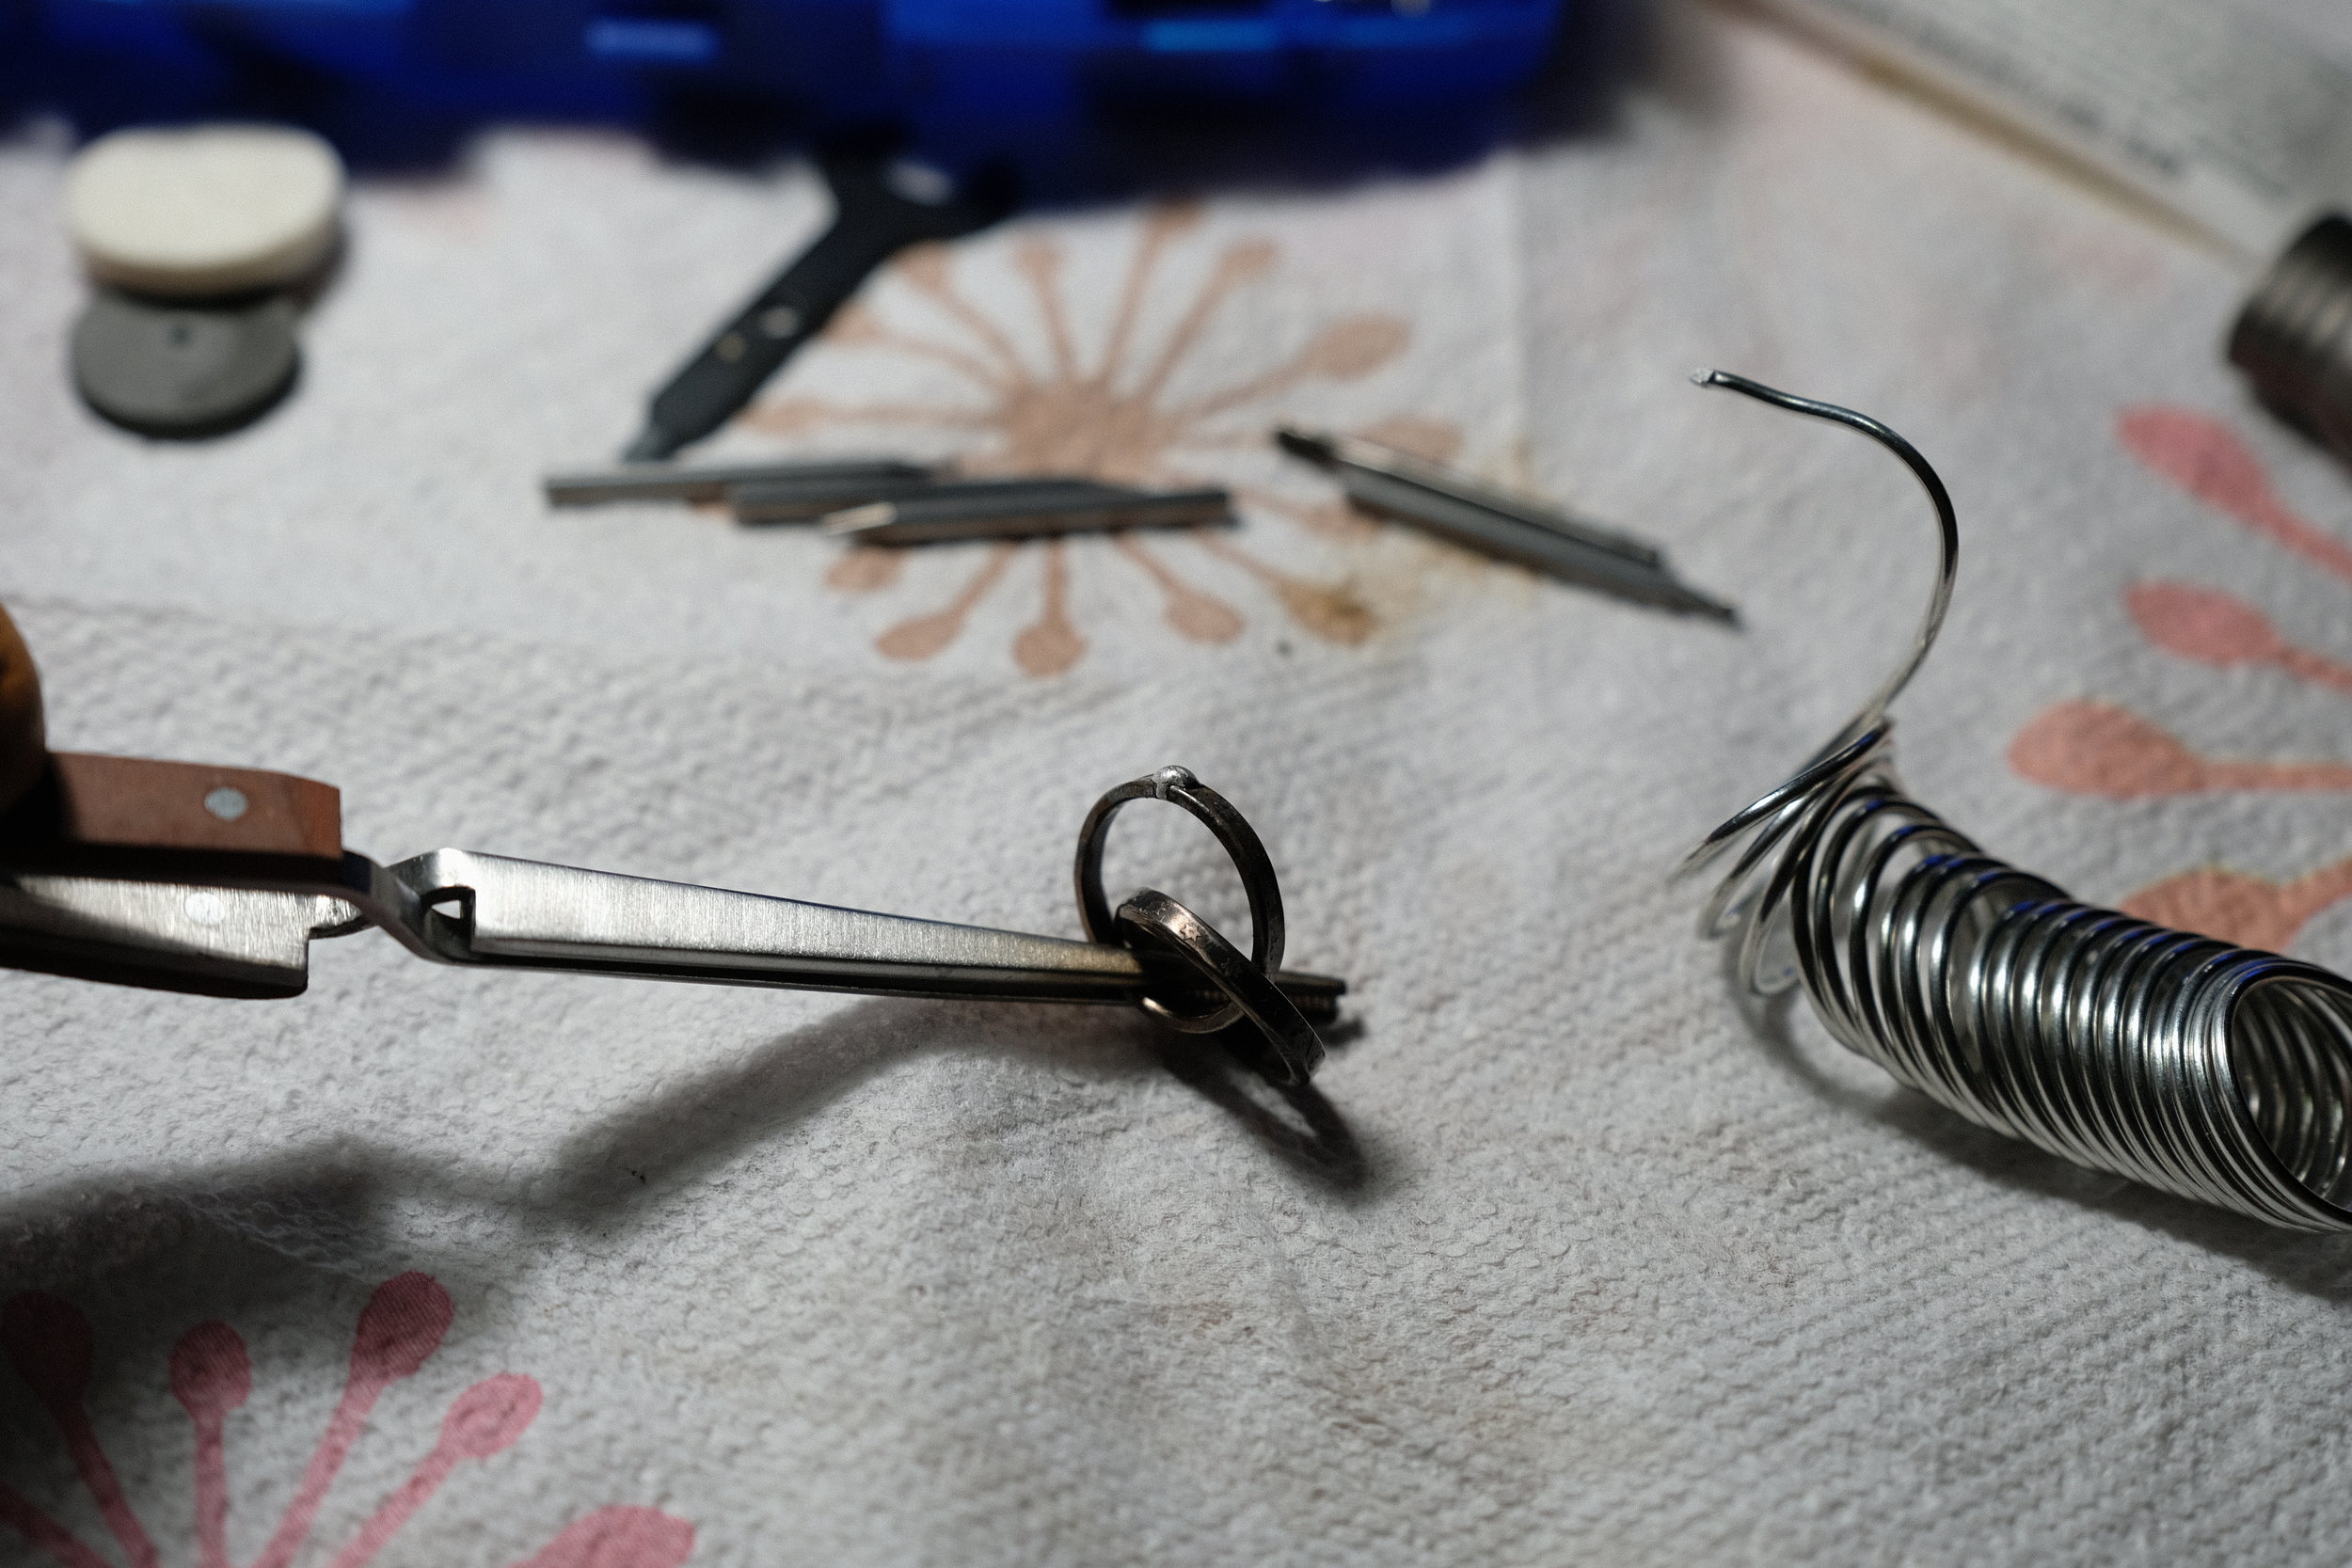
Gently widening the gap allows the other ring through. Though I was initially concerned about deforming the ring, there were no lasting issues.
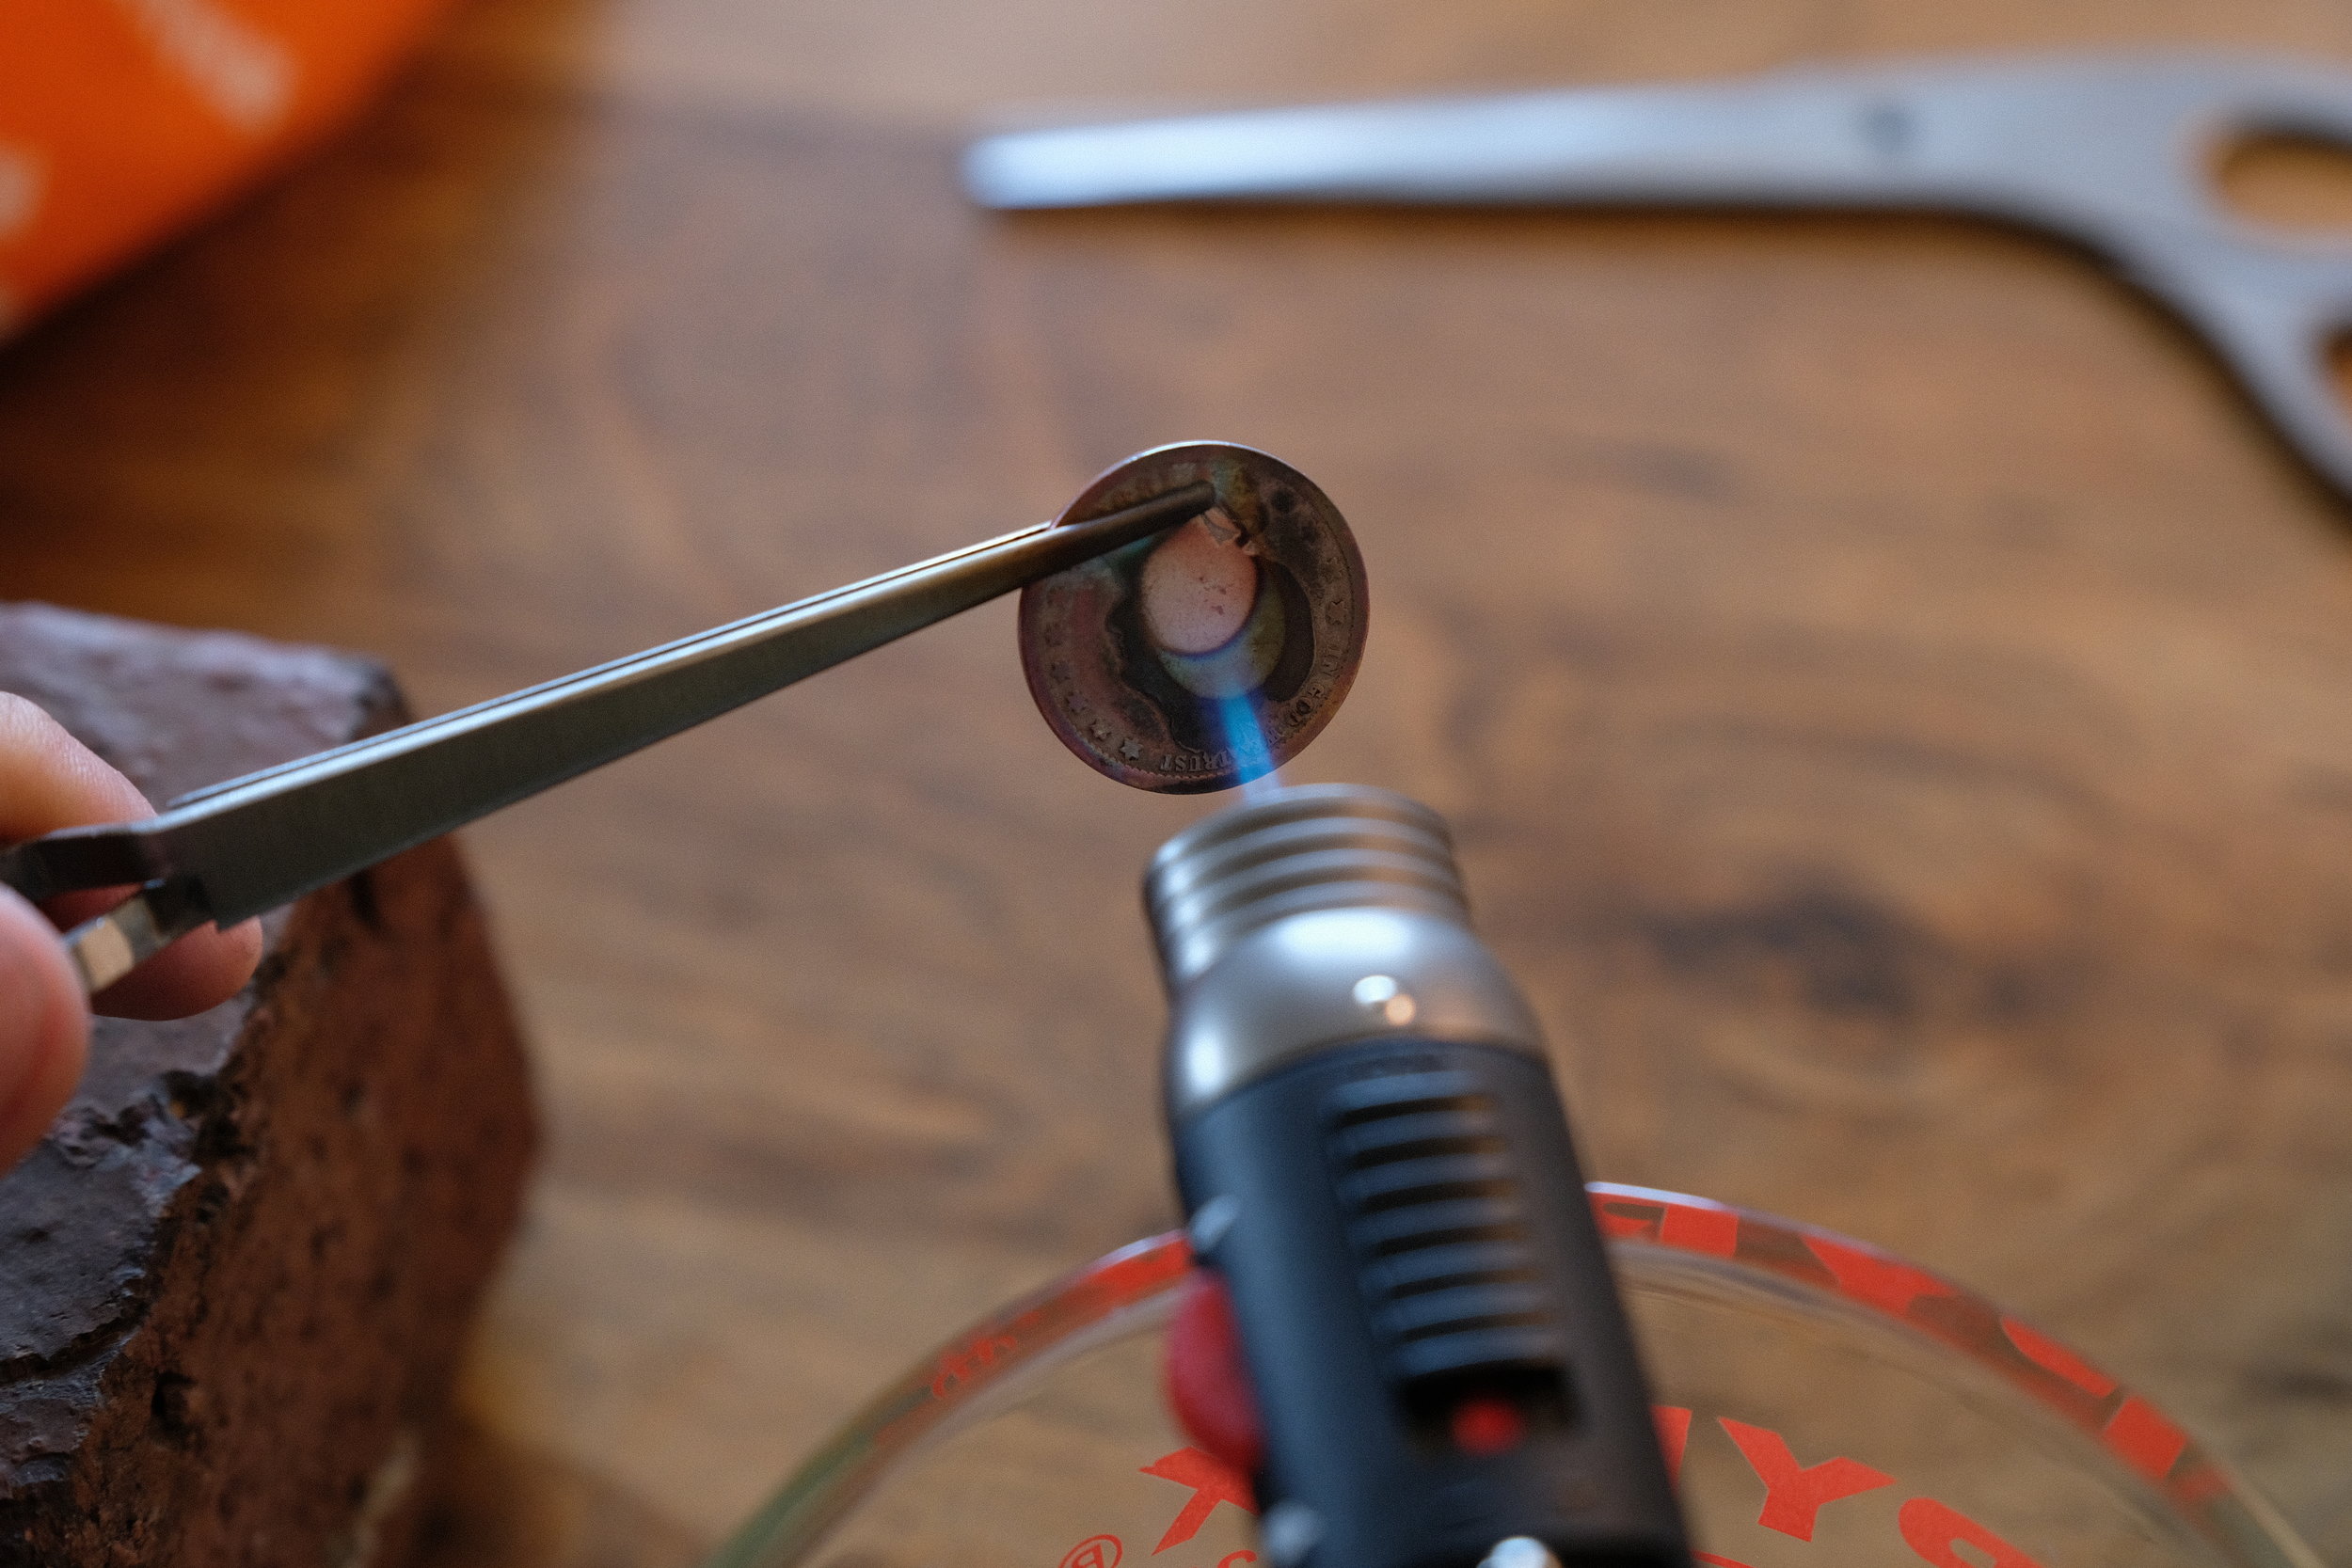
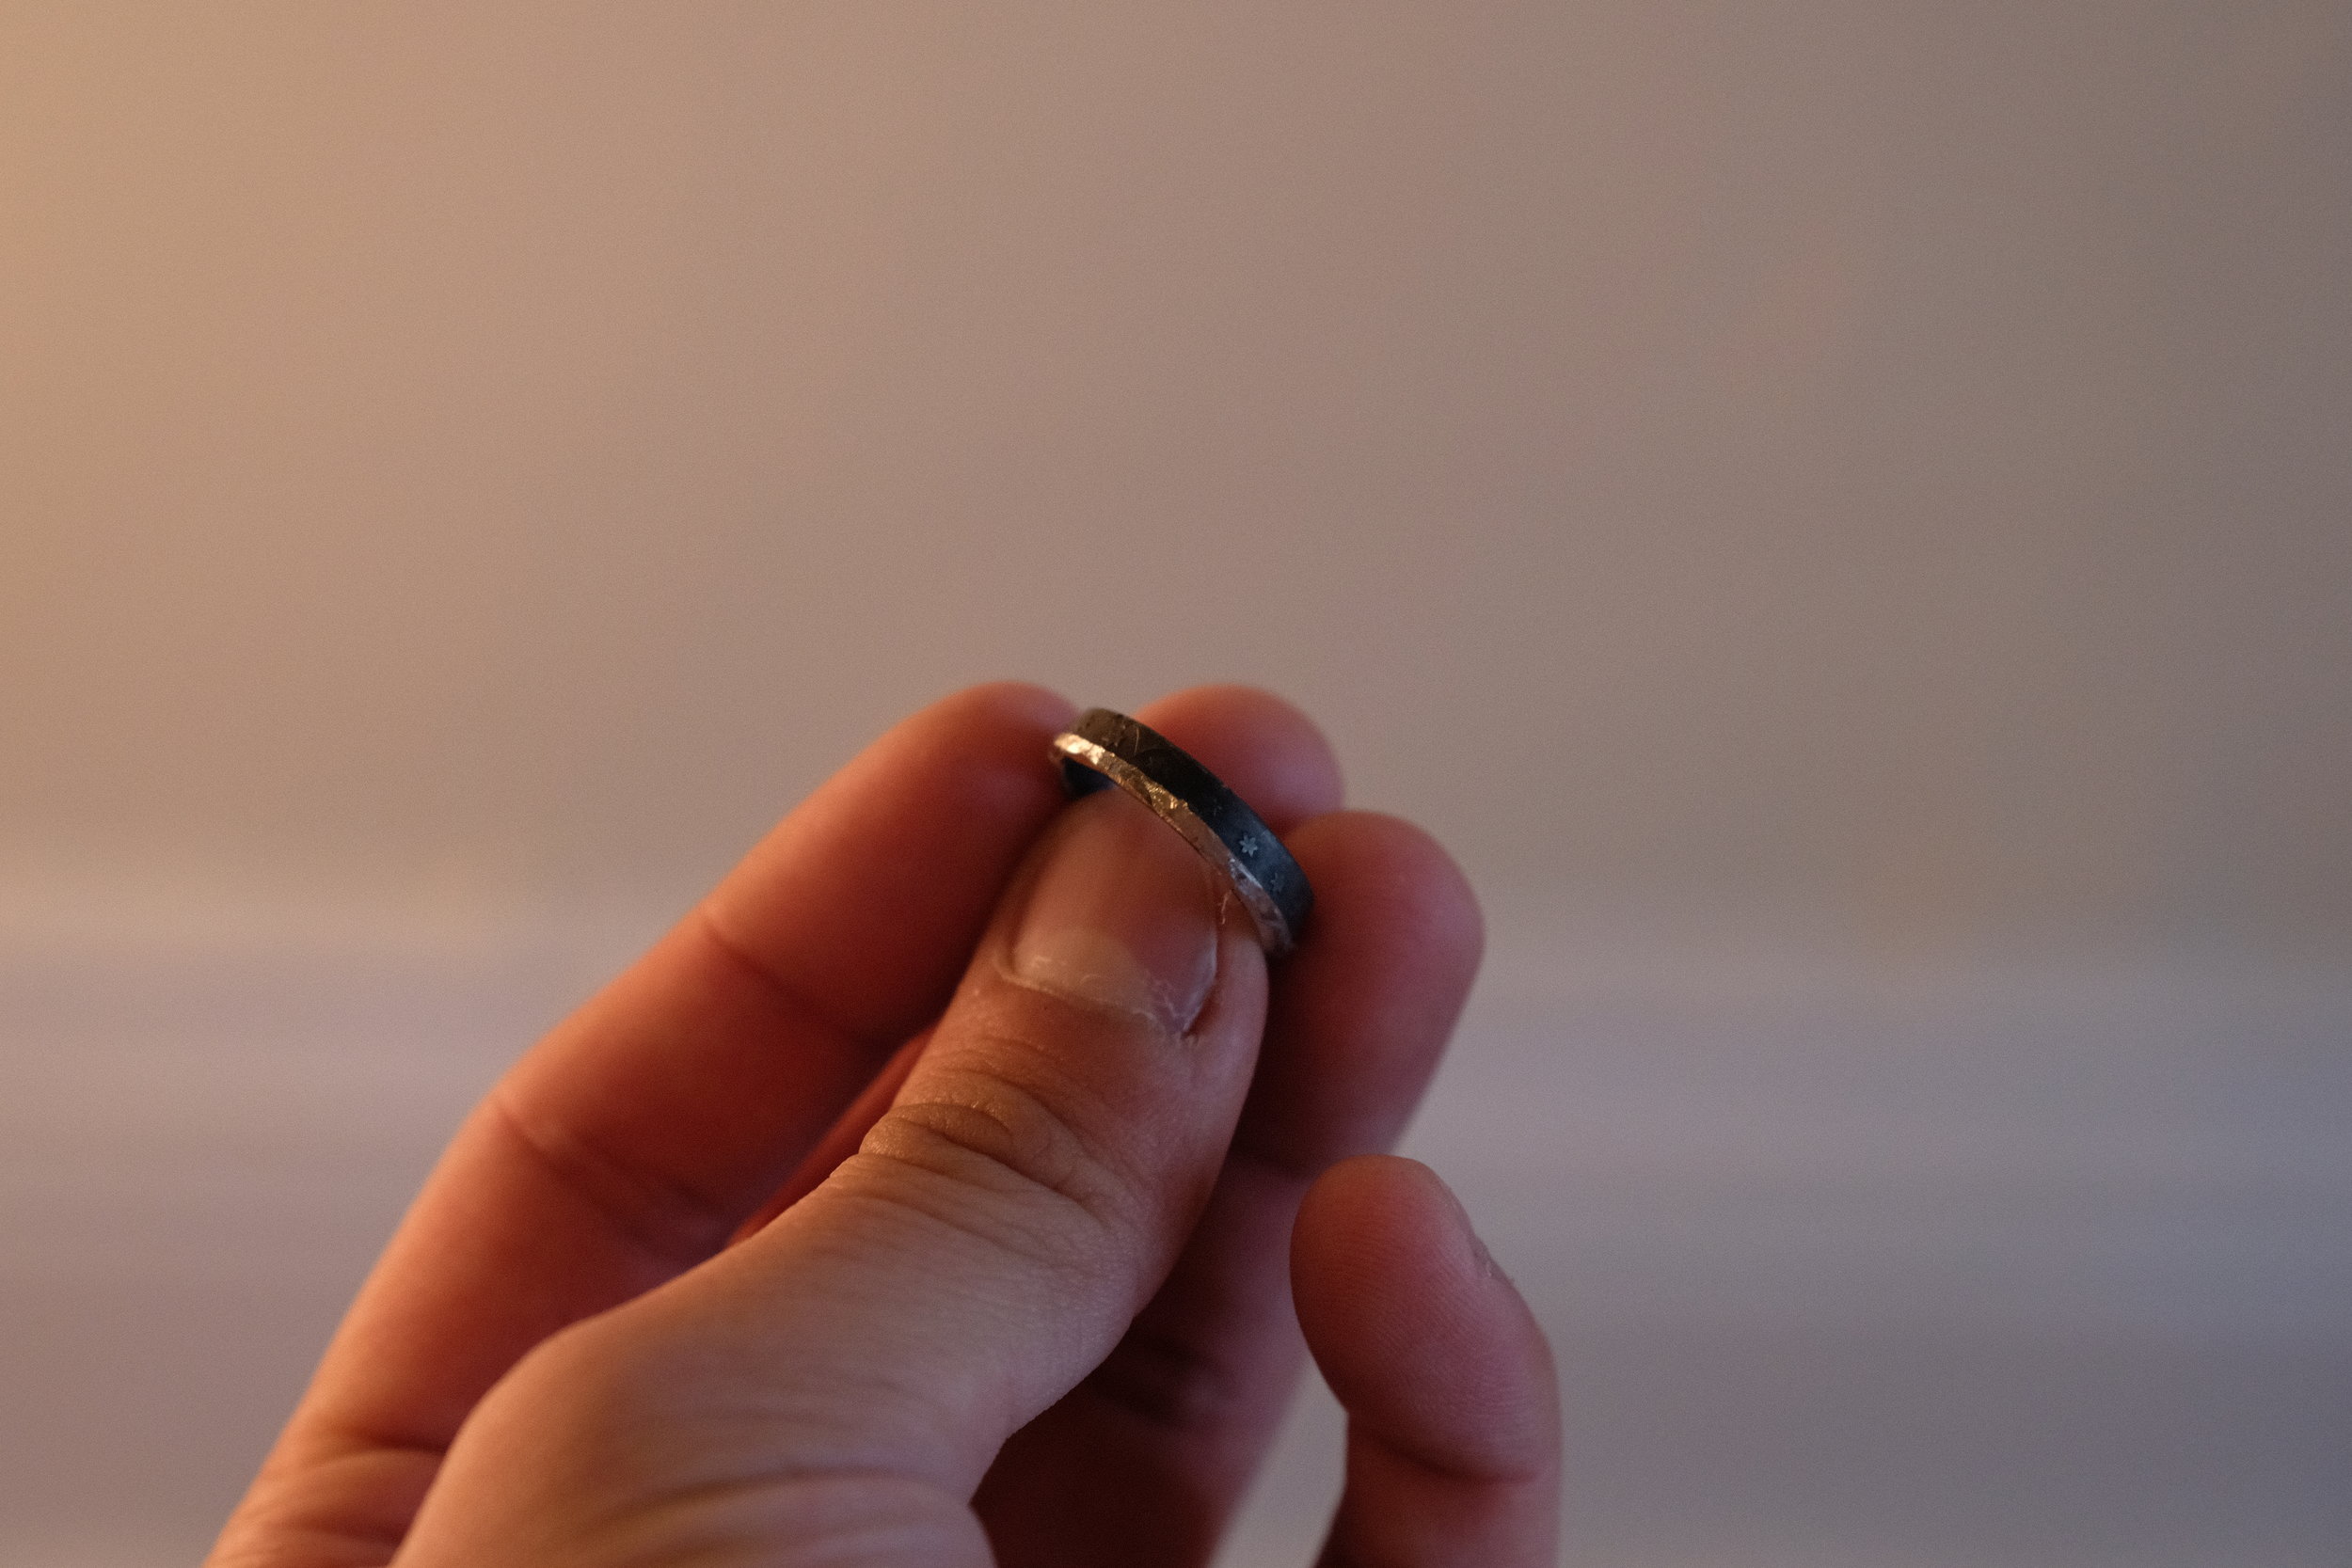
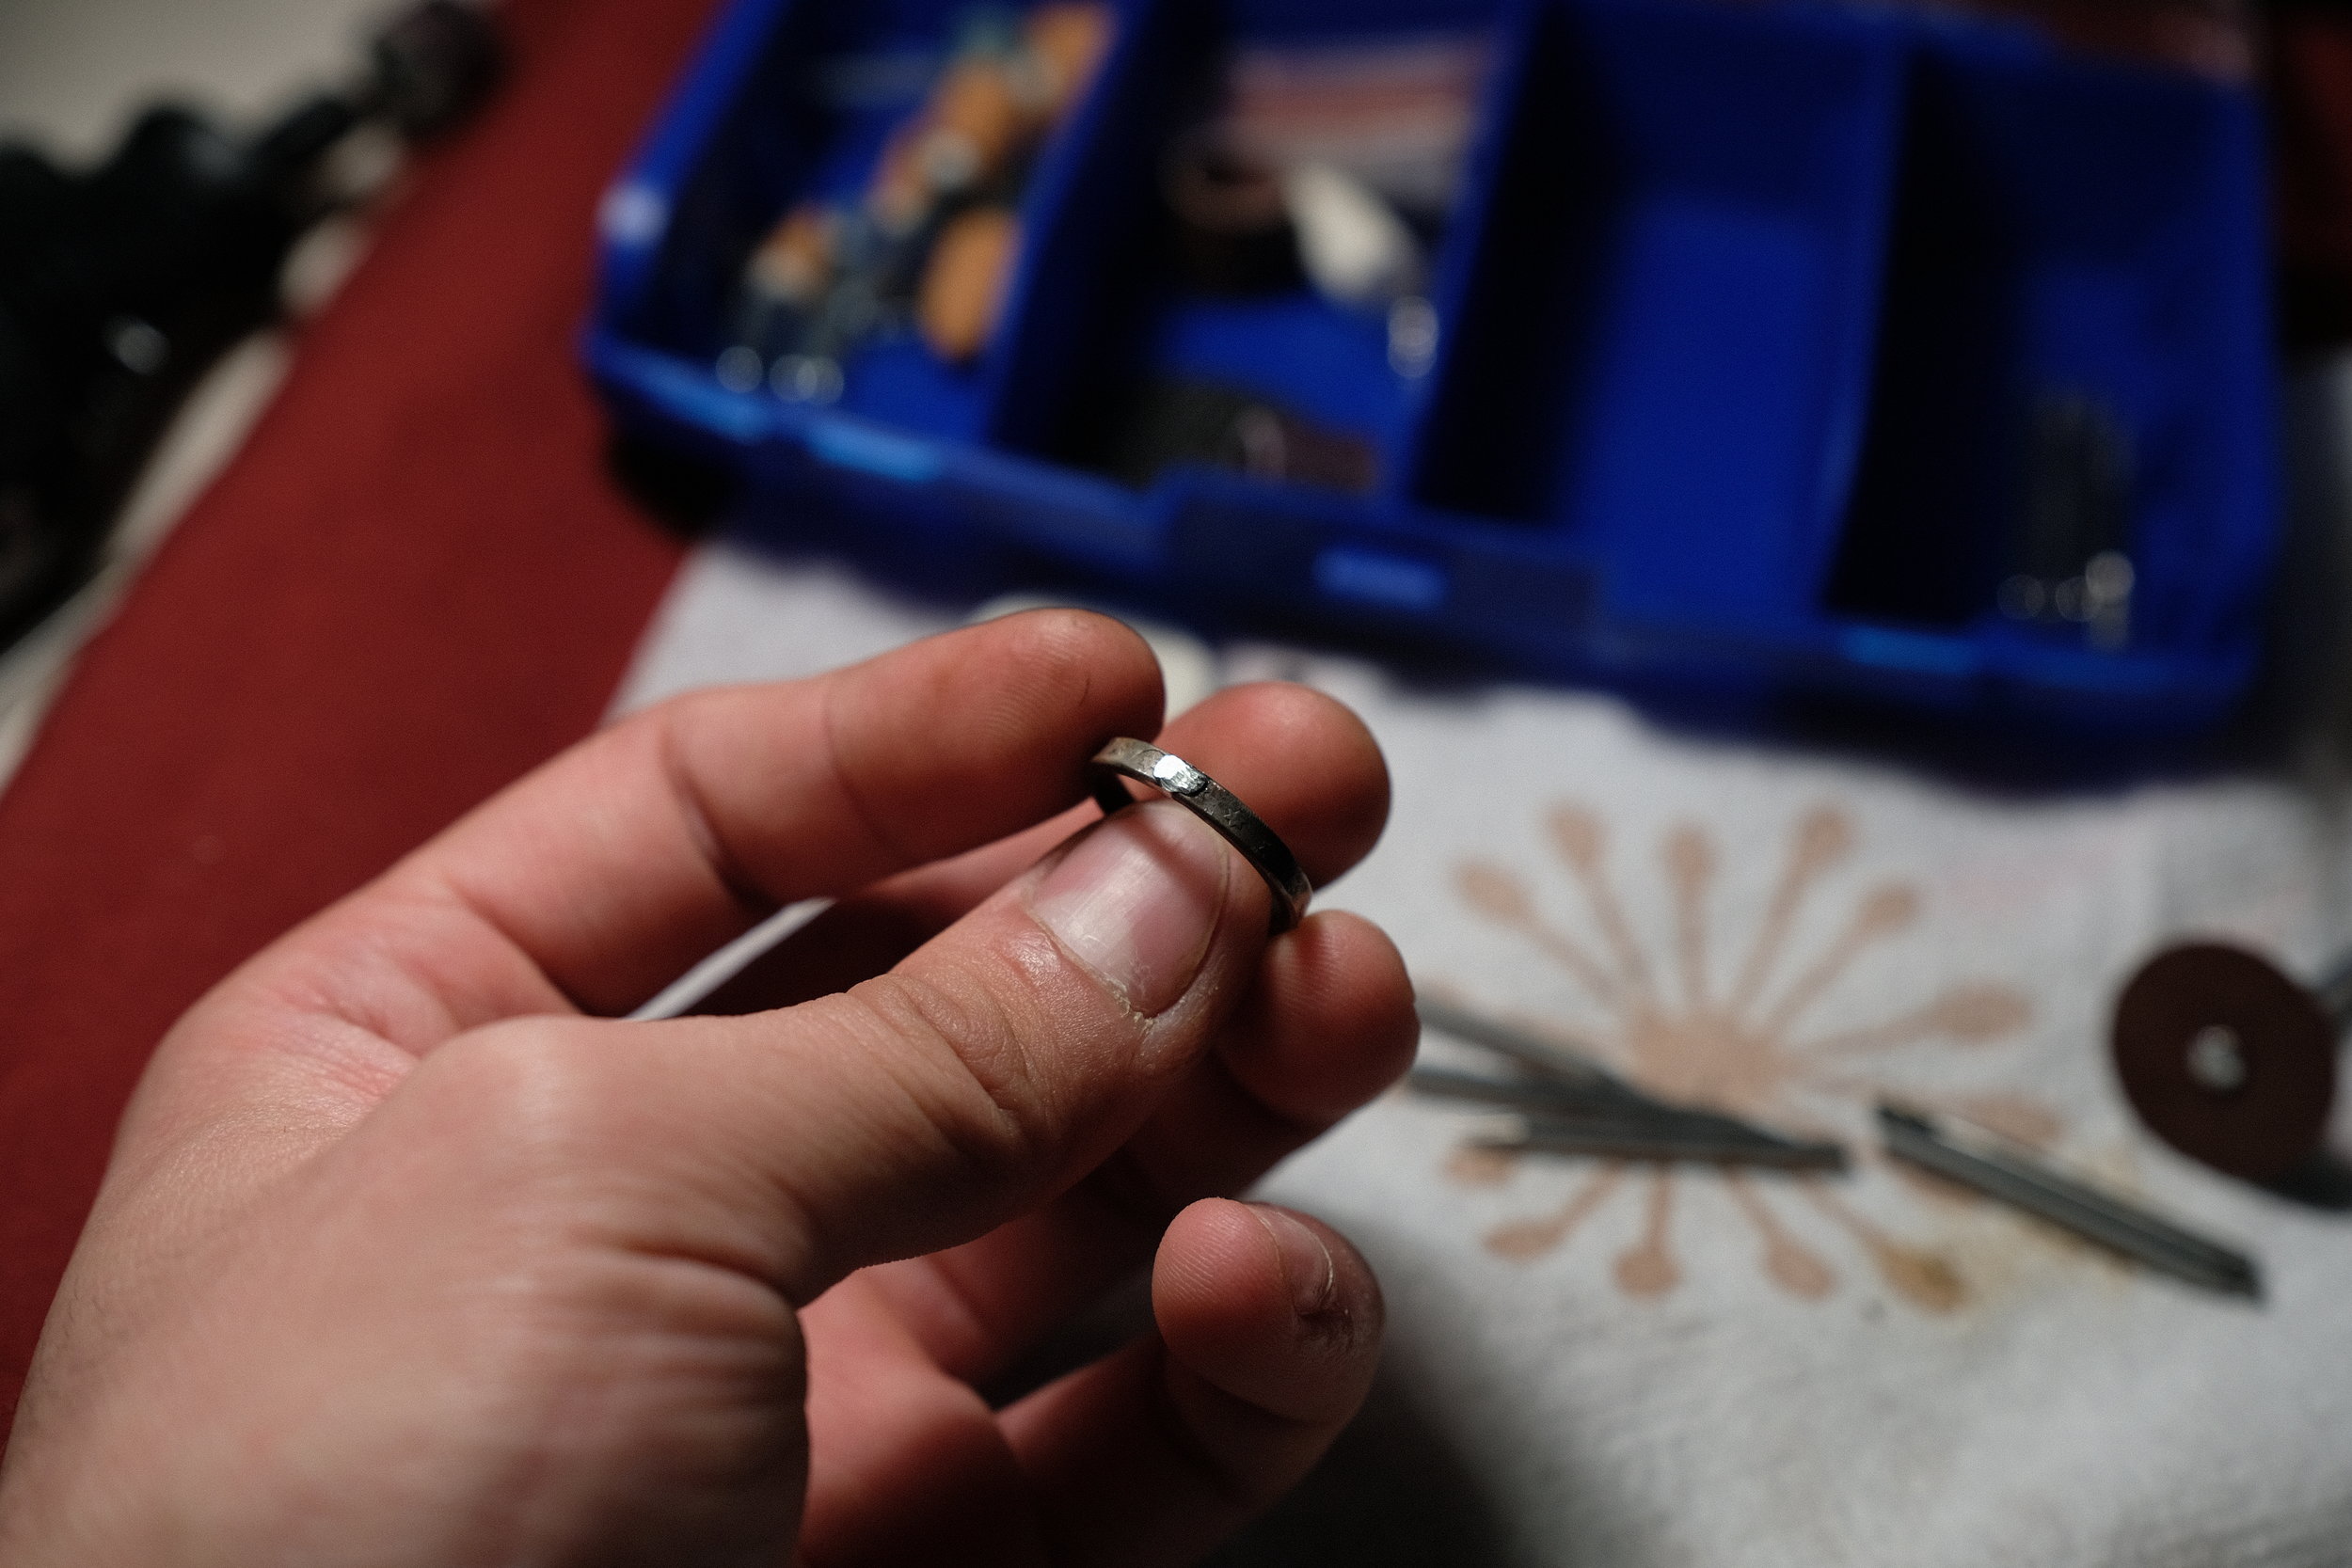
Seal the gap with silver solder and a torch. My mistake here was holding the ring such that the solder dripped outwards, forming a bulge of metal over the detail on the face of the ring.
I trimmed and buffed the excess solder. This was a very slow and careful step.
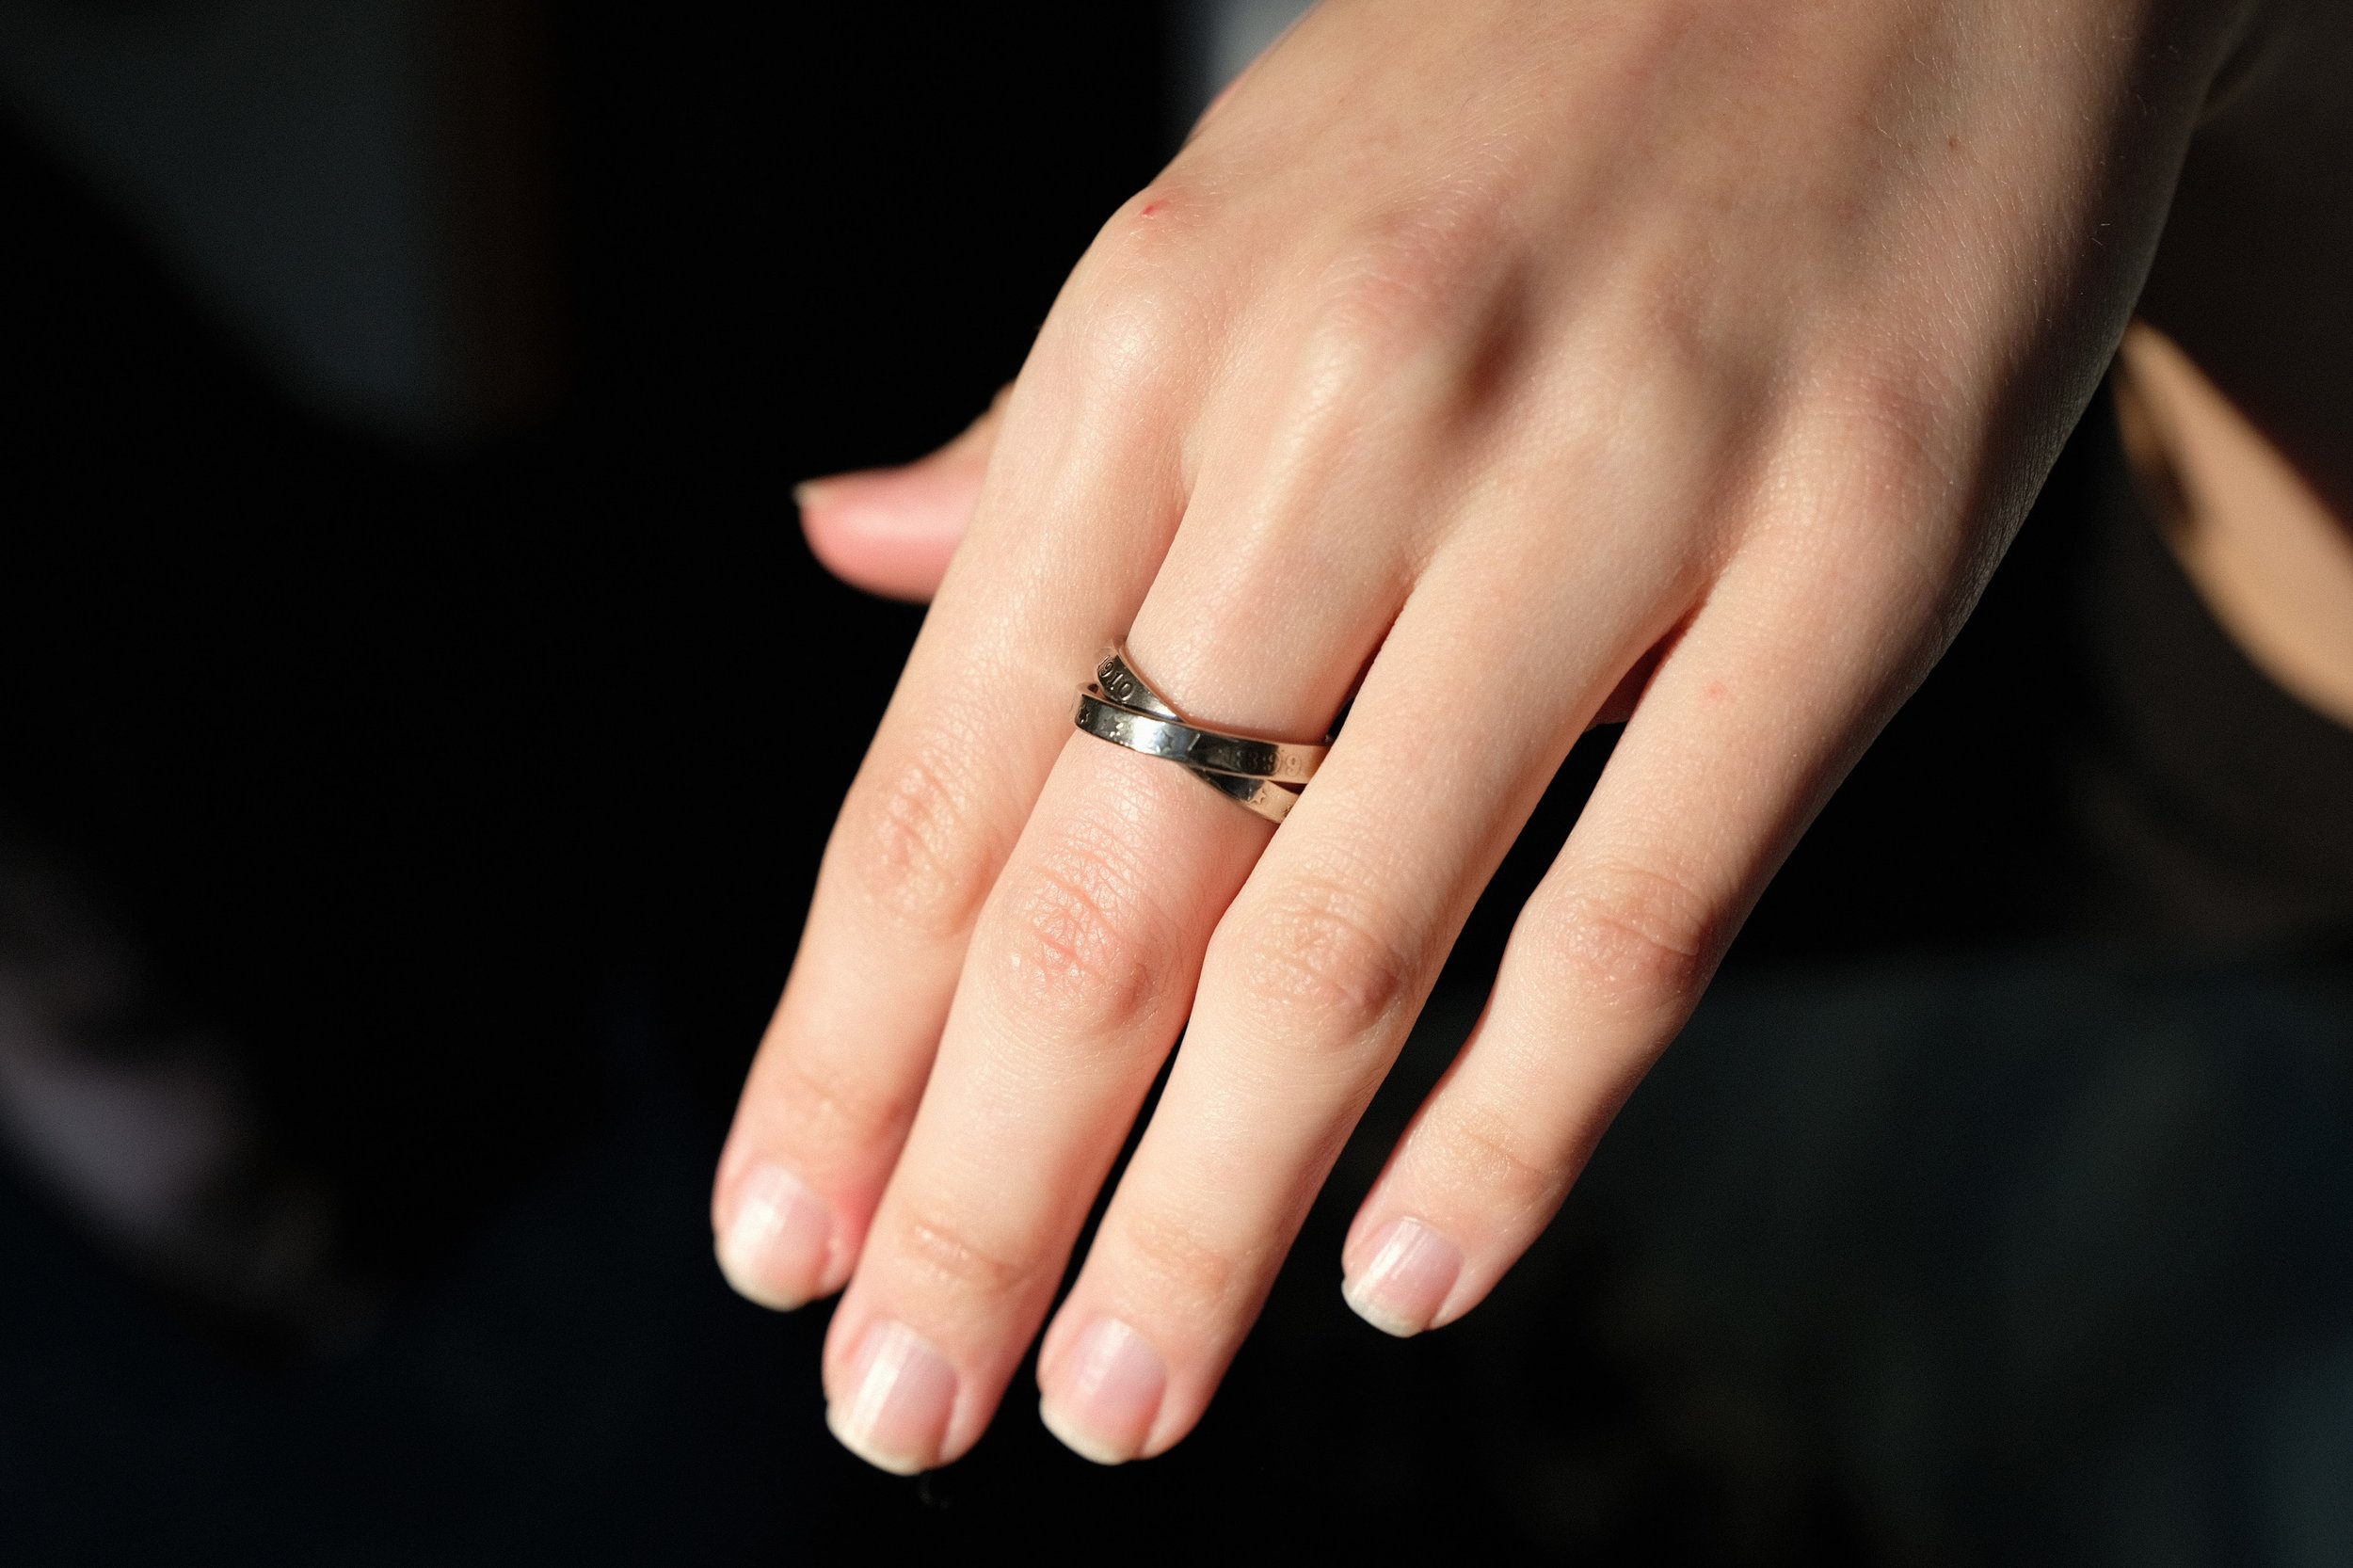
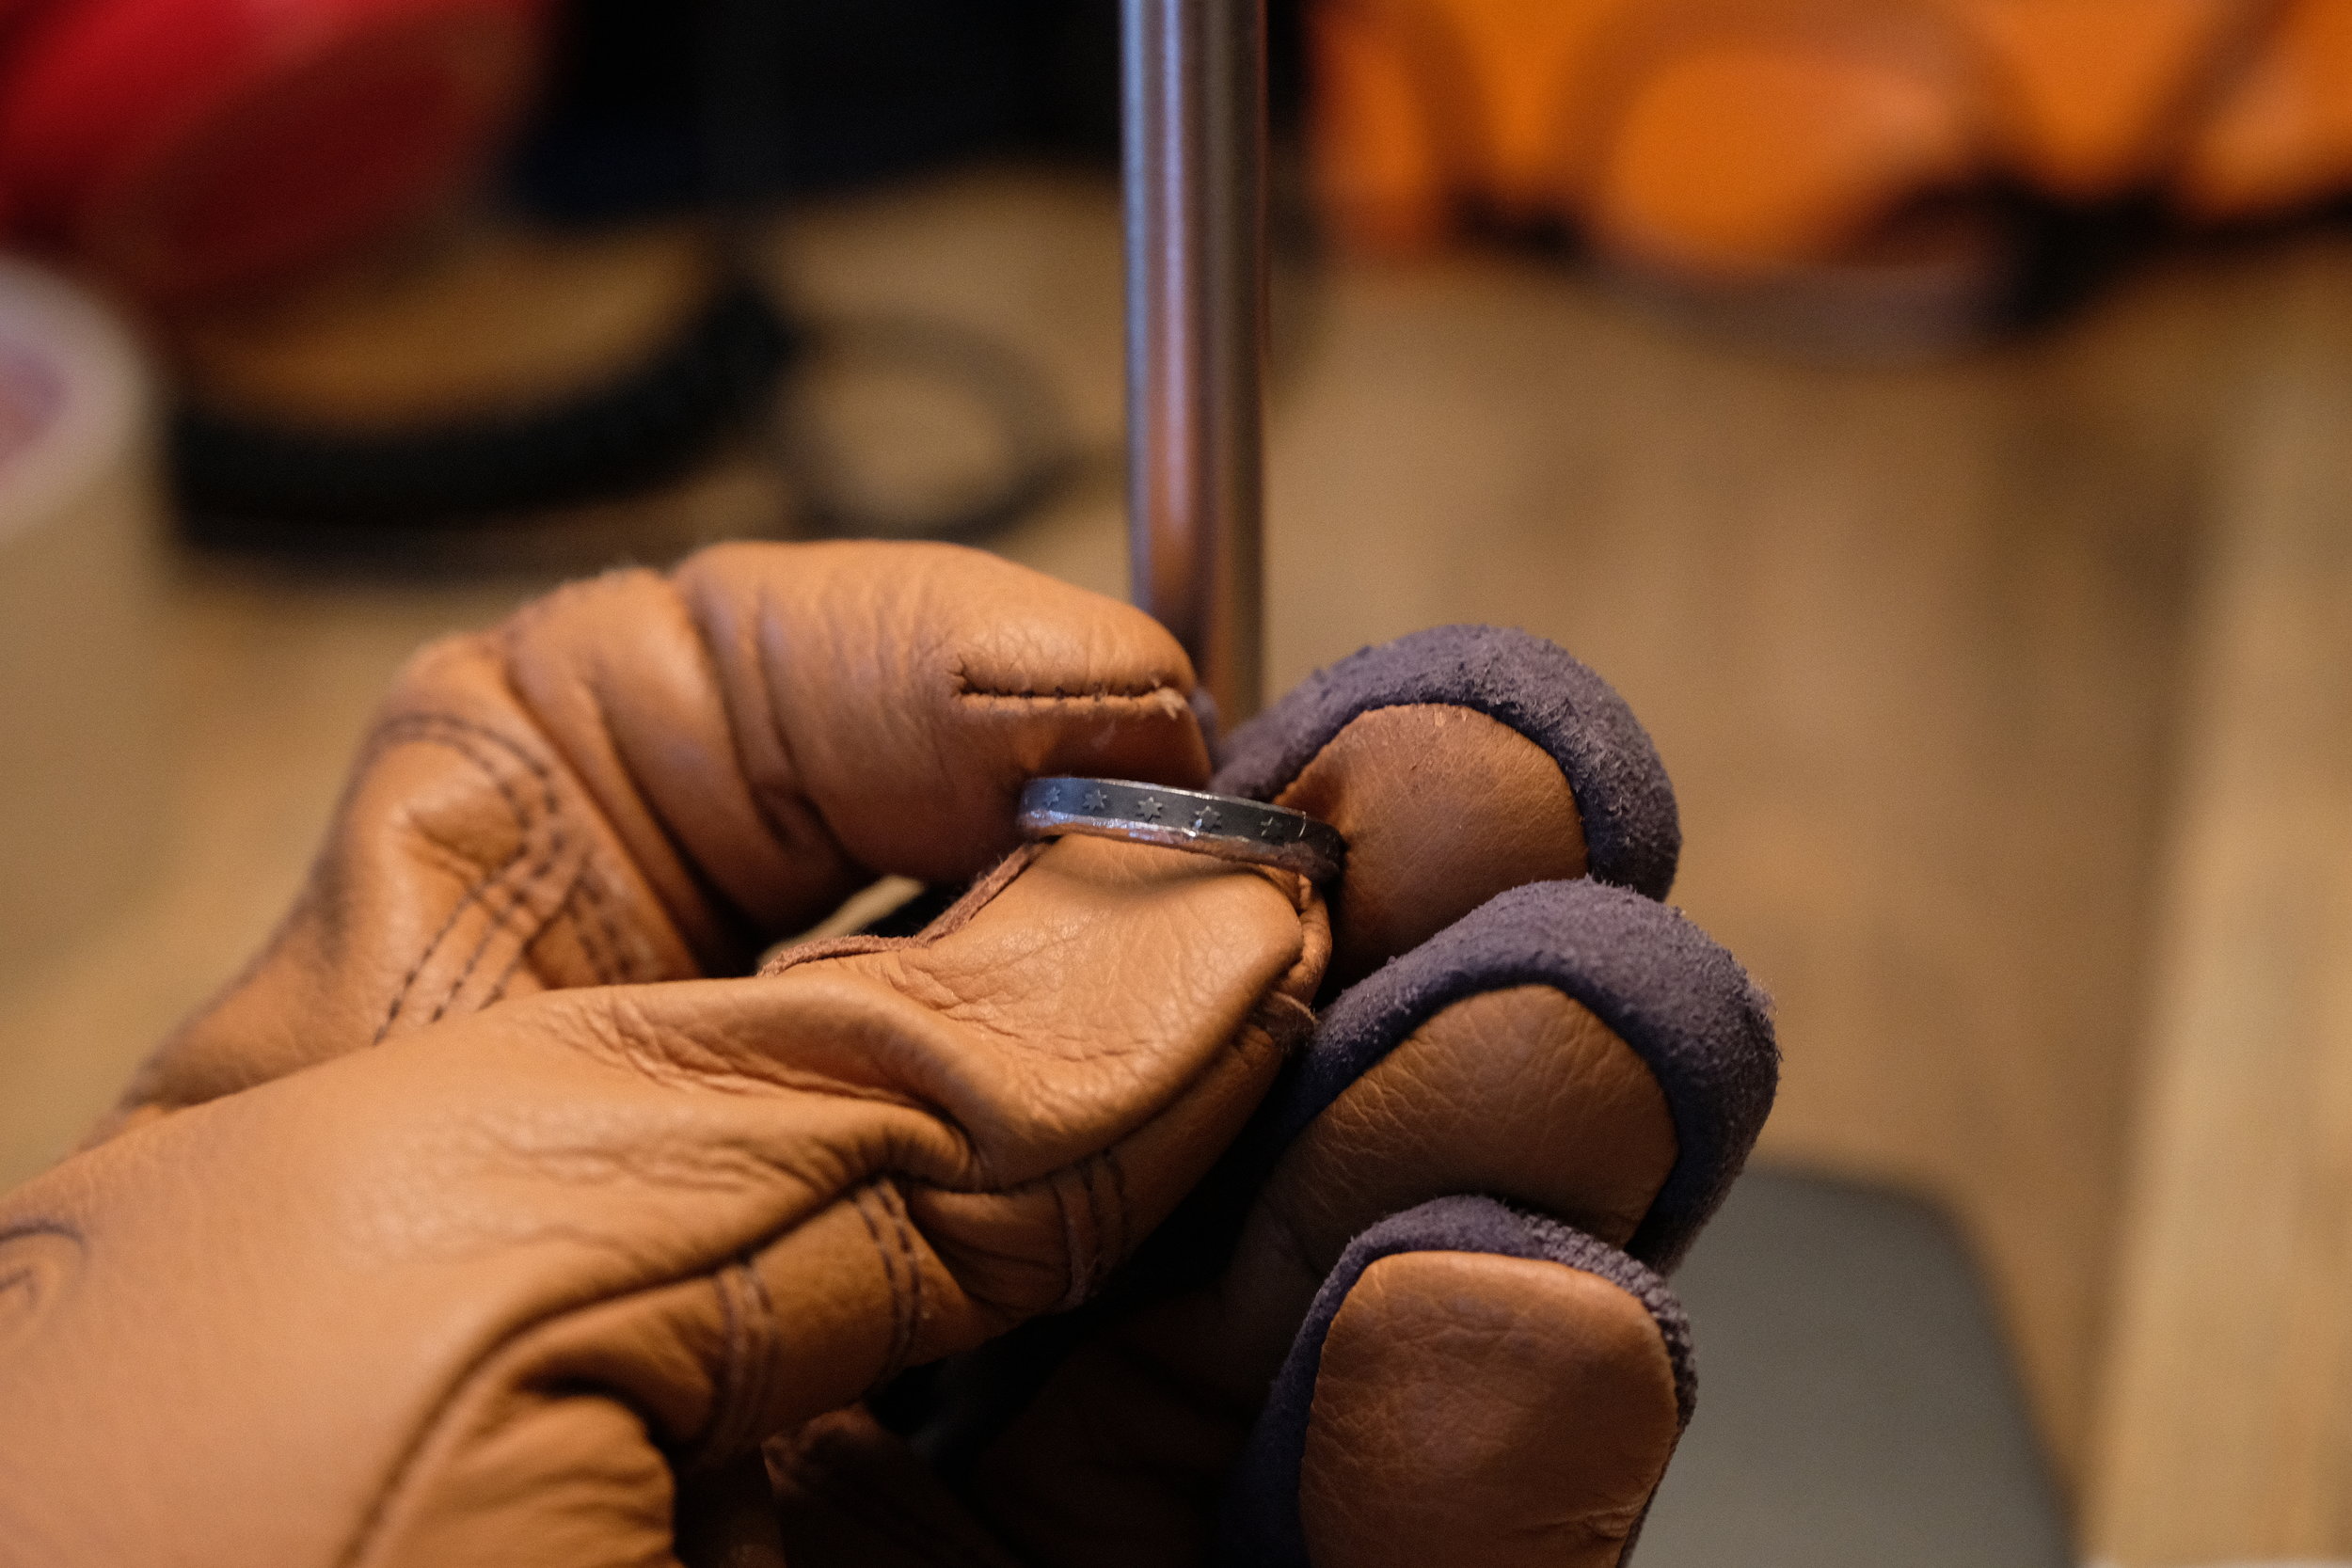
Fully trimmed. Both rings fit and stack marvelously. The solder point feels very strong.
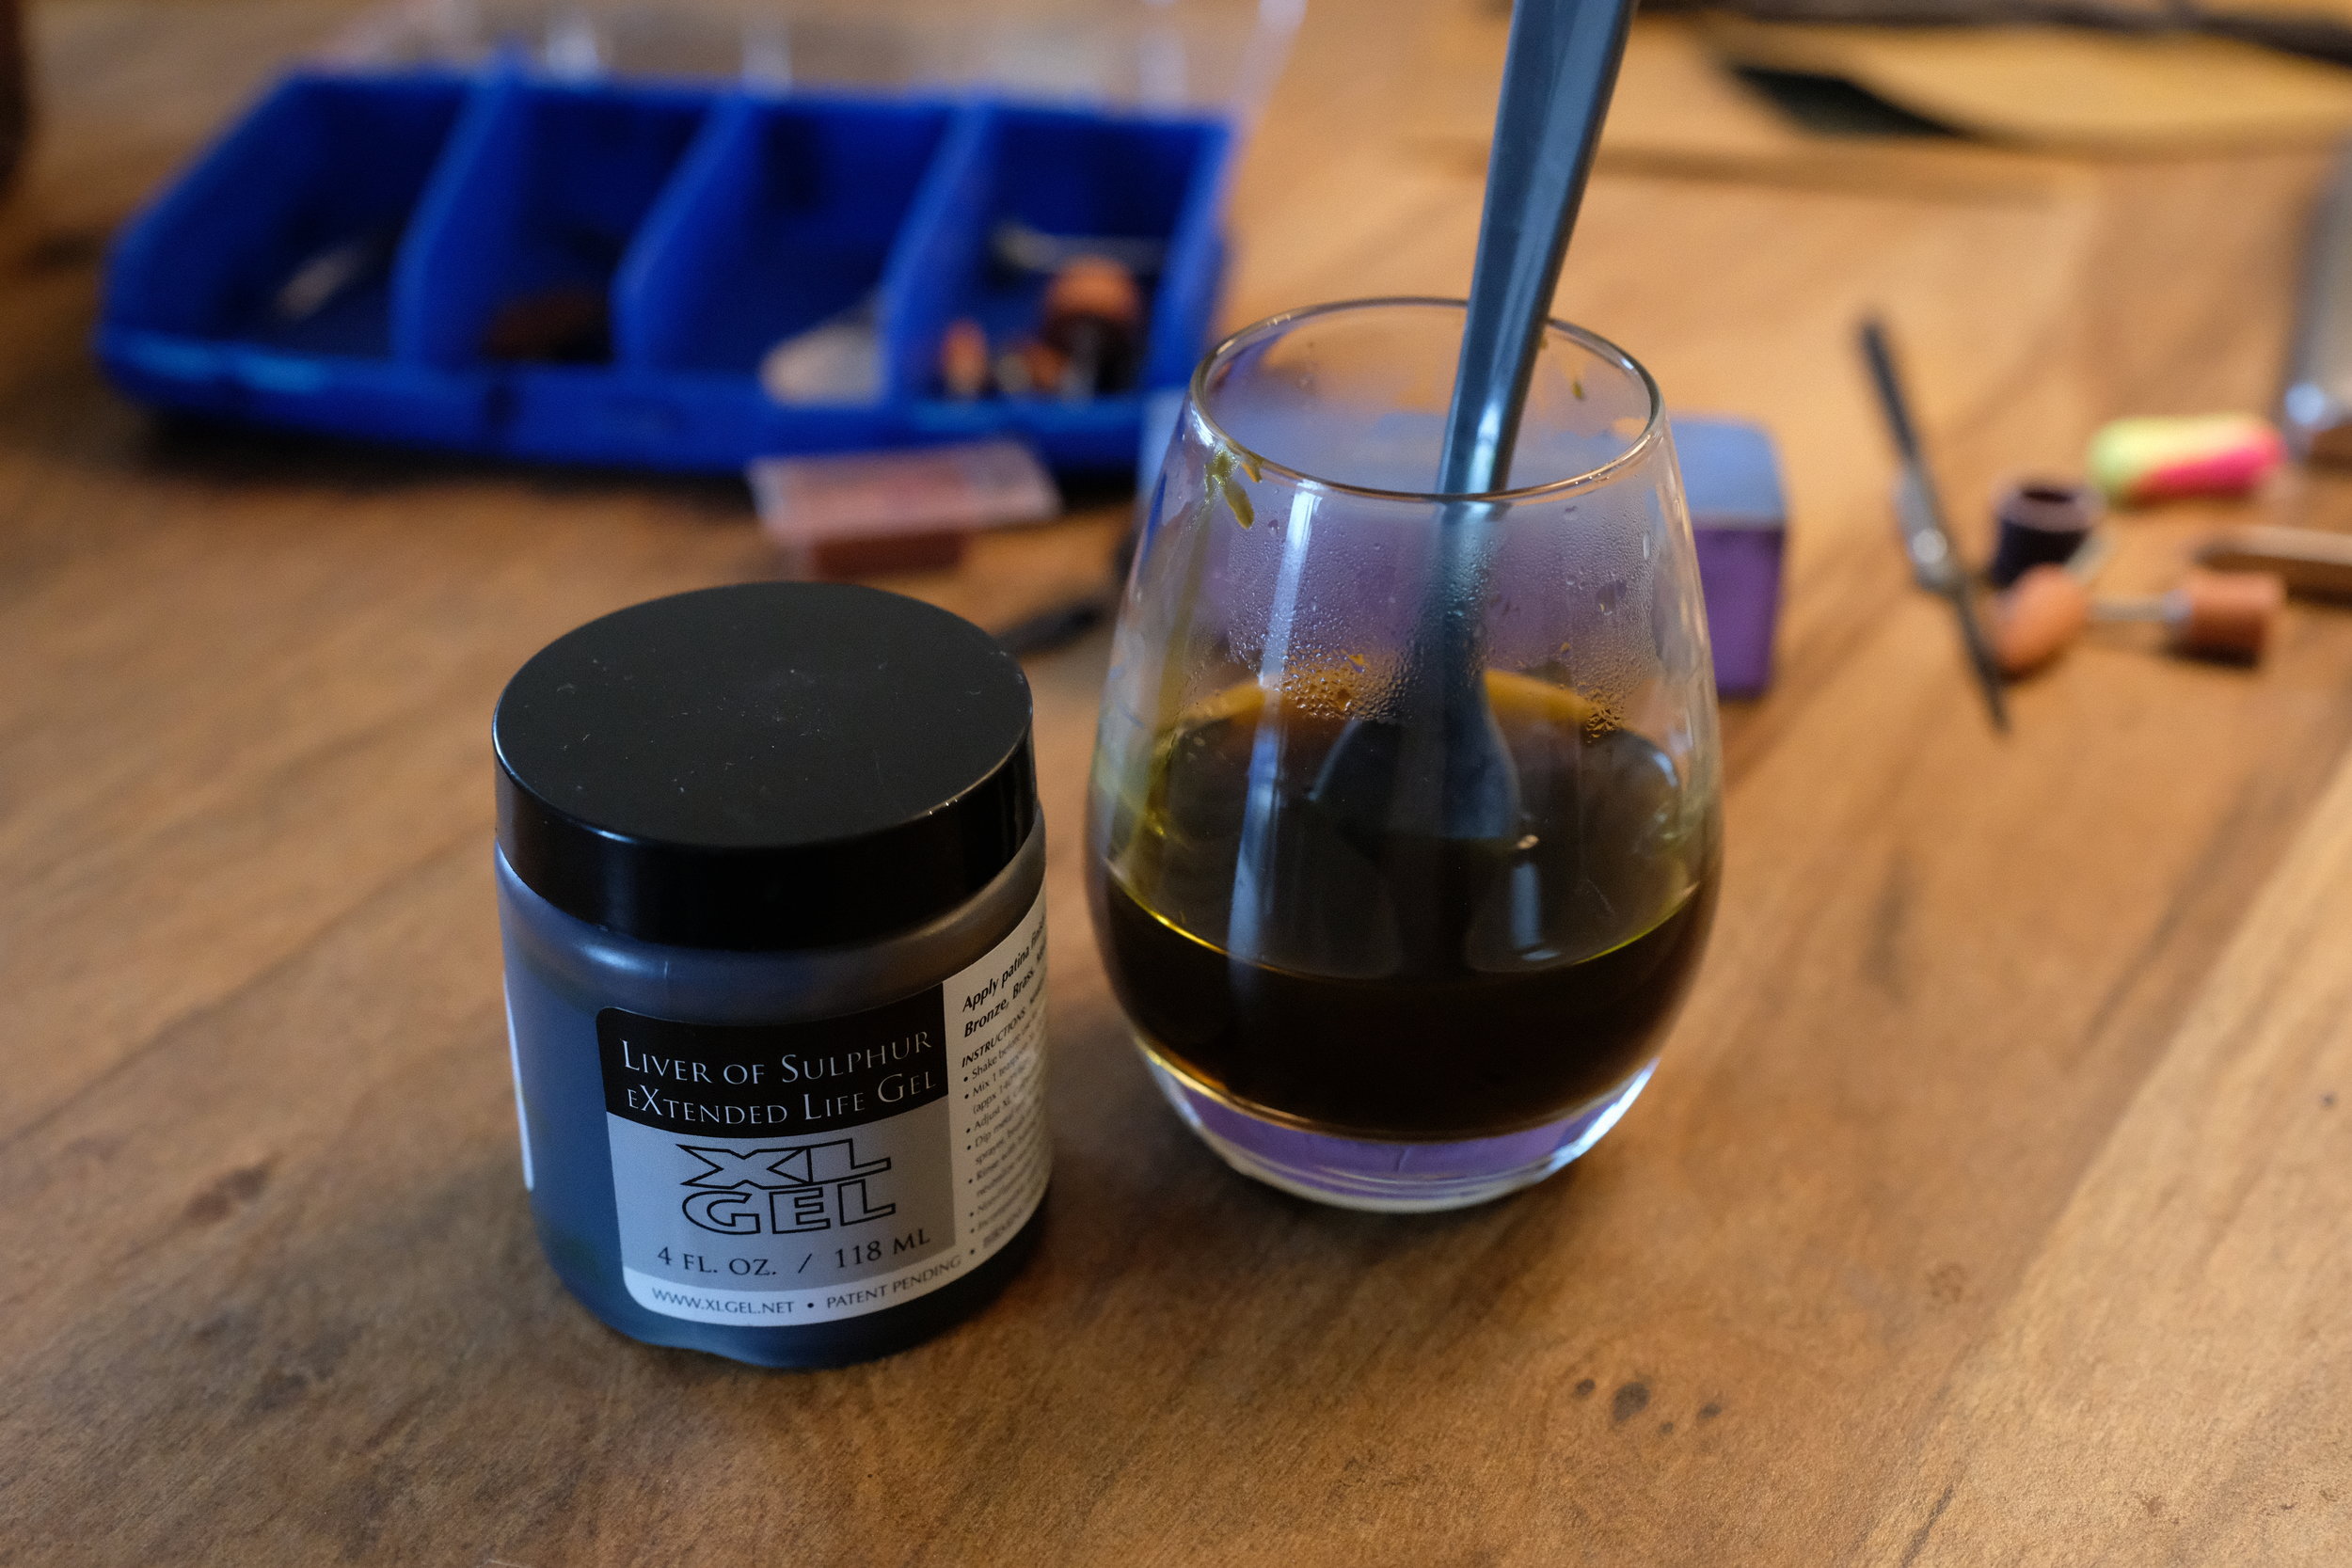
Dropping the rings into liver of sulphur and hot water oxidizes the metal, forcing them to patina quickly.
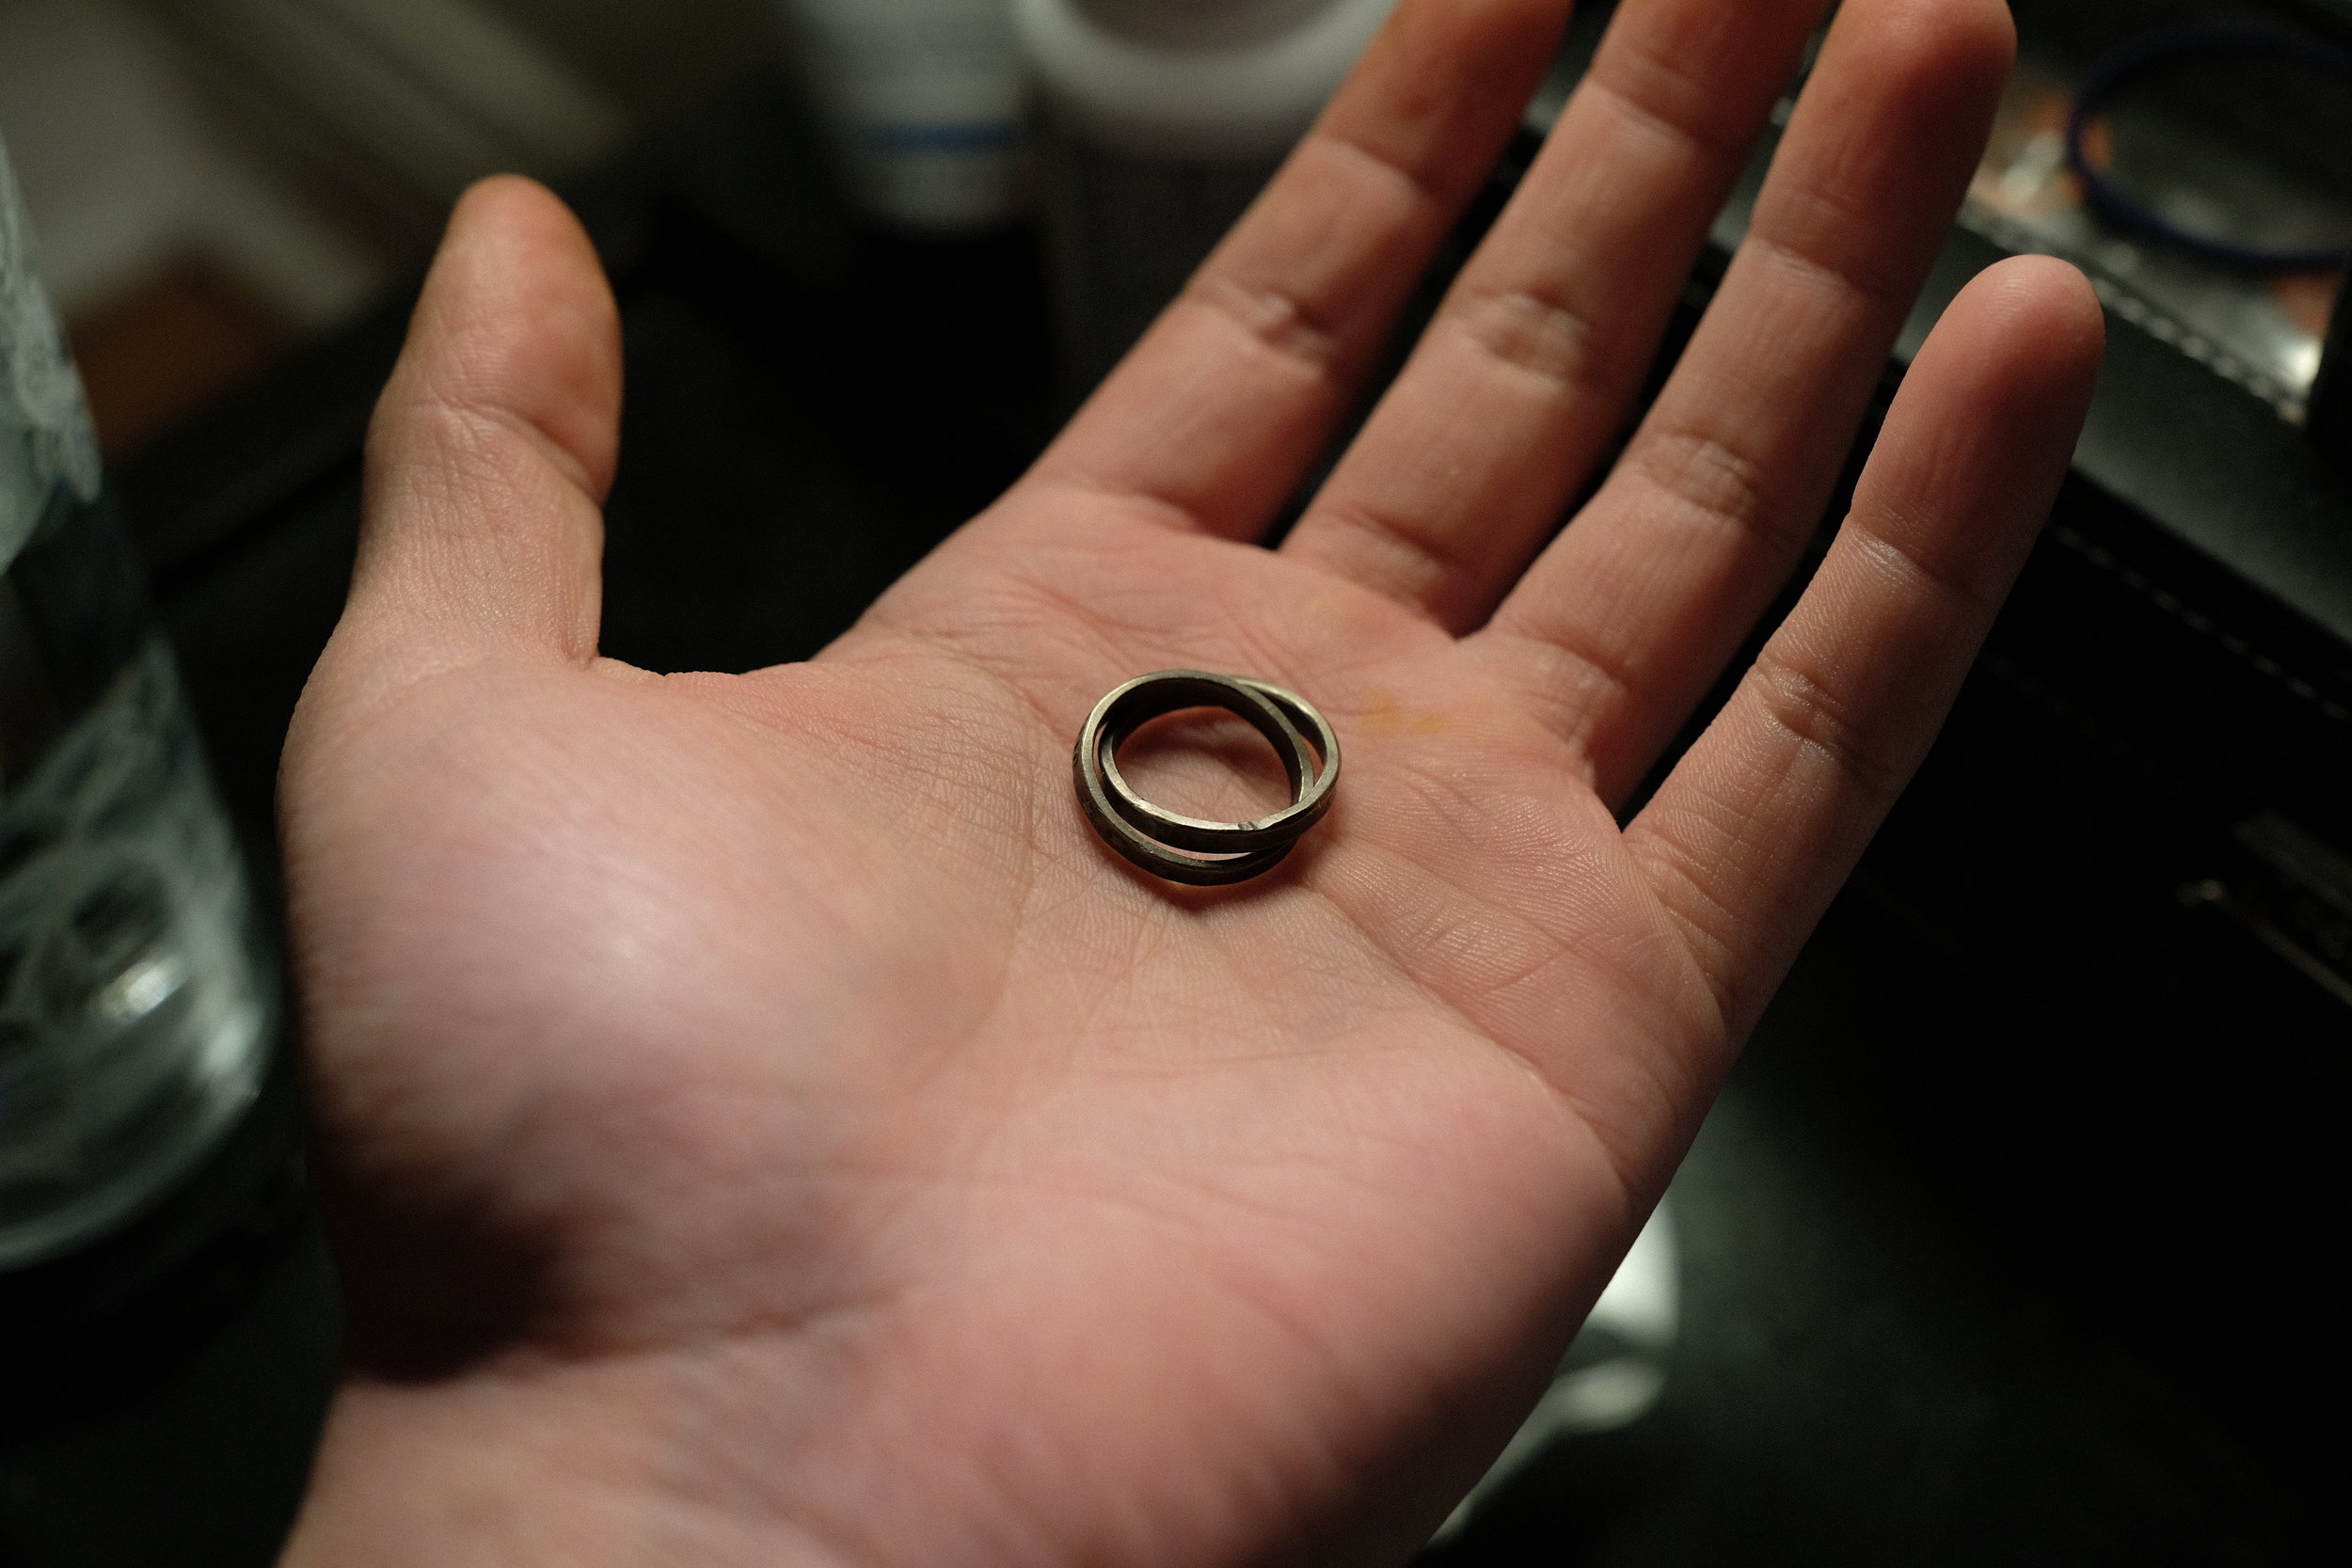
The rings (ring?) after their sulphur bath.
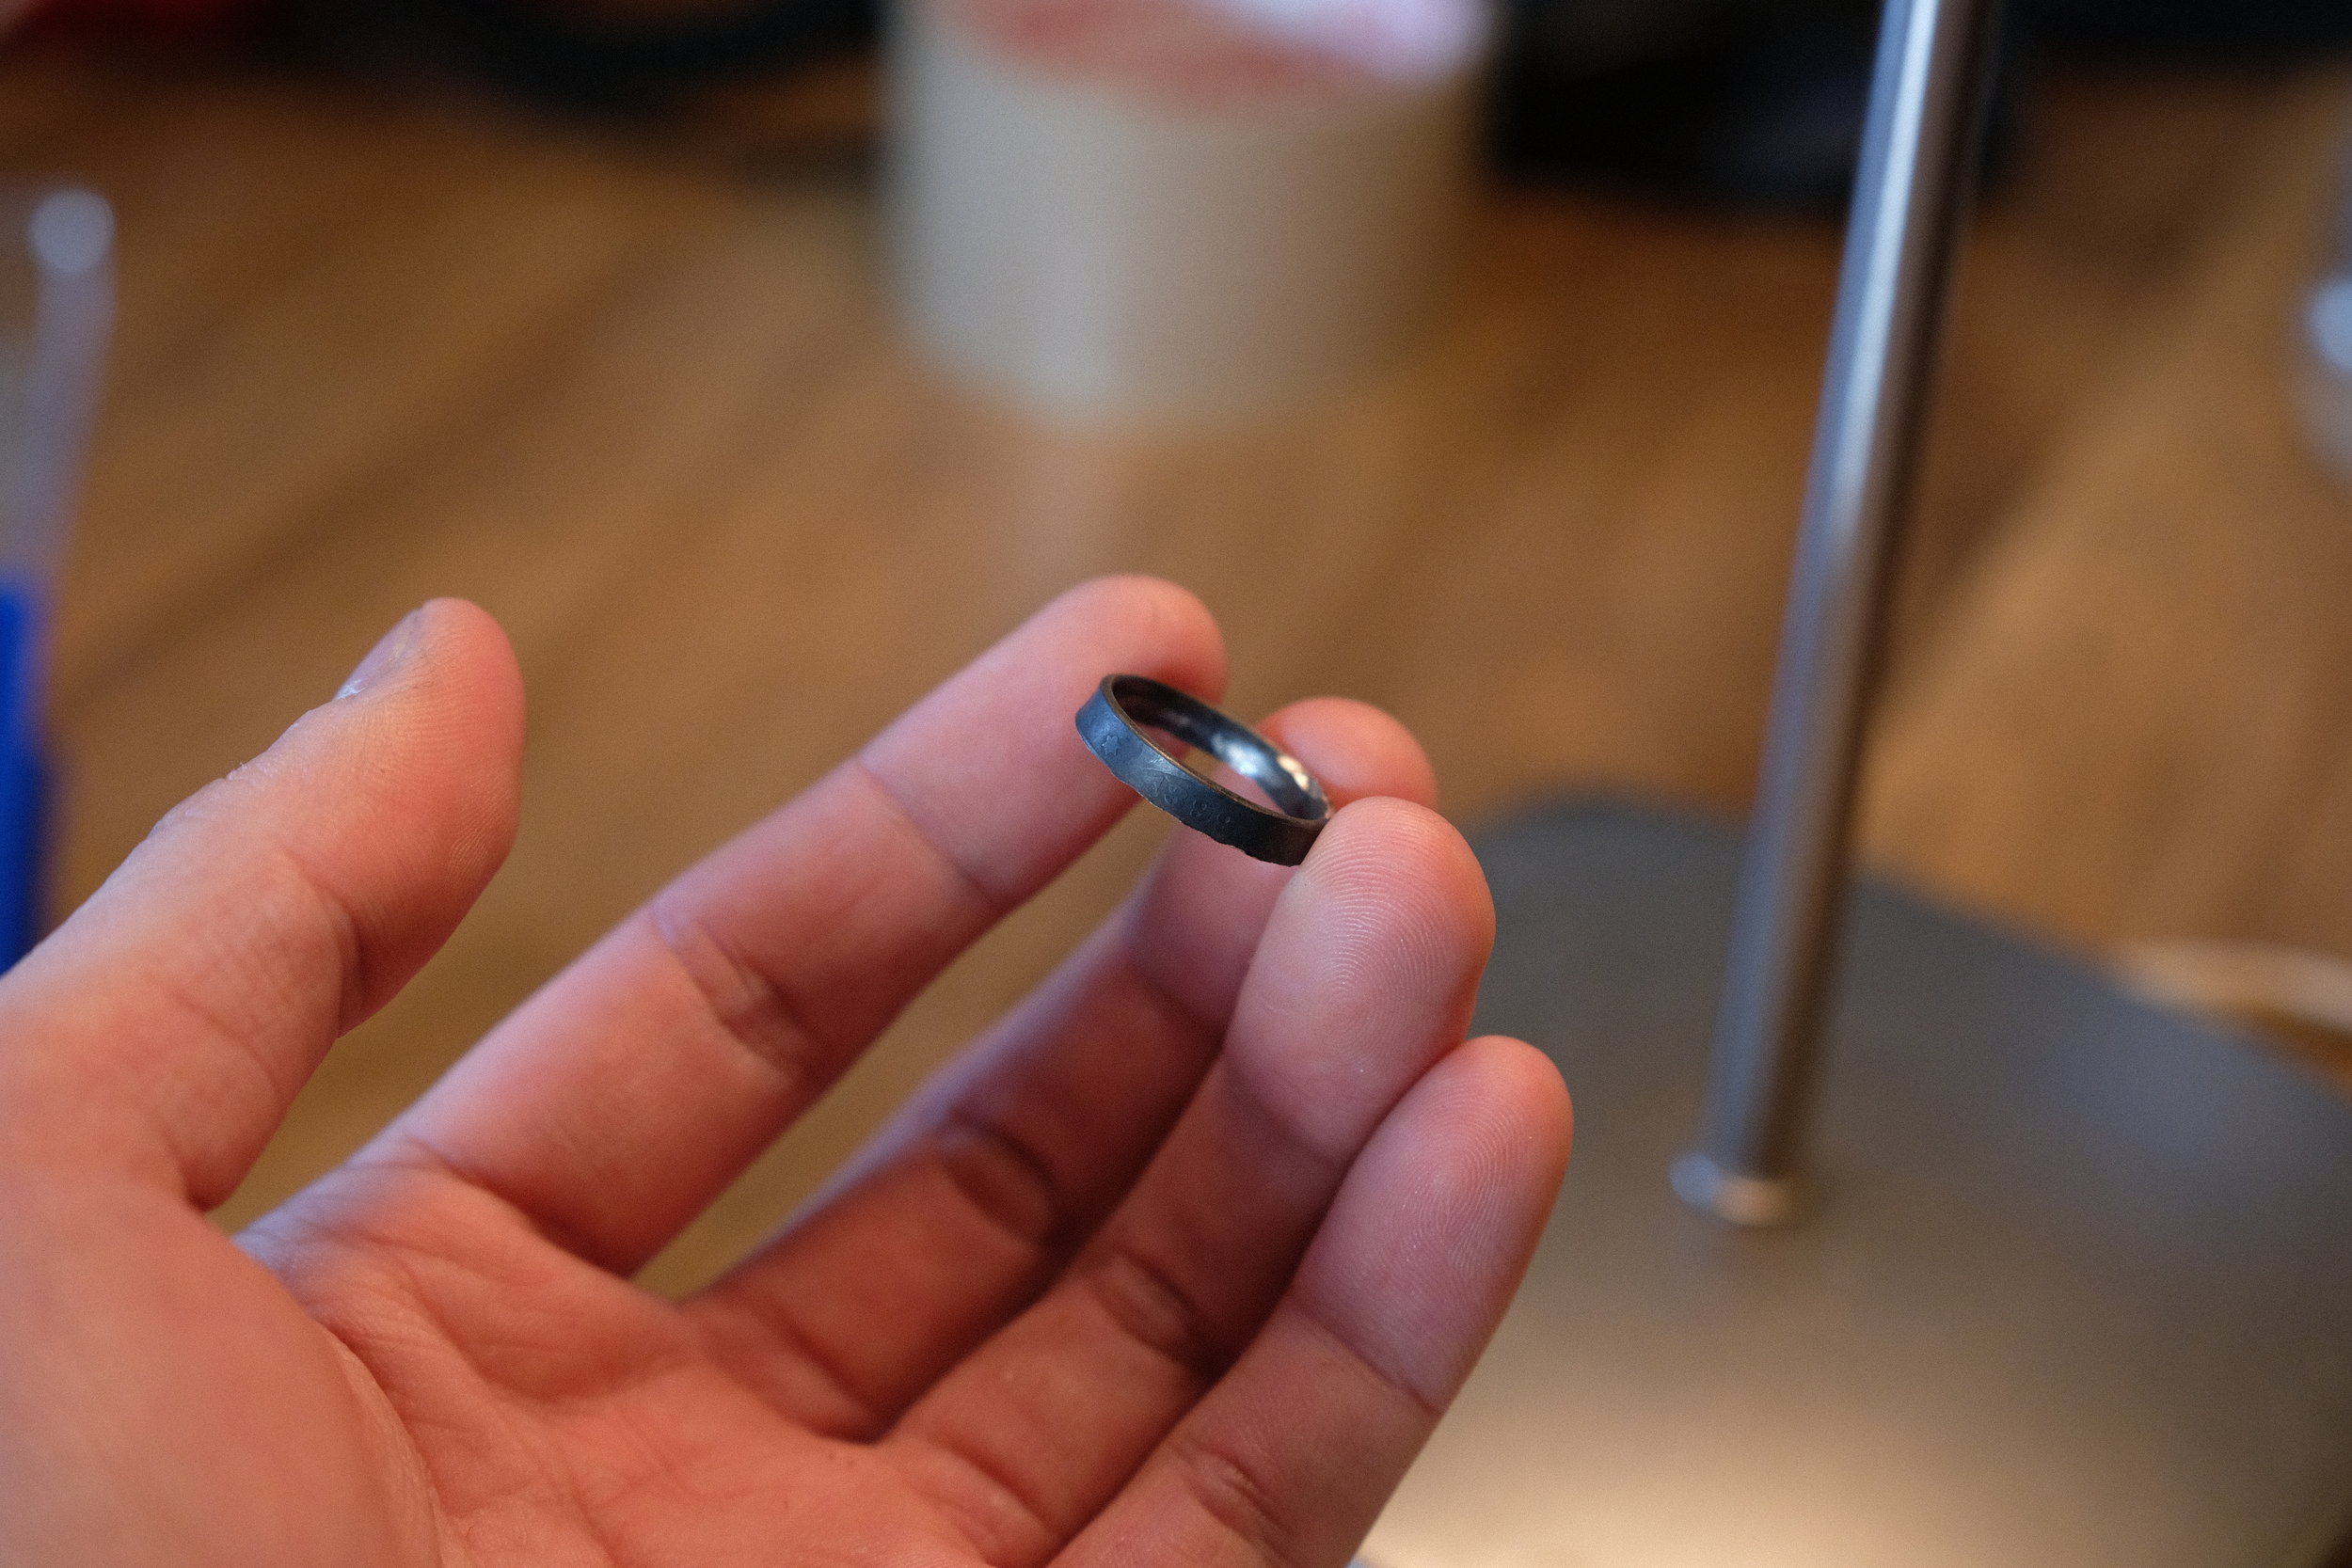
Buffing and polishing the ring(s) highlights the outer details. If you look closely, the solder joint did not oxidize to the same degree as the rest of the ring. Silver solder with higher silver content will ameliorate this.
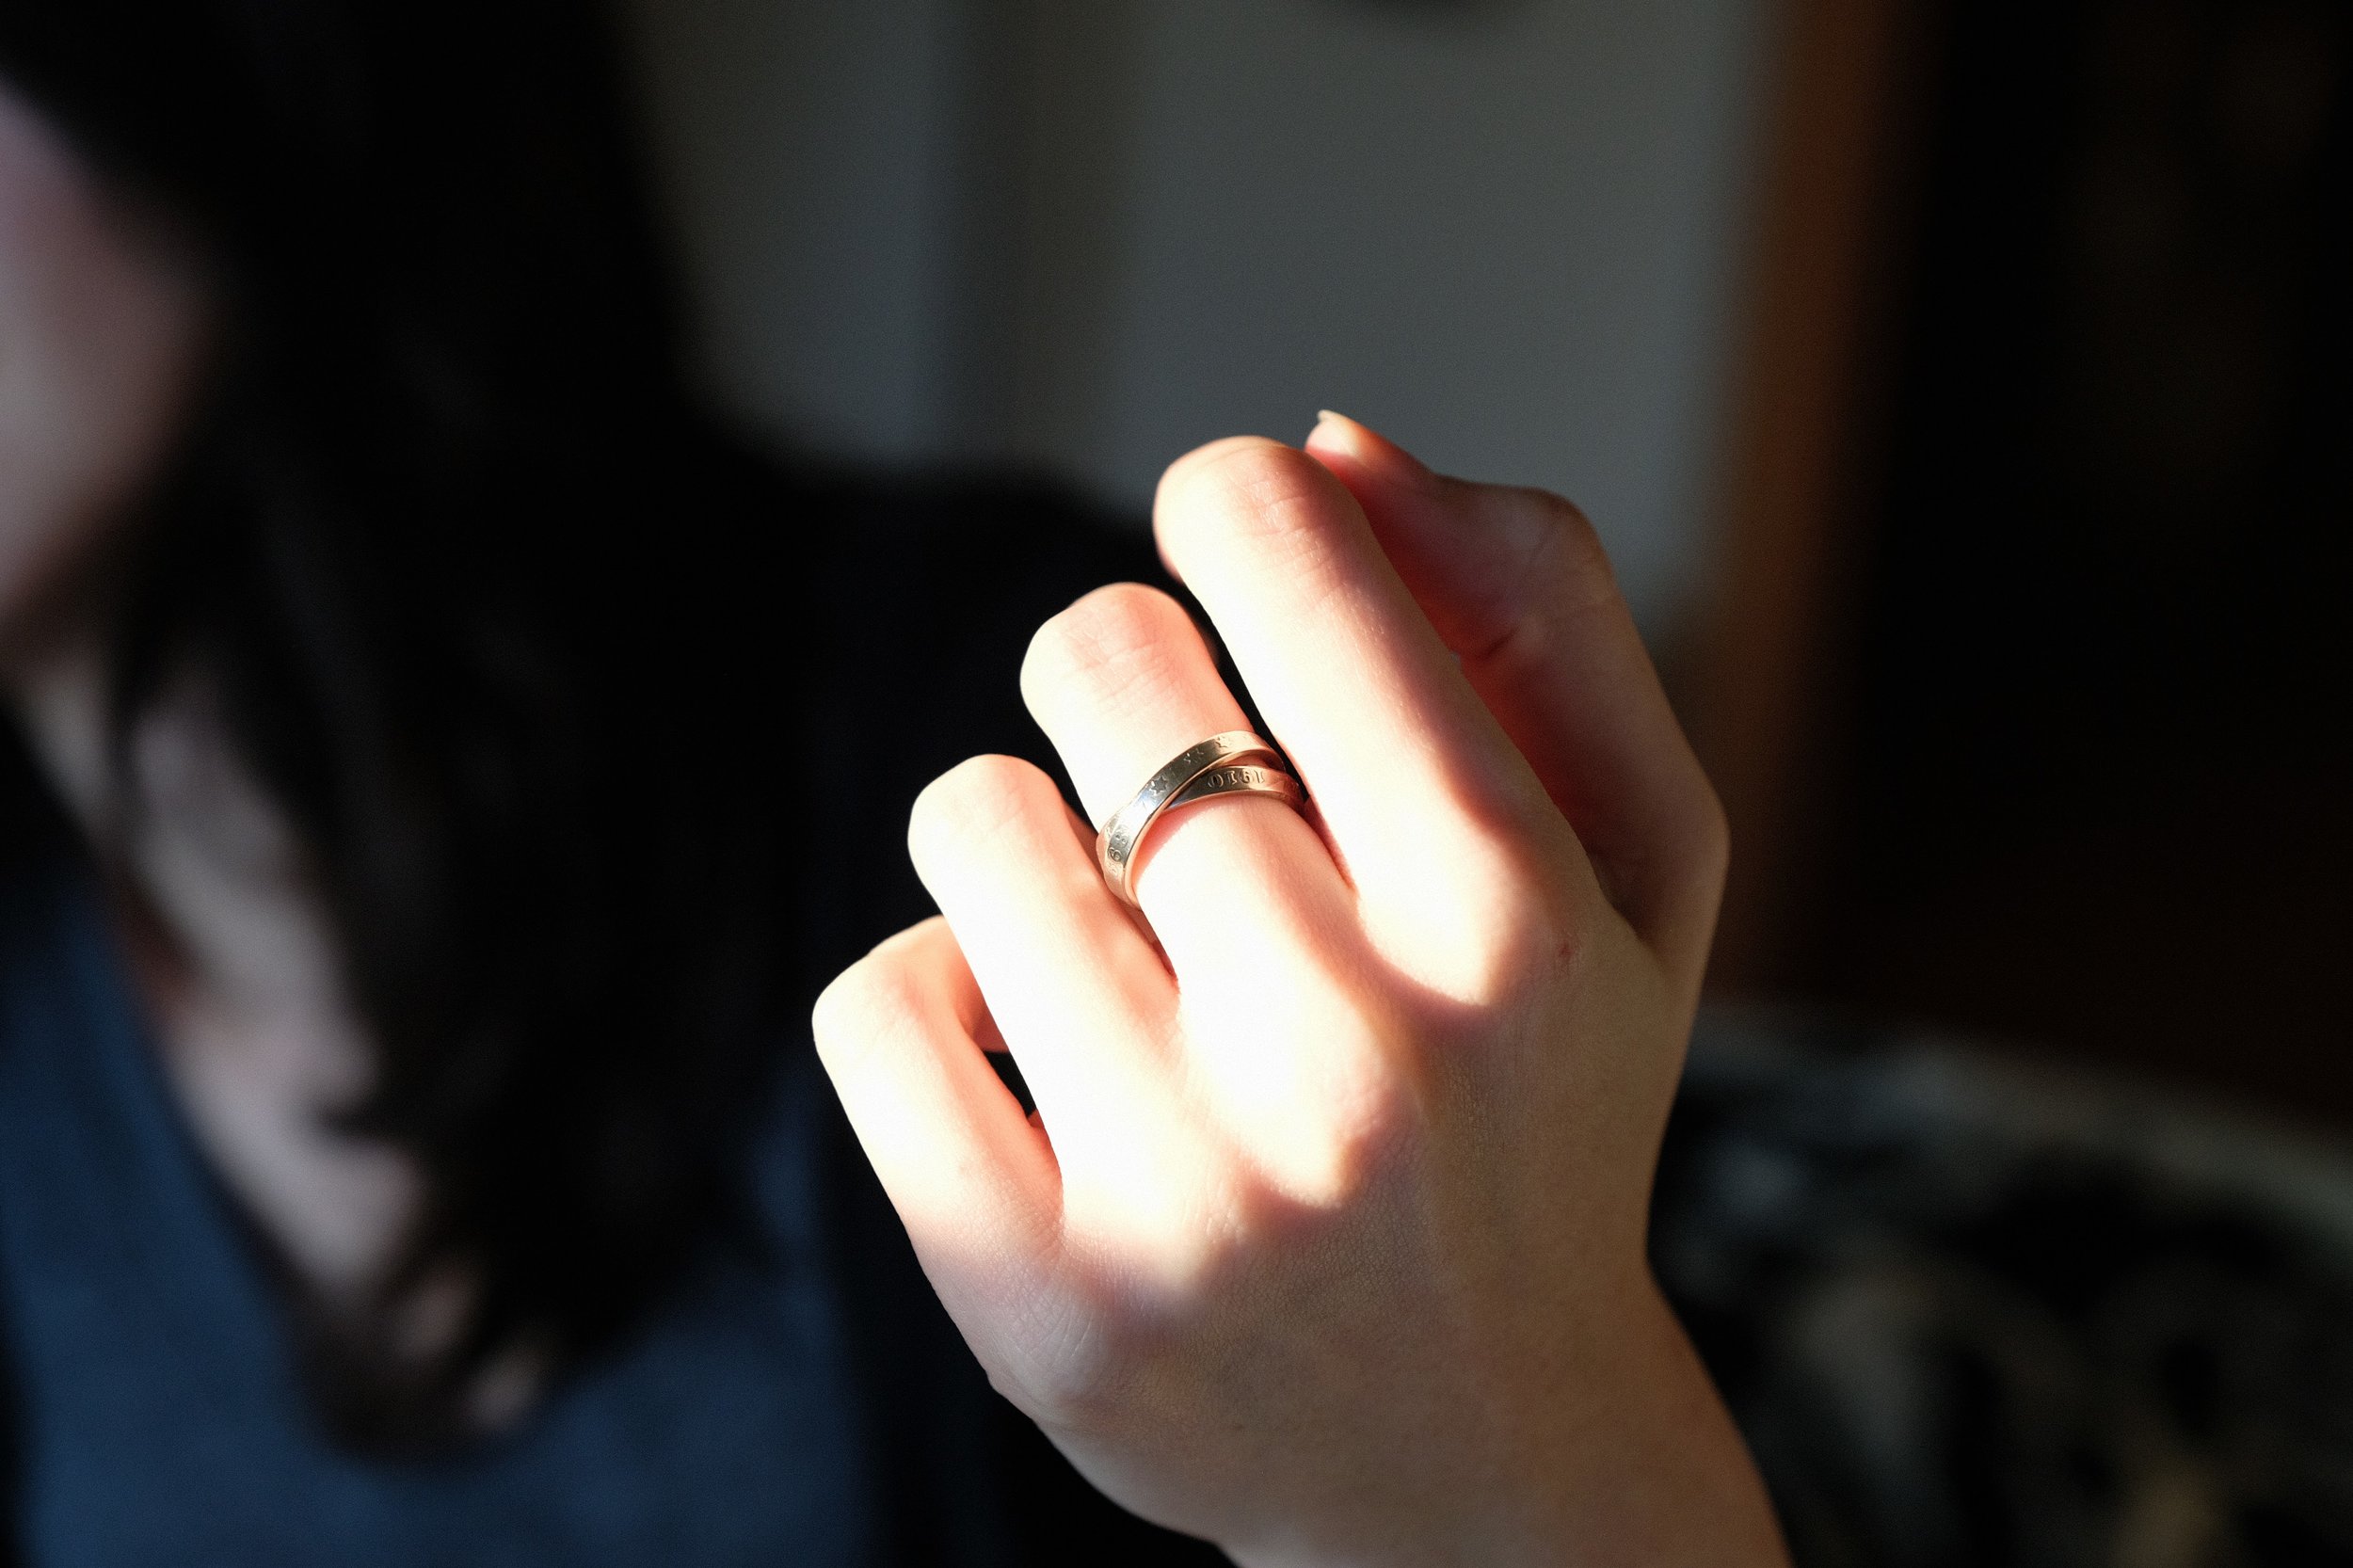
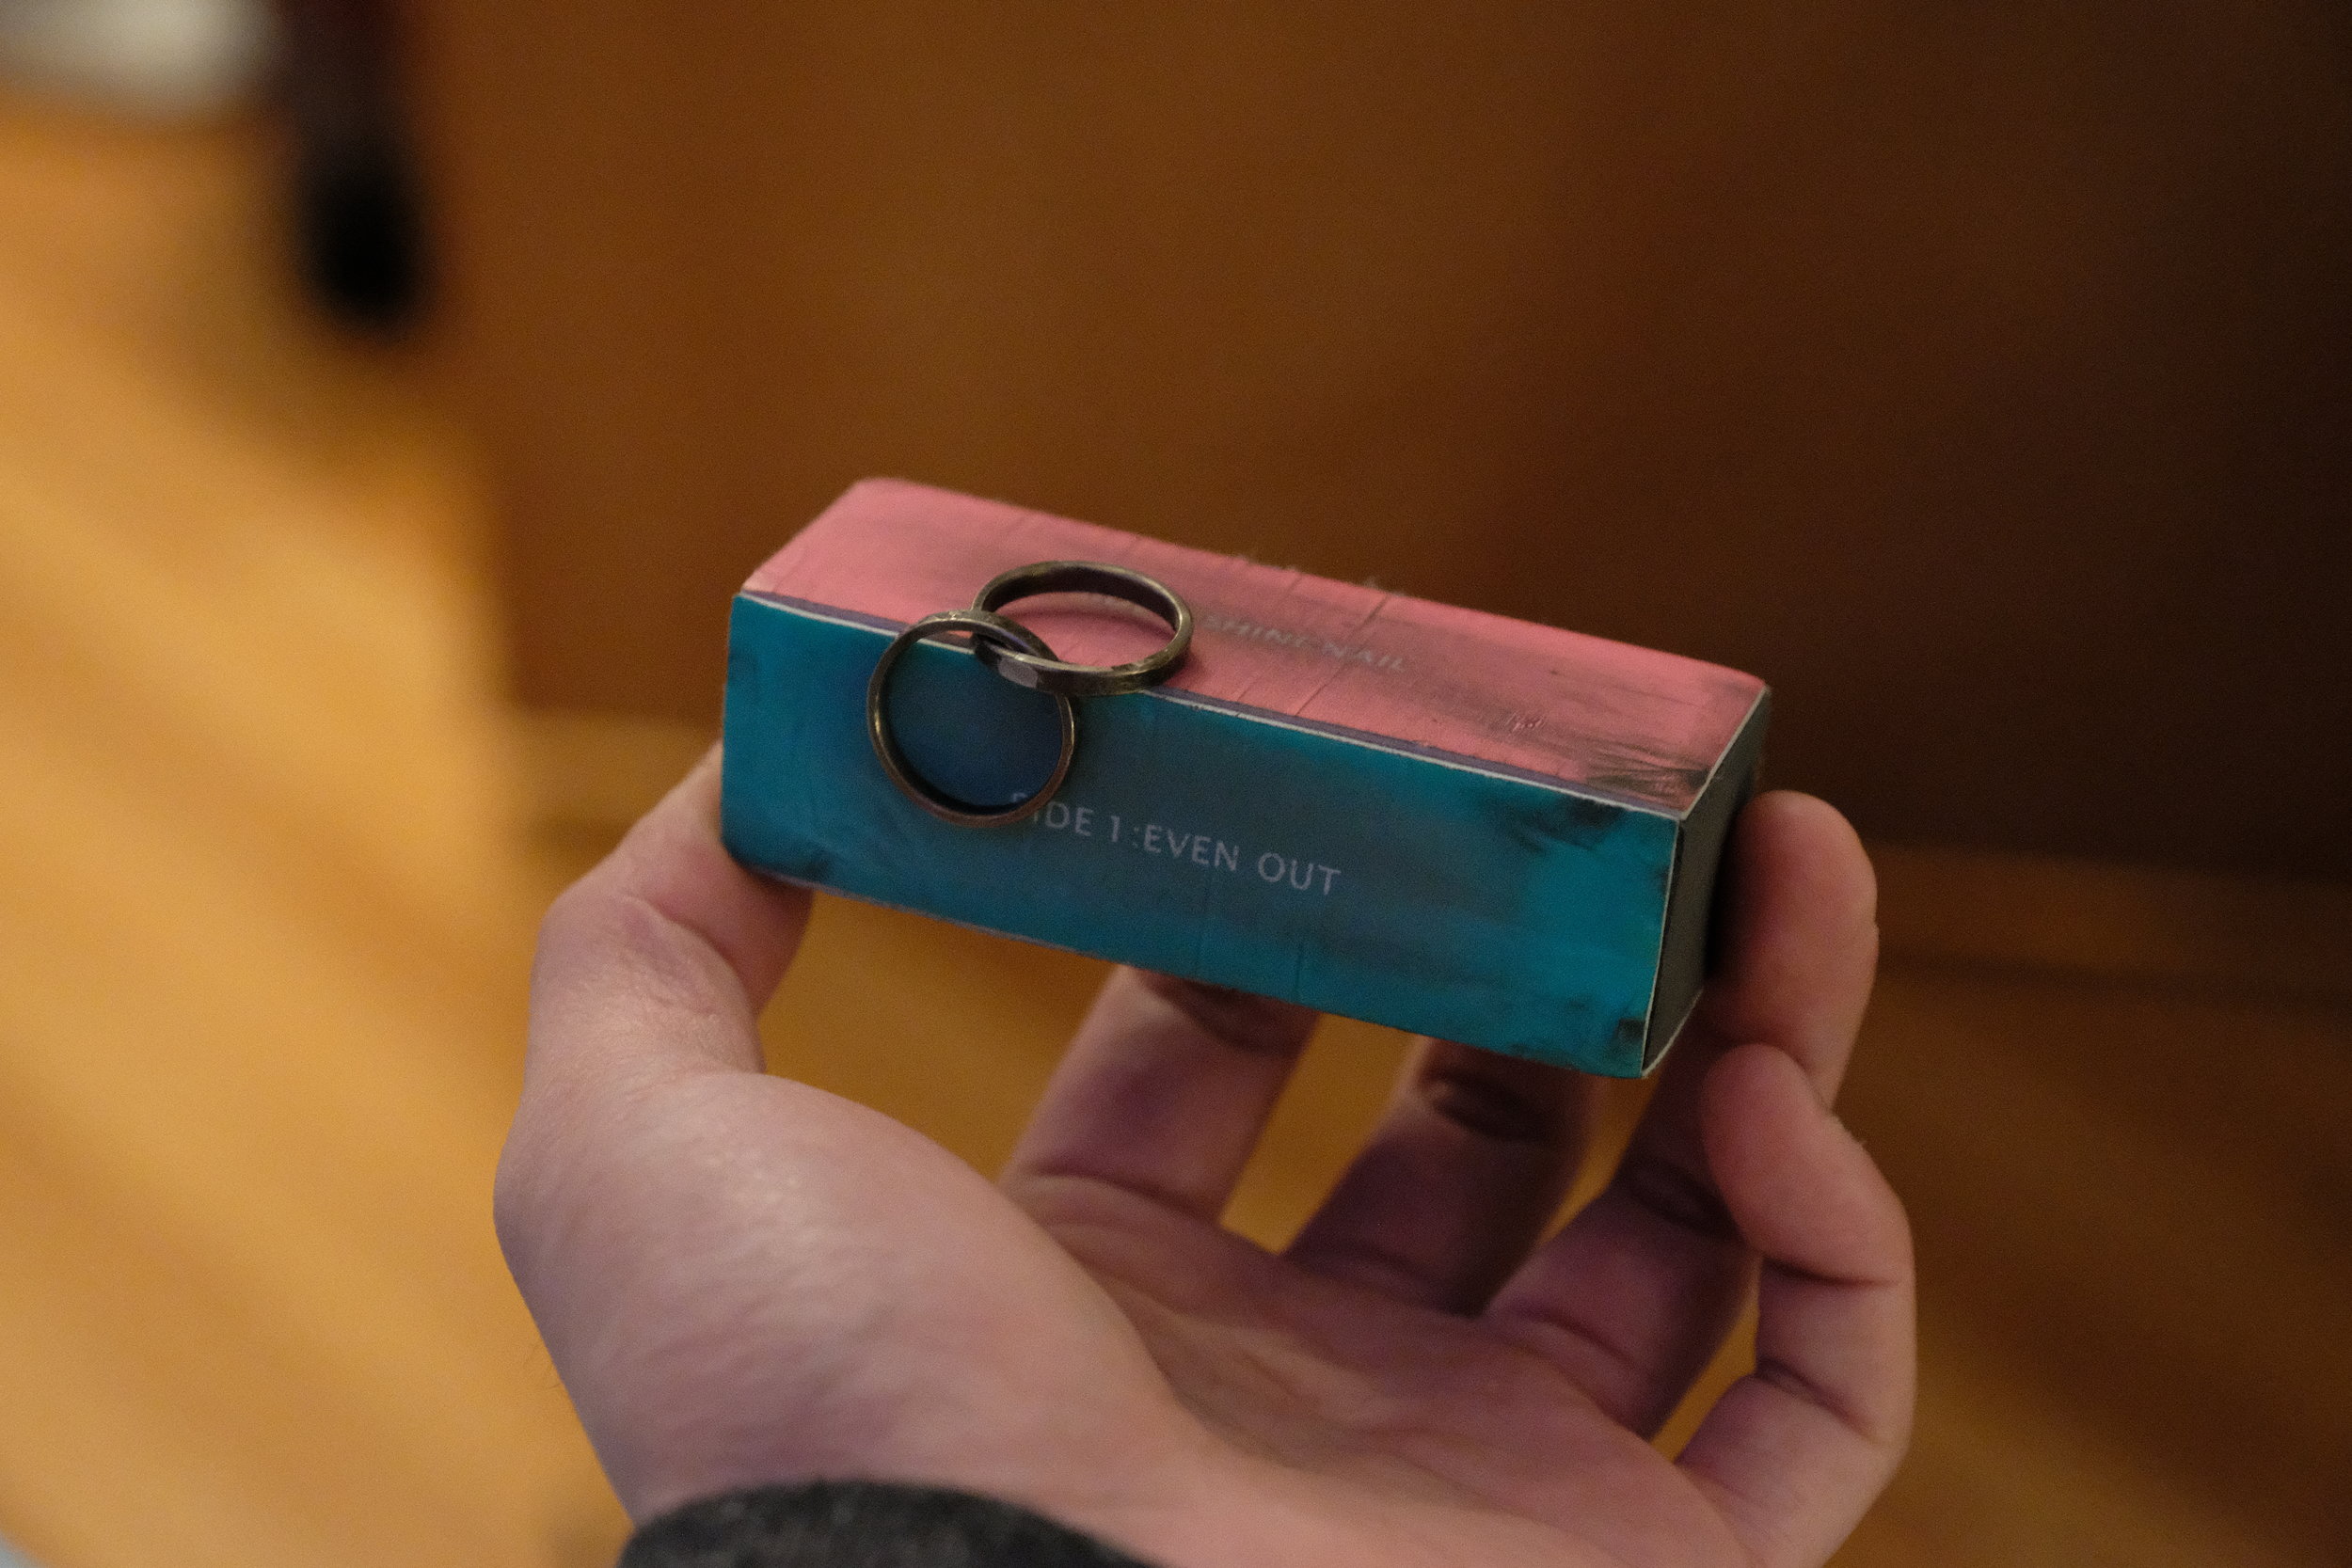
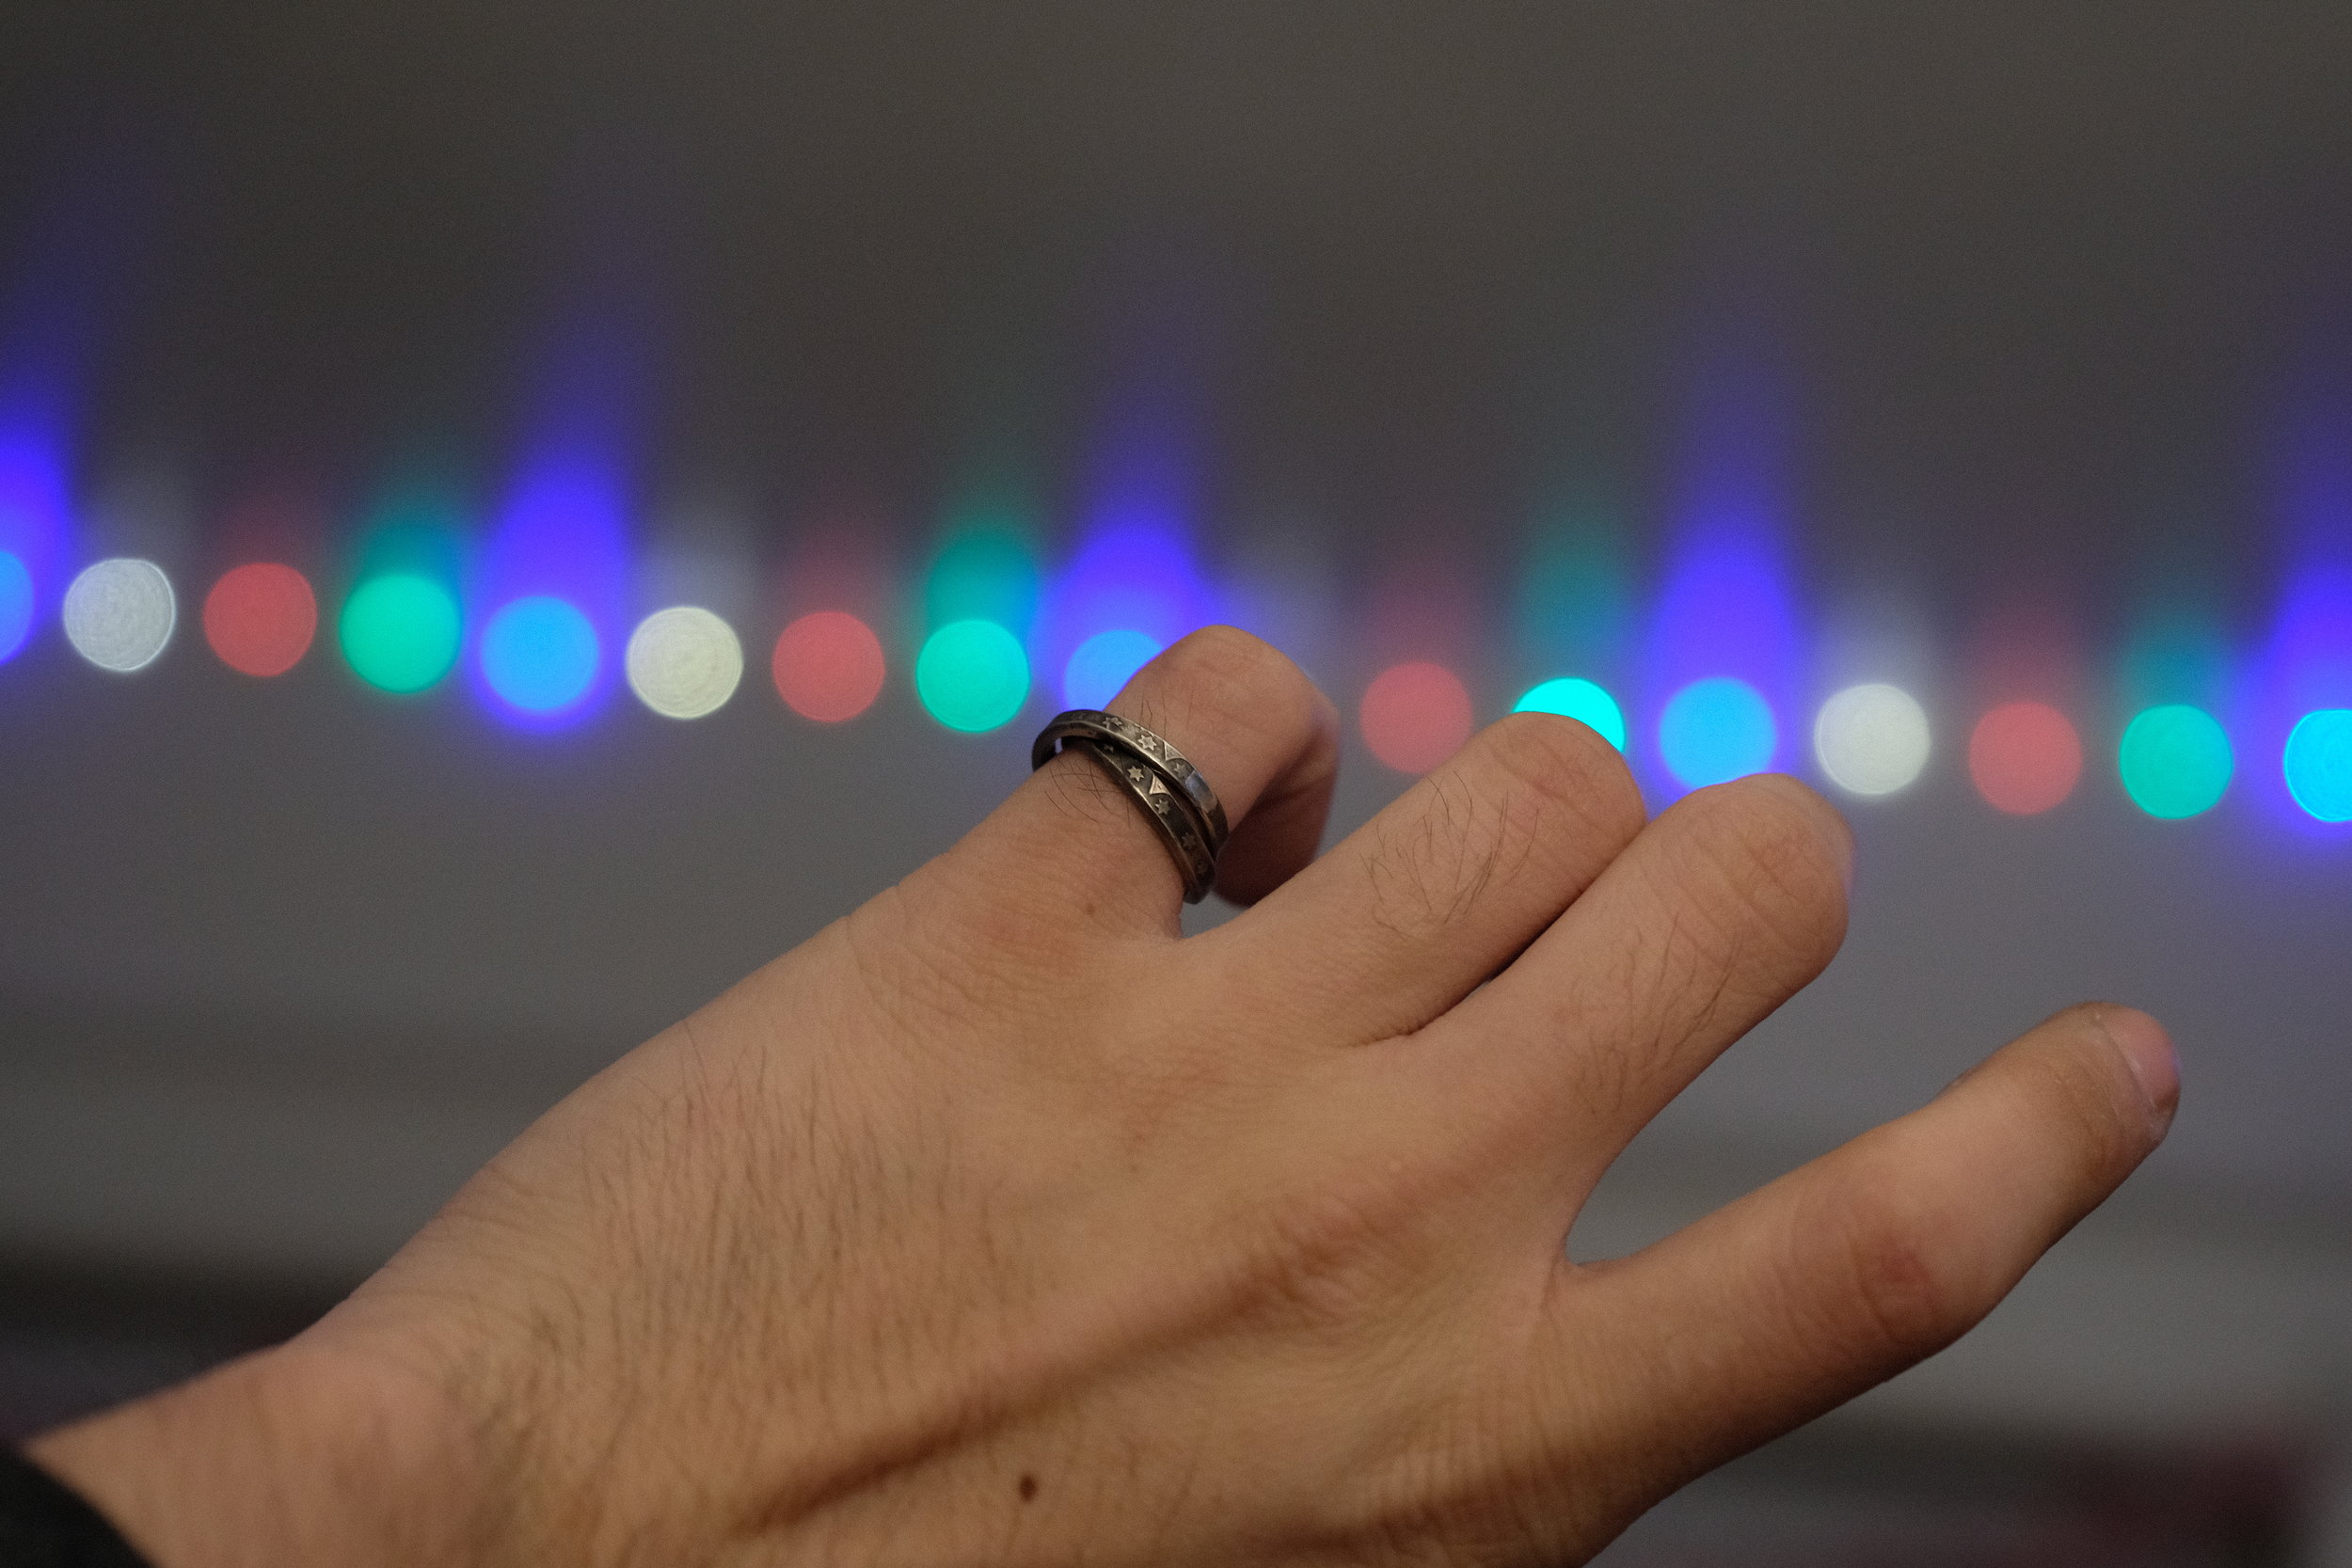
The final product, complete with solder spot.
Here is my first completed prototype of this style of ring. This endeavor was experimental in nature, and in the process I learned much about metal work and fabrication. I intend to extend what I have learned here to other metals, styles, etc.